

We're so glad to be able to share this cute pattern hack of the Emma blouse and dress! Works for both the Kids' and Womens' versions. This tutorial was written by Frida, who you may know from Instagram as @virvelvi.
***

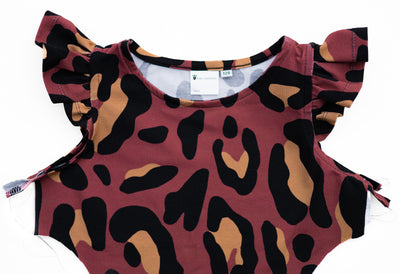
I love the latest addition to Threads by Caroline's pattern collection: the Emma blouse and dress, and I love that it's now available for kids too! During the pattern test I sewed a wonderful blouse with elastic for my daughter that looked so good on her, so I had to sew another right away.
I know from experience that my daughter sometimes can be a bit picky with how clothes feel on her body so I had the idea to sew an elastic casing along the waist, for more comfort on the inside of the garment.

I'm very happy to say that she likes both variants but this was also a really fun way to sew the Emma. I hope it will be inspiring. And if you want to sew one like this, here's how you could do it!
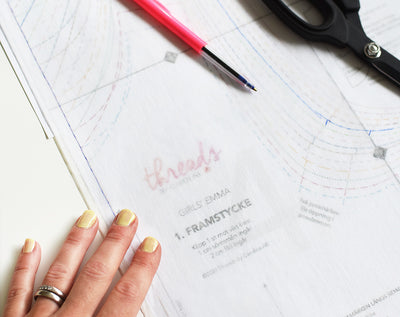
1. Cut out all the pattern pieces for the blouse according to the tutorial. Mark on the front- and back piece where to sew the casing, from the upper notch for the sleeve seam at one end - to the upper notch for the sleeve seam on the other side.
2. Also cut two strips of fabric which will be the casings for the elastic. The measurement for the strips should be a few mm wider than the elastic you're using + seam allowance. The length should be the same as the width on the front and back. (I chose to make mina a bit longer and cut off the excess fabric later on, since I found it easier to work with).
3. Fold the seam allowance to the wrong side and press the strips. (First I sew with my serger along both long sides of the strips for more stability, but it's not necessary).

Note! The coming steps are down on the wrong side of both the front and back pieces. From the right side you'll only see two lines of stitches when it's all done.
4. Sew the strip's upper edge to the front (or back) along the marking. I use a glue marker and glue the seam allowance of the upper edge of the strip so that it doesn't shift.

Then I sew the upper edge of the strip from the inside so that I can hide one of the seams (from the wrong side).

5. Flip back the strip of fabric and sew the other long side of the strip.

6. Insert the elastic through the casing and attach it at one of the short edges by sewing a few stitches in the seam allowance. Stretch the elastic to gather the front (and back) and then attach it also at the other end by sewing a few stitches.

(Here you can also see what I mentioned earlier, that I had cut a longer strip of fabric than necessary but I'll just cut off the excess fabric later).
7. Follow the rest of the tutorial for Kids' Emma to finish your blouse or dress.
If you're like me and love lace you can easily sew a lace trim to the sleeve, like I did with this blouse. Use the pattern piece for the sleeve with tulip cuffs but instead of using the cuff, you'll attach a lace trim.