

It's really getting colder outside! My children have been wearing their college beanies for a few weeks but now I feel it's time for even warmer beanies. So today I'm gonna show you how to sew a beanie lined with warm minky fabric.
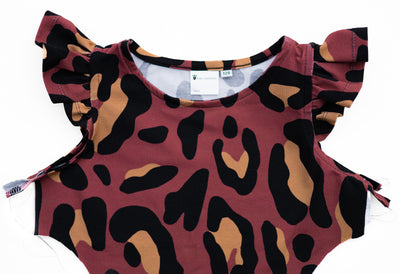
I'm using my own beanie pattern, the Sigge och Siri. Here I'm sewing a beanie in this beautiful jersey fabric, sponsored by Tygdrömmar, a design by LillaE design, and I'm lining it with minky that I bought from Tygdrömmar.
Minky stretches horizontally so it is great to line a beanie with. But you should consider sewing a larger size than the size guide is showing you, especially if the fabric you're using to line with does not have good stretch.
Minky doesn't need to be prewashed since it doesn't shrink. But don't forget to prewash your jersey or college fabric, since knit fabric shrinks.
Let's get creative!
1. Split the beanie pattern in the middle. Of course you don't have to cut the paper like I have. If you have traced the size you want to make onto tracing paper or baking paper then you can just fold it in the middle, or cut that in two pieces. Fold or cut where the notches mark the middle.

2. With one of the halves you cut the outer fabric, and with the other you cut the lining. Both fabrics should be placed on the fold, according to the pattern. On both of them you need to add 1 cm (3/8") seam allowance along the edge we cut (or the fold if you folded instead of cutting). On the outer fabric you should also add an extra 1-2 cm (3/8"-3/4") so that the lining will not be visible from the right side.

3. Remove the pattern and place the fabrics together, right sides facing. Pin and sew the lower edge. When using minky you should use many pins since minky has a tendency to slide under the presser foot.

Here's how it looks after that seam. Normally I like to press seams, but when using minky you should not iron or press it, that will ruin the fabric.

4. Fold the beanie, right sides together. Pin, and use extra pins along the minky. From here you can continue with step 4a in the instructions booklet for the Sigge & Siri-pattern! Good luck!

All done! :)