

This is the first of two blog posts that go into detail of how to line the Billy & Betty bomber jacket. We're fortunate to have Frida Hermansson write this tutorial for us, you can see more of her sewing on Instagram, check out @virvelvi.
Take it away Frida!
***
I love bomber jackets. In my house we've got them as short jackets, long jackets, in woven fabrics and stretch fabrics, in heavy materials and thin materials. We've got them as fancy jackets and everyday jackets, as indoor-garments and outdoor-garments. The bomber jacket and all its variations feels like a wardrobe staple for the entire family.
Now that autumn has arrived I realized that the thin summer jacket my youngest son had wasn't warm enough for the chilly autumn days. So, I decided to sew a lined autumn/spring jacket for him with the new pattern Billy & Betty.
My son has size 104 now but since I plan to use heavy fabrics and the jacket will be quite thick, and since I want it to be an outer garment, I chose to sew size 116 in width and 110 in length. That way I'm sure it will fit him next spring as well.
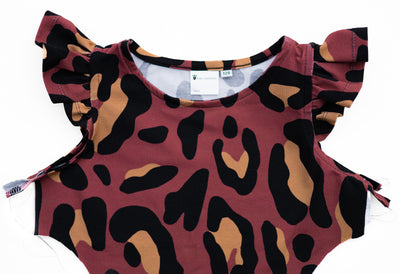
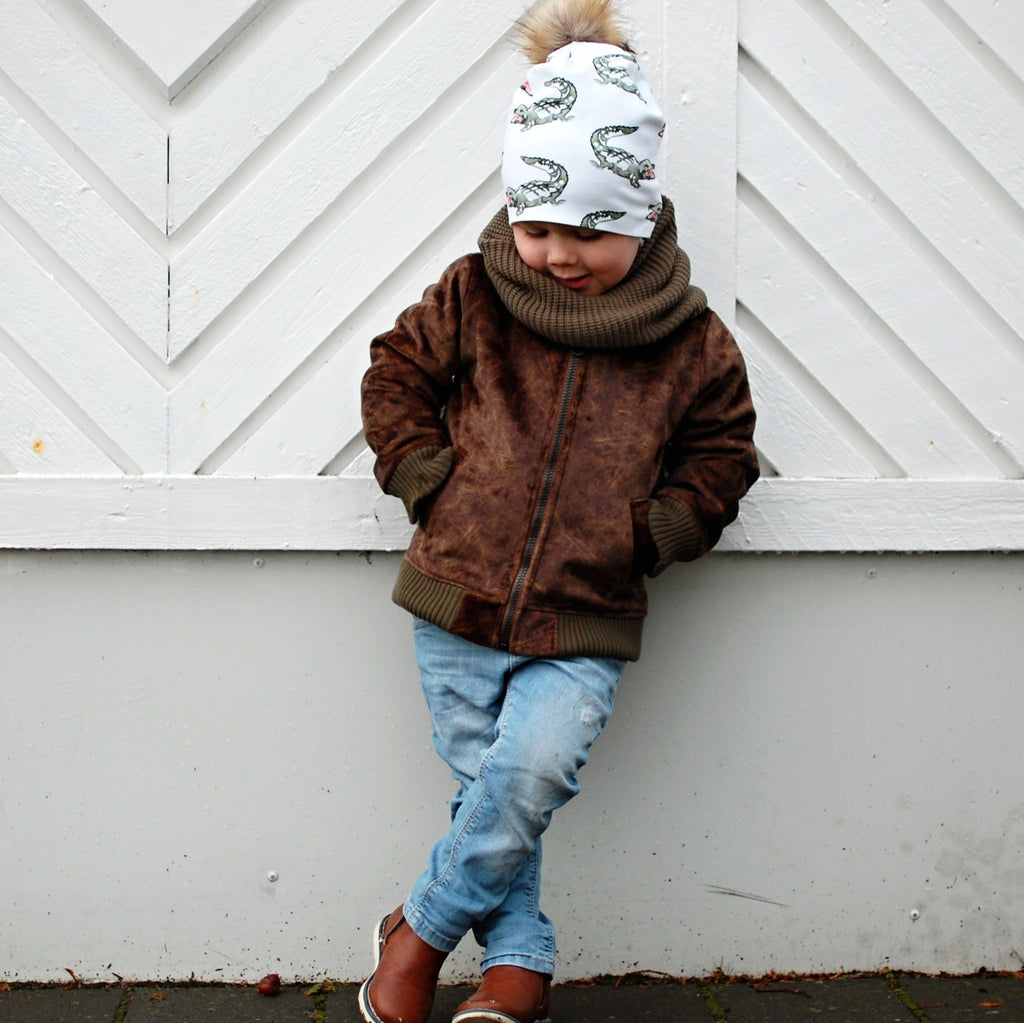
I used upholstery velvet fabric for the jacket, heavy jacket ribbing for the cuffs and waistband and lined it with a teddy-like fabric. This is not the most play-friendly jacket, but it sure is good-looking :)
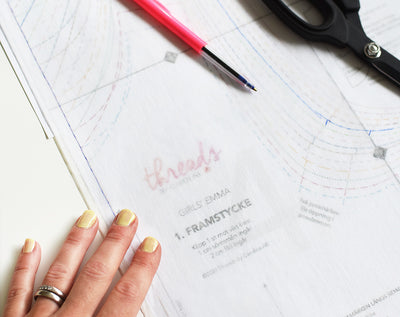
I cut out all my fabric pieces in the upholstery velvet fabric, and then also cut 2 fronts, 1 back and 2 sleeves in lining fabric.
I followed the tutorial up to step 26, and then also repeated steps 24-26 with the lining, but I made sure to leave a hole in the side of the jacket lining.

Now here starts the assembling. First I sewed together jacket and lining along the neckline, with the collar in between.

Then I sewed together the jacket and lining along the bottom by first sewing one of the waistband's long sides to the jacket, and then the other long side to the lining.
Pressing the waistband's center fold first, before attaching it, makes it easier to get it nice and neat. Also, press the seam allowance upward when the waistband has been attached.


The jacket is now open where the zipper will go. You'll attach it in the next step.

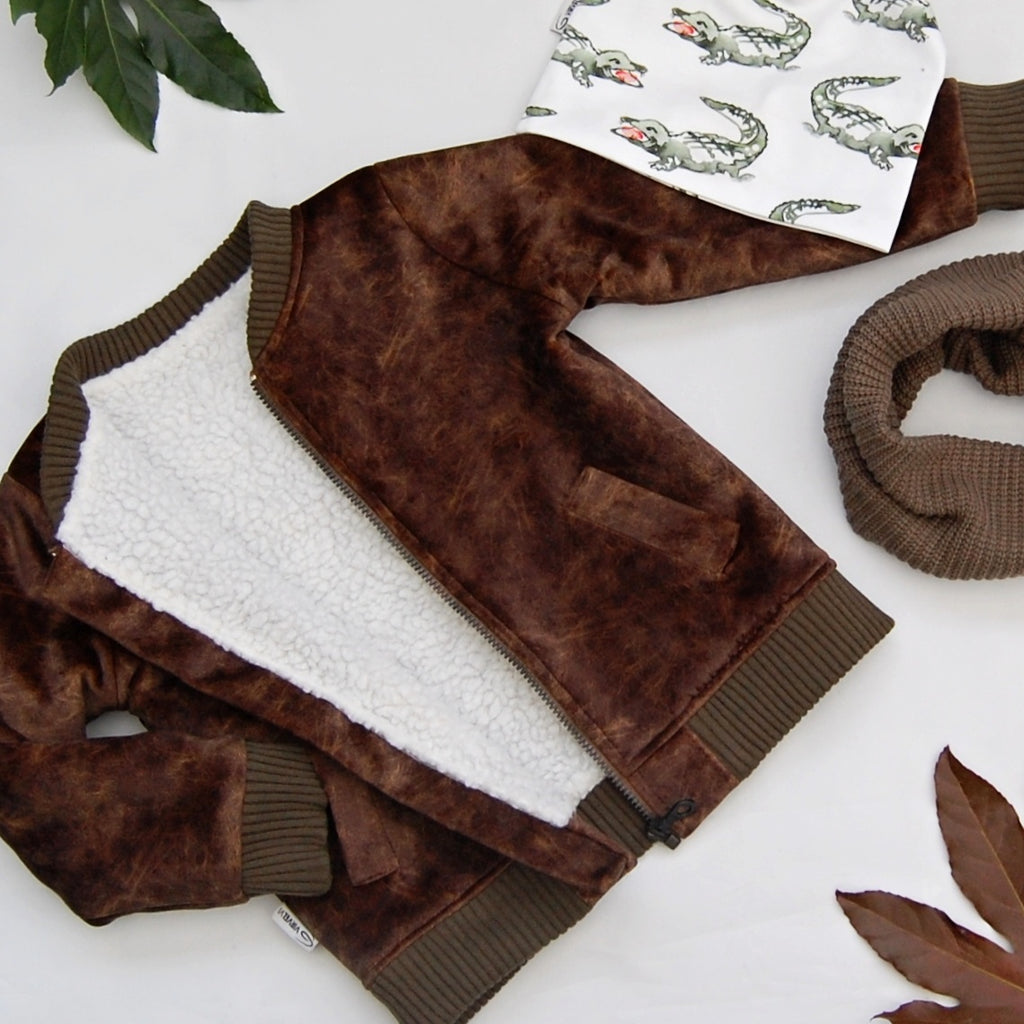
You could fold in the seam allowance of both jacket and lining, place the zipper in between and topstitch. But since my jacket fabric is so heavy I chose to first sew the zipper to the jacket fabric. Make sure to match the bottom of the zipper to where the waistband will be folded. I also chose to attach a zipper facing.

Then I folded the seam allowance of the lining and sewed it to the zipper, by topstitching from the right side.


With the zipper in place I topstitched along the waistband seam and through both layers of seam allowance (the seam between waistband and jacket/lining). I also topstitched the neckline for a nice finish.

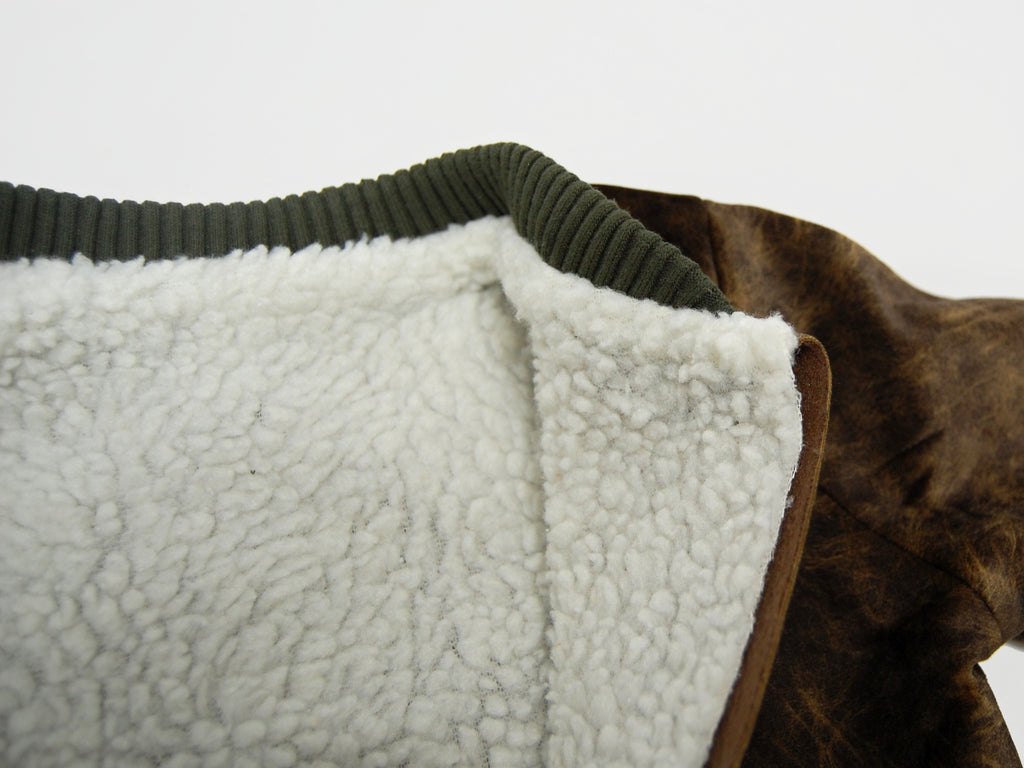
Last but not least, the sleeve cuffs. I attached them by pulling out the jacket sleeve and lining sleeve through the hole in the lining side seam. I then place the cuff inside the sleeve, right sides together, and folded in the sleeve lining so that it's right sides together with the cuff.
So the cuff is between the jacket and lining, just like how we did it in the neckline.


To finalize, I sewed together the hole in the lining's side seam. And the jacket's done!


***
Thank you so much Frida for this fun and inspiring pattern hack!
Remember to check out Frida on Instagram.
And the pattern Billy & Betty bomber jacket.