

Today's guest blogger is one of our wonderful pattern testers, Josefine! You can find her on instagram as @elvillebarnklader.
***
Adding, modifying or mixing patterns is one of the best things I know! In order to create the most perfect garment or challenging oneself and it's perfect when you can use patterns you're already have at home as a basis.
For example, the pattern Billy & Betty is a wonderful pattern in many ways. It's only missing one thing: a hood! I had the idea that I could use the hood from the Lilly & Liam pattern and with a small modification it turned out great! With this blog post I'll show you how easy it is.
Some get frightened by the thought of changing something in a pattern, but it doesn't have to be hard at all. I hope this blog post can inspire you to challenge yourself and dare to try.
This tutorial includes two ways of adding the hood to Billy & Betty: one with zipper and another with binding and snap buttons.
Bomber jacket with zipper and hood
Start by following the tutorial for Billy & Betty until step 29, until where you're supposed to start sewing the collar.
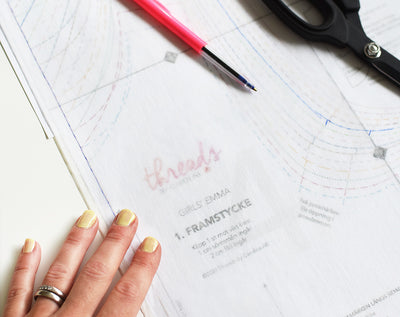
Then cut out the hood according to the Lilly & Liam pattern.

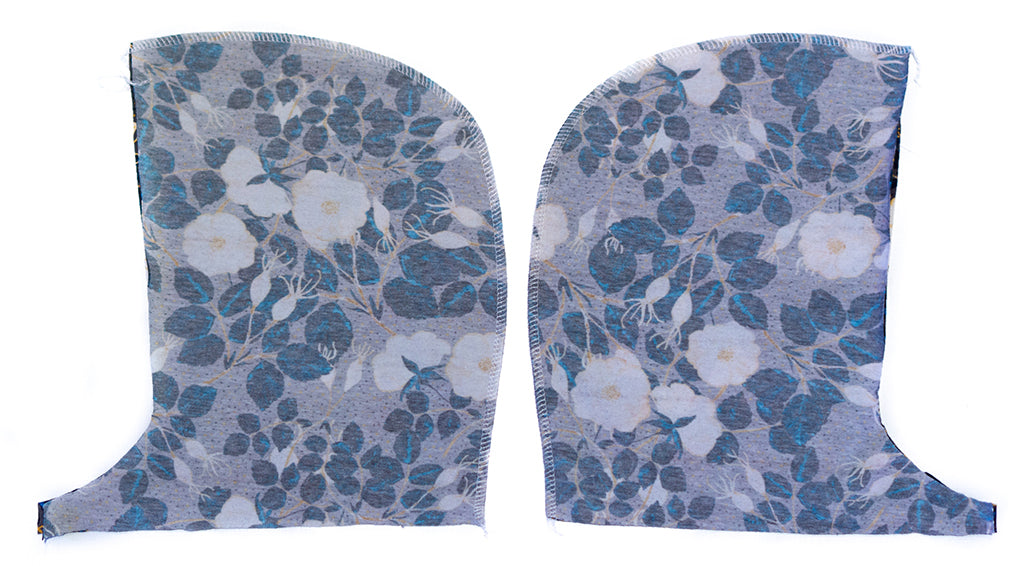
I wanted to sew a lined hood, just like in the Lilly & Liam pattern. So then you need two mirrored hood pieces in main fabric and two mirrored pieces in lining fabric. Below is a picture of when I've sewn together the two hood pieces (I have the same fabric for main hood and lining).
Now it's time to modify the hood a little bit since the Lilly & Liam hood is designed to wrap around in the front, which isn't possible with a jacket. We'll therefore cut off the ends of the hood, and to know how much to cut off, it's easiest to measure on the jacket.
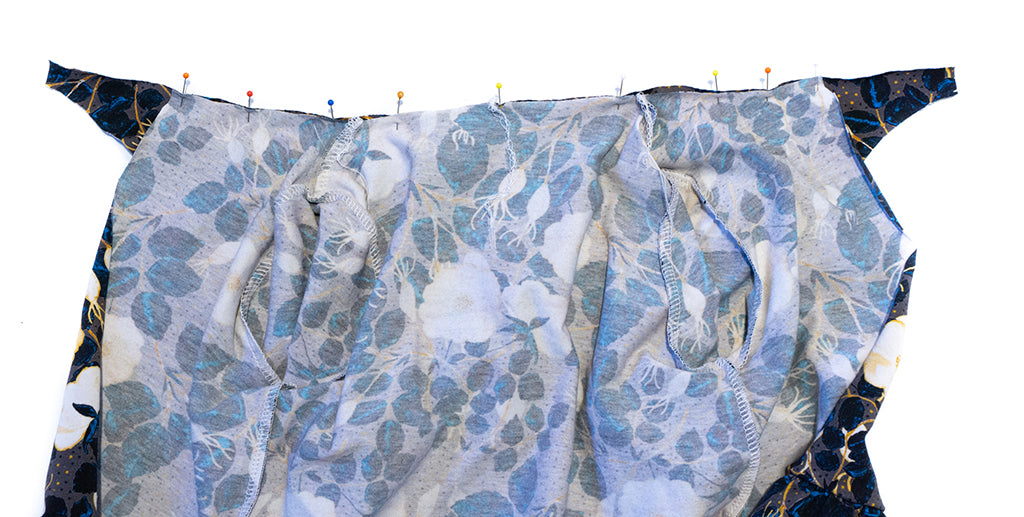
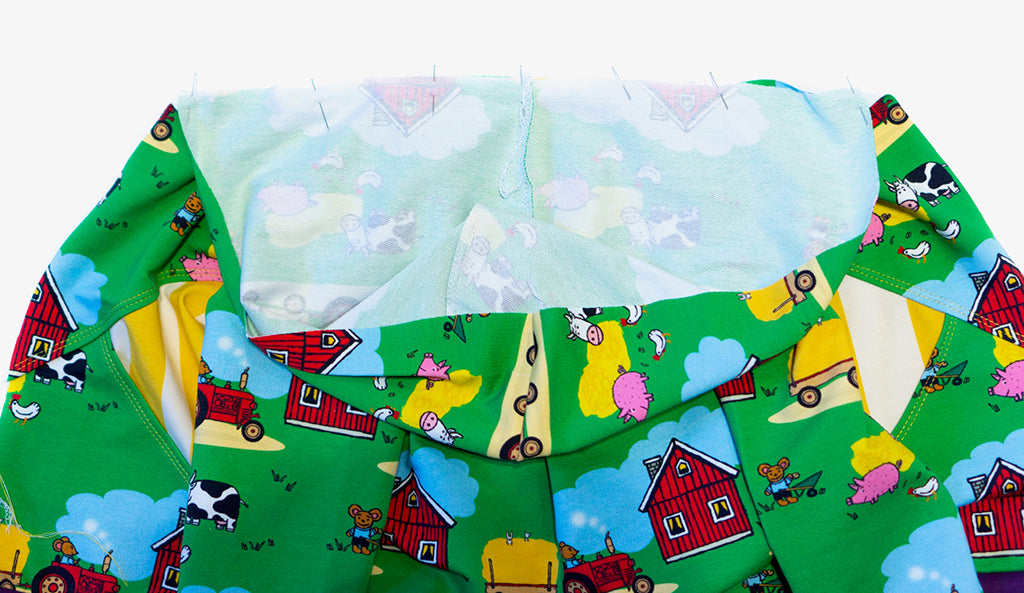
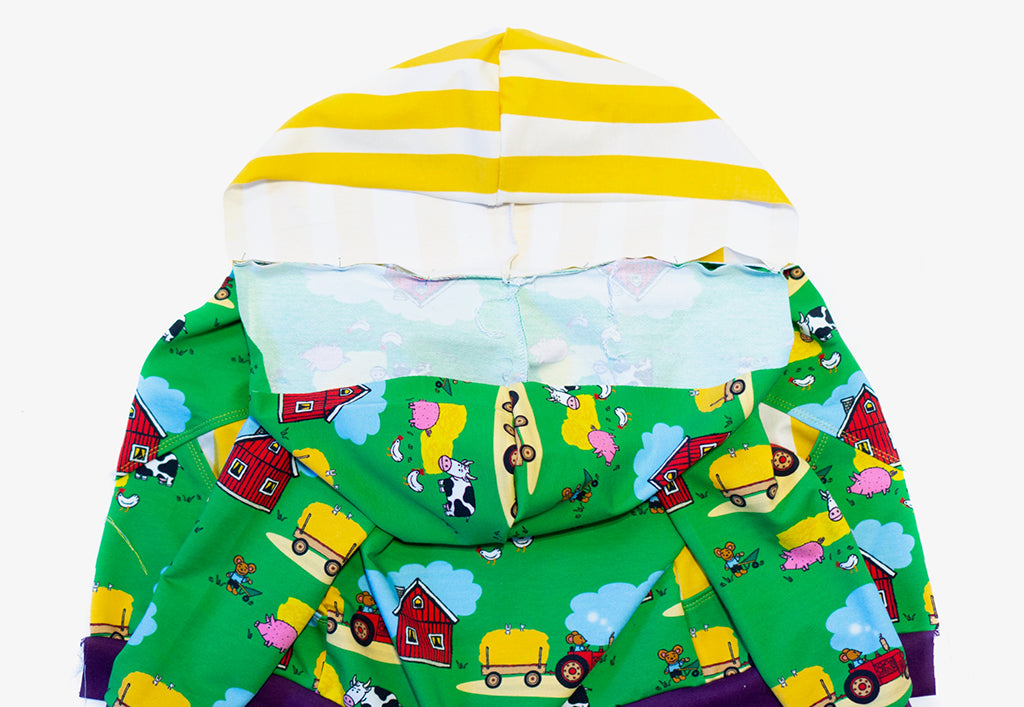
Pin the hood to the neckline and make sure to match the hood's center back with the jacket's center back. When you've pinned the hood, a piece will stick out on each side, and that's what we're gonna cut off.
Measure carefully how much of the hood is sticking out.
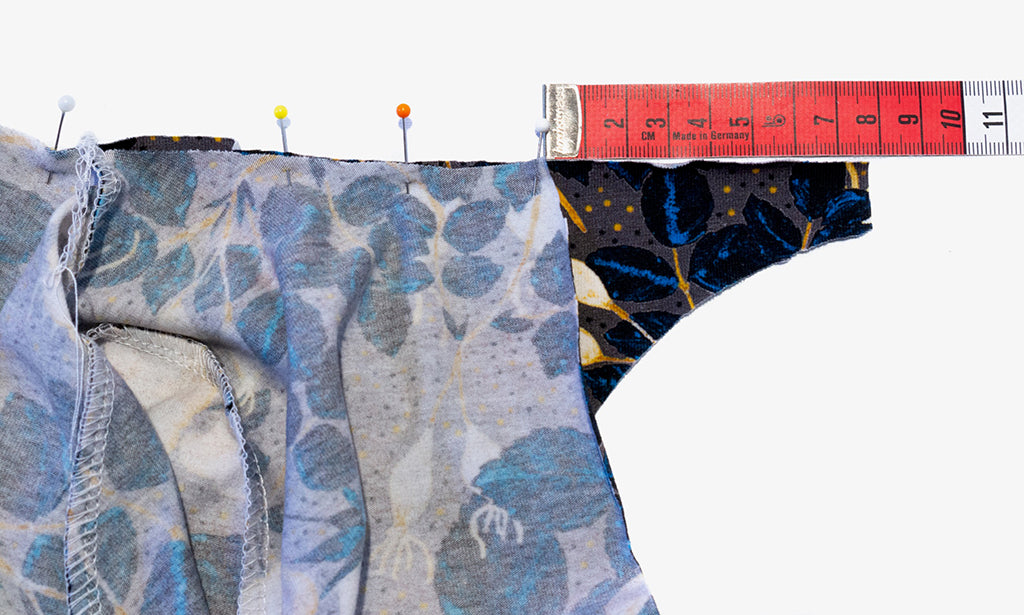
Remove the hood from the jacket. Fold the hood and measure the amount you're supposed to cut off.


Cut off the parts of the hood that you've measured.
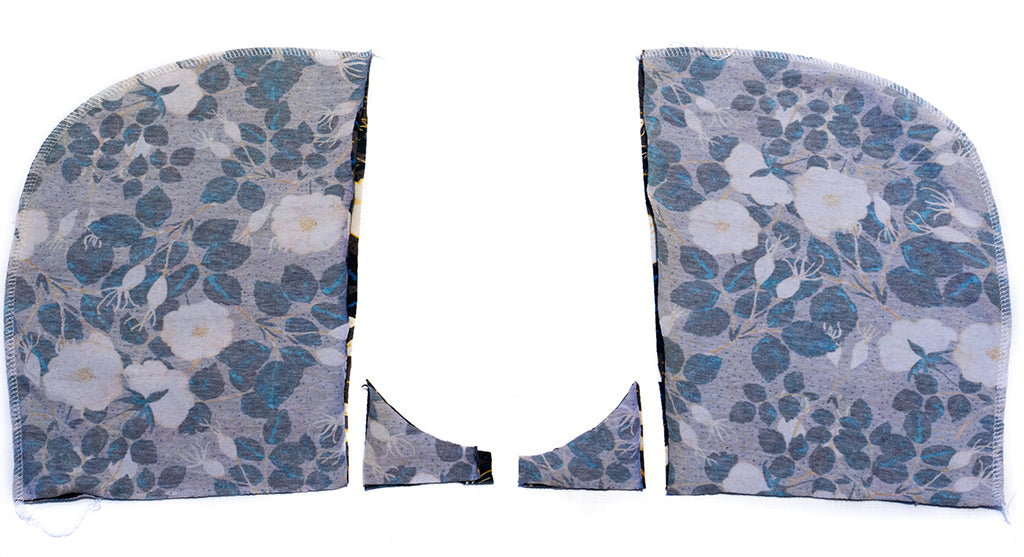
As you can see it's quite clear how much to cut off. This is size 104 and I could just follow the front of the hood. It's not necessarily the same for all sizes, so make sure to measure before you cut off anything from the hood.
Now the hoods (main and lining) shall be sewn together and therefore we place them right sides together according to the picture below. Remember to make sure to match the seams.

I then chose to topstitch with my cover machine for a nicer look. This can also be done with a sewing machine, using for example a twin needle.

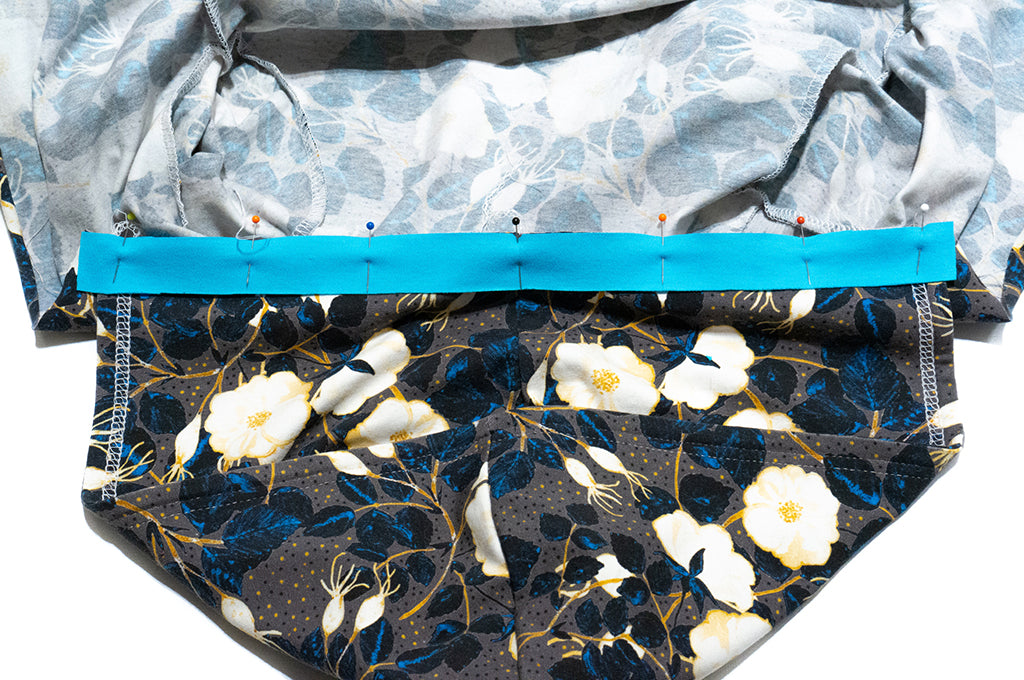
Now it's time to attach the hood to the jacket! Pin them right sides together. Since the hood is sewn together you now no longer have the seam allowance on the sides, which means that the jacket's neckline will be 1 cm longer to each side (see pic below). That 1 cm seam allowance will be needed later when we sew the zipper.


If you want to hide the seam allowance in the neckline, follow the tutorial for Billy & Betty (step 32). Remember to place the neckline strip from one side of the jacket's neckline to the other.
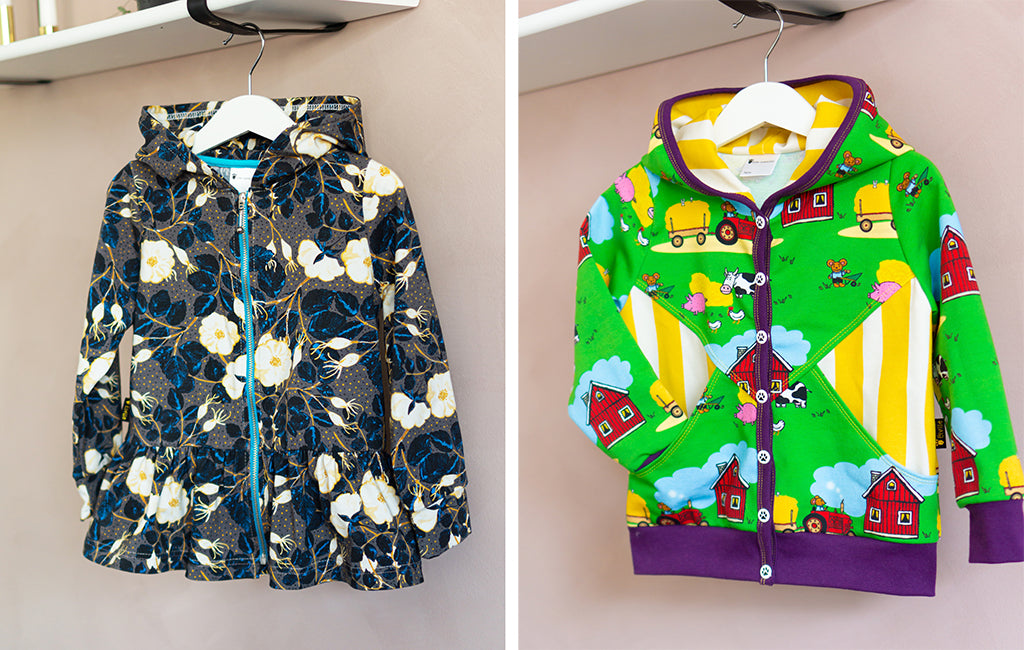
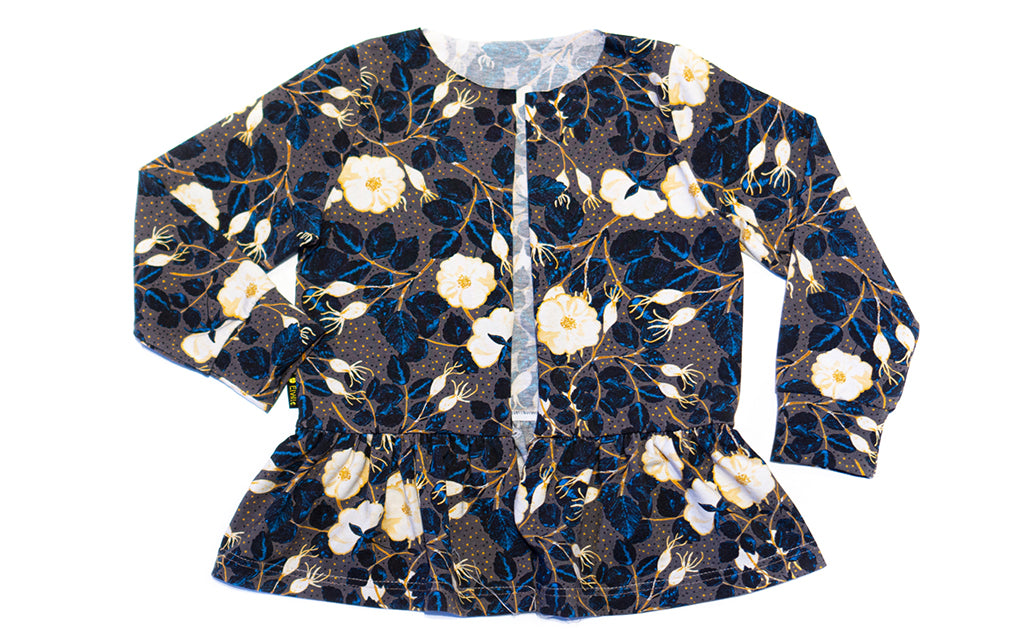
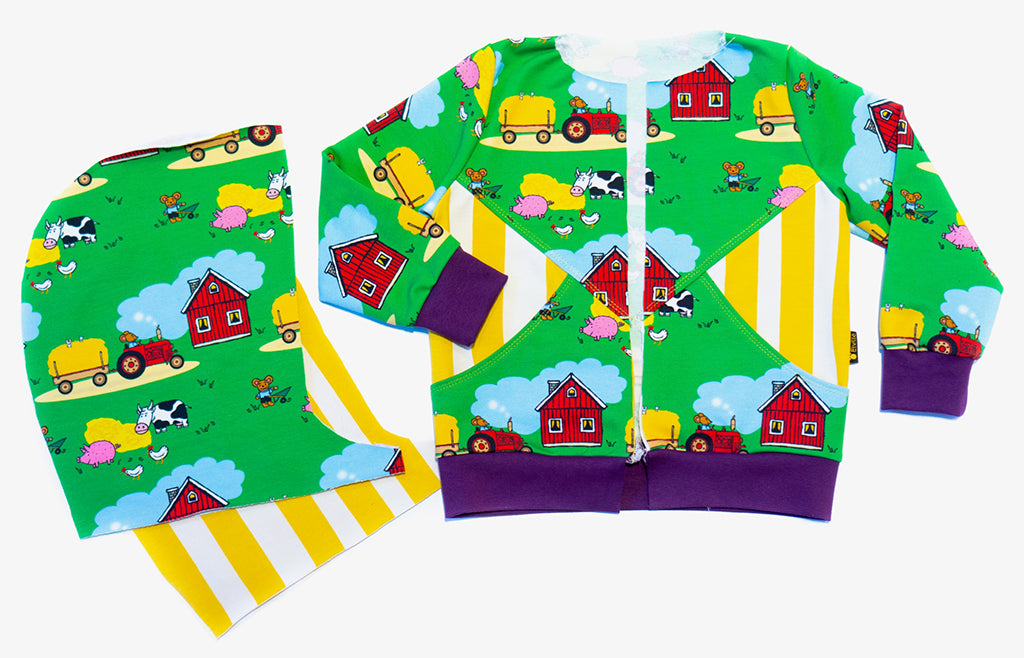
Now follow the rest of the steps in the Billy & Betty tutorial to attach the zipper with the zipper facing and finish the neckline strip (step 46-57). This is the result:

Bomber jacket with binding and snap buttons
I also want to take the opportunity to show you how to sew a binging and snap buttons on a bomber jacket with a hood. Below is my bomber jacket which I've sewn following the steps up until 29 in the Billy & Betty tutorial, along with the hood pieces from Lilly & Liam.
Just like in the tutorial above you measure how much of the hood to cut off. Then sew the rounded seam of both hood pieces. 
On this variant you don't need a neckline strip (unless you want one) because you can hide the seam allowance anyway. Just follow the tutorial and you'll see! Place the main fabric hood on the neckline, right sides together. It's important that the seam on the hood is matched with the neckline's center back.
Then place the hood's lining, with it's right side on the neckline's wrong side. Now you'll have the two hood parts with the bomber jacket's neckline in between, and sew.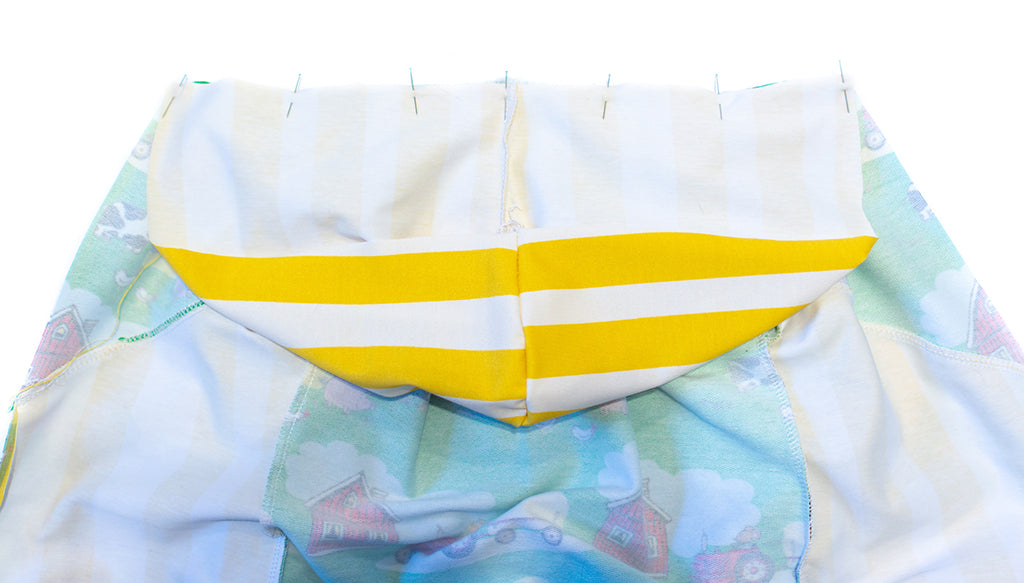
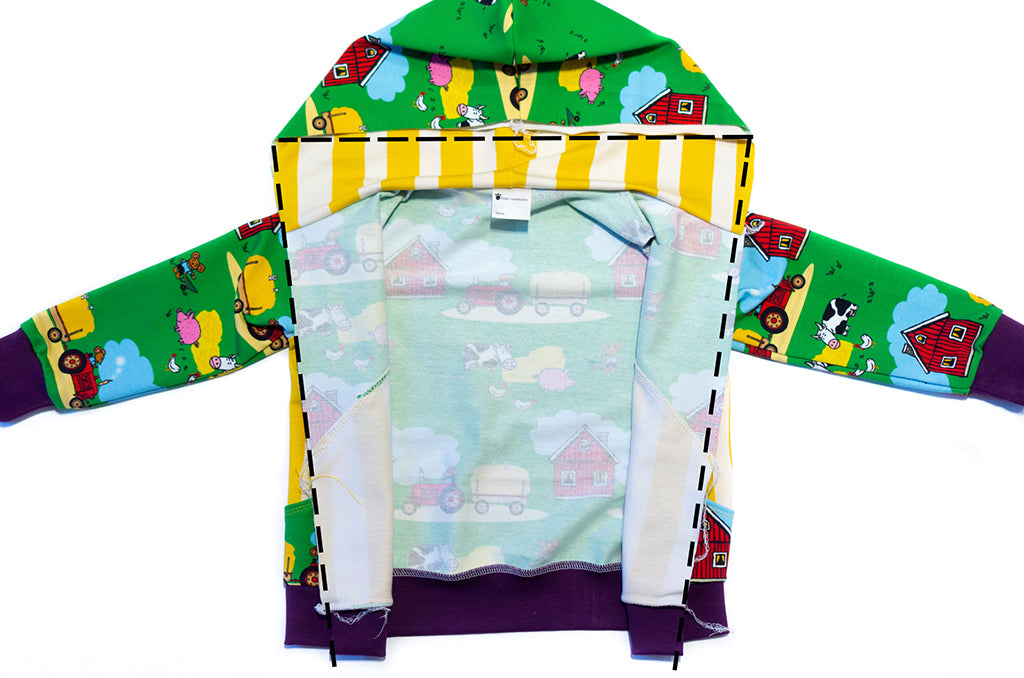
Now it's time to sew the binding on the raw edges, all the way from the waistband, around the hood and down to the waistband on the other side (see the dashed marking in the picture below). If you want to, before this you can sew together the two hood parts to make sure they're keeping in place. I didn't do it on this one.
Then fold up the binding at the waistband and attach it with a few stitches. I hid the stitches with the last snap button, the one furthest down.
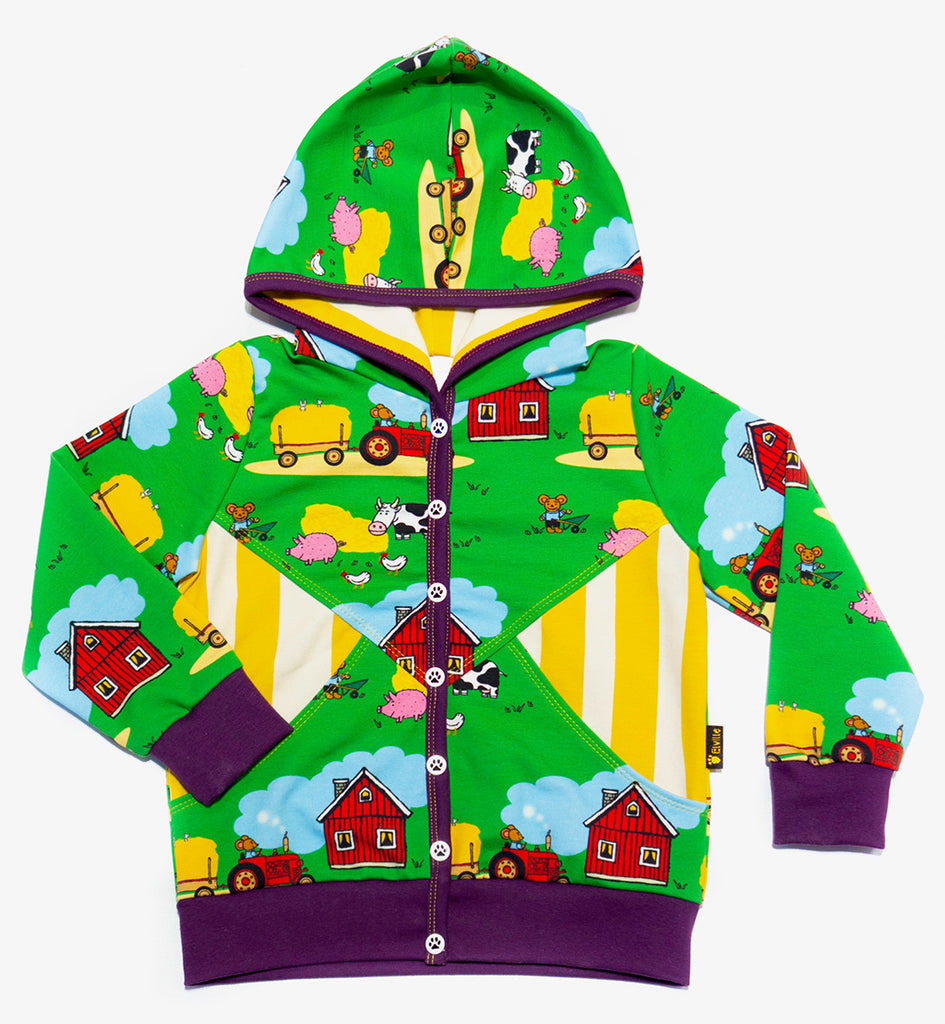
Here's what the bomber jackets look like on my kids!

***
Thank you so much Josefine for this tutorial! It's really inspiring and I'm sure it will be useful for a lot of people!
Here are the two patterns that Josefine used:
And here's another pattern hack with Billy & Betty: lining the bomber jacket.