

Let's dive right into this wonder! :) In recent years people have started to more and more use projectors for sewing. How does it work?

Well, you open the pattern in your computer or other unit and pair it with the projector so that the projector can show the pattern. Now, most of us are used to projectors being directed at a wall, but in this case you would mount the projector in the ceiling and have it facing down towards the floor, or a table. This way you can just place your fabric there on the table, project the pattern, and get straight into cutting.
(There are alternatives to ceiling-mounted projectors called Ultra short throw projectors).
If you normally use PDF patterns with the A4/letter format, this way you eliminate the need for printing the pattern, trimming pages and taping it together.
Do be prepared to put some time into calibrating your projector when you first set it up though. It's of course super important that your projector is showing the pattern in the correct scale. You will need to set it up so that it's as sharp as possible and square up the image so that the corners of the image and projected rectangles is 90 degrees.
Features of a projector optimized pattern
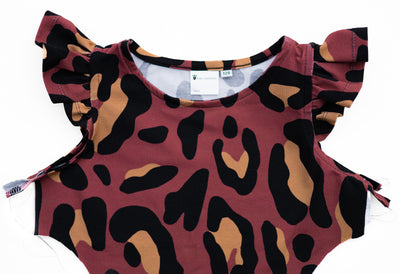
One of the features of the projector optimized pattern is thicker lines, so that you're able to see clearly where to cut. The center of this line is the cutting line. Other features are: larger fonts; solid lines in saturated colors, calibation layers; all pattern pieces have grainlines in the same direction; all pattern pieces on one page; a buffer zone of 50 cm around the edges of the pattern allowing you to position the pattern centrally on your cutting surface.
Here we're projecting the Ester & Ebbe pattern on a light pink fabric and we've opened the pattern with Adobe Reader.

Look at the Layers to the left in the picture: you can see we've chosen to project sizes 104 and 110. We've also chosen the white background with black text. And we're also showing the 5 cm grid.
In the example below we're showing the same sizes, but now with black background and white text. Being able to choose this is really helpful sometimes, depending on the color of your fabric or the darkness in your room at the time.

I'd say being comfortable with using Layers is very important if you want to get the most out of your projector file.
But you know you can also use the Layers function on your A4/letter format file right?
WHICH PATTERNS CAN BE USED WITH A PROJECTOR?
Your pattern must have an A0 or projector file. While we haven't made projector files for all our patterns (yet), we do have A0 files for all of them.
>> Here's an updated list of which patterns include projector files.
A projector file is even better than an A0 though. And we've put a lot of time lately into understanding how best to optimize our patterns for use with a projector. We also received really great help and tips from experienced projector users in the Facebook group "Projectors for sewing". Thank you!
Features of our projector files:
- Thicker lines, also solid (no dashes or dots).
- All colors are intense and on the darker side.
- Layered (meaning each size is in a separate layer that you can show/hide).
- Bigger fonts.
- Pattern pieces already mirrored so no "cut on the fold", (where possible).
- All pattern pieces oriented the same way.
- A generous buffer zone in all directions.
- Calibration grids, imperial and metric, in separate layers.
- Black or white backgrounds, with black or white text, in separate layers.
All of these features will make the patterns easier to use with a projector.