

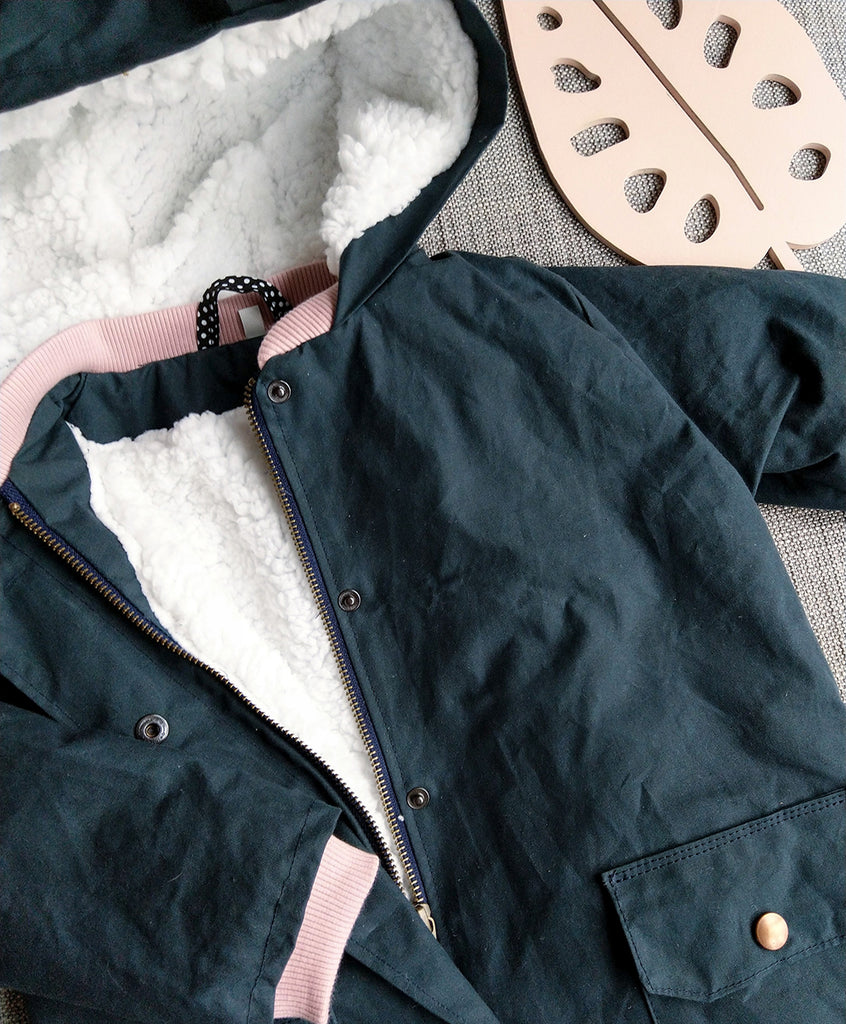
A few weeks ago I saw this really gorgeous version of the Elsa & Elliot coat, on instagram. Janine Oosterhuis had sewn this coat and added a zipper, and it was such a great idea that I had to ask her if she could share how she did it on our blog. She said yes!! So here you can read her tutorial on this awesome pattern hack.
***
Good to know:
- Make sure your zipper is not too long. You will fold the bottom of the jacket (4 cm, 1 5/8"). In addition, the zipper does not have to go to the bottom of the jacket.
Step 1. Adjust the pattern pieces
According to the pattern you'll cut two front facings in shell/main fabric. You will now adjust one of these facings and split it into two parts.

- First draw a vertical line - with a ruler (number 1 in the photo).
- Now you draw another line, two centimeters further to the right: this is your seam allowance (number 2 in the photo). You can draw this part separately again as I did (part A on the left).
- Place a mark at the bottom (number 3) and transfer it to the fabric.
Step 2. Cut the fabric
Cut the parts exactly as in the photo below. All parts are facing right side up.

Make sure you don't forget to transfer the marking/notch you made in the previous step.

When you cut part B, you can fold away the piece that you do not need (see photo: step 2 – cut part B).

Step 3. Placing the zipper
Place the zipper between the facings A and B, on the right side of part A and place part B - right sides together - against the marking at number 3.

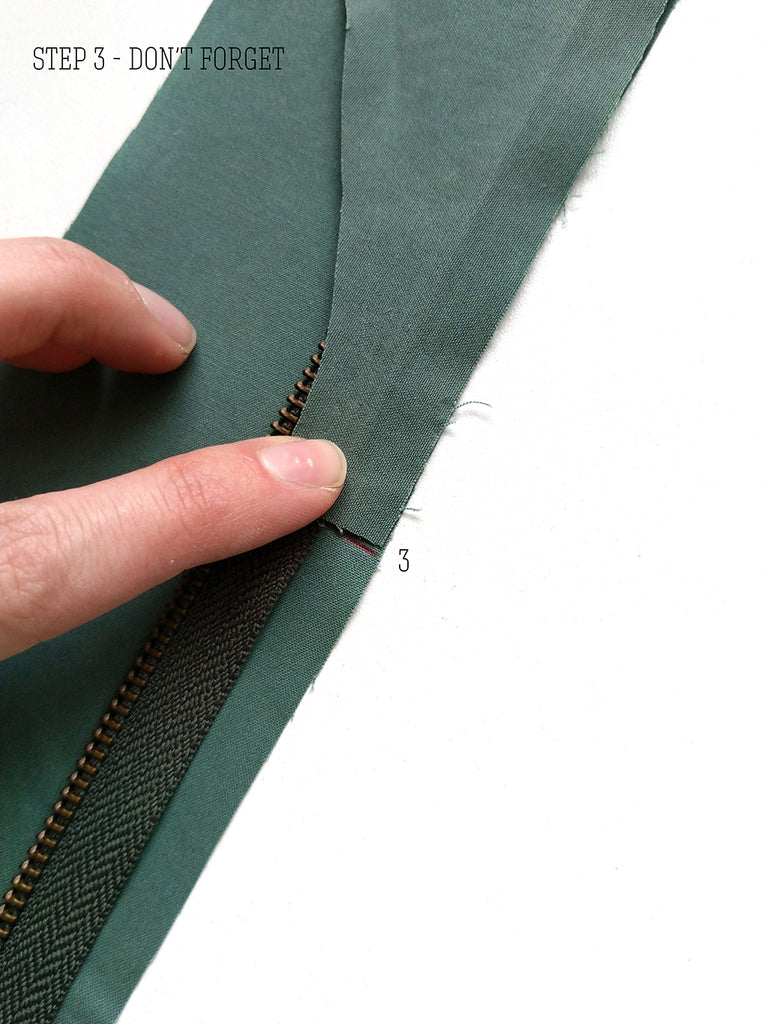
Place the zipper at least 1 cm from the top; this is your seam allowance. Use a zipper foot when sewing and use sewing tape (wonder tape) if you like.

Step 4. The other side of the zipper
Place the zipper on the other front facing, the one that you haven't changed, as in the photo below. Make sure that you place it exactly the same height as the zipper in step 3 (you can measure well from the bottom).

Step 5. All done with the zipper!
From here you can follow the tutorial of the Elsa & Elliot coat again.

Note: When you sew the lining to the shell/main fabric (step 36 in the tutorial), make sure that the point where the fabrics meet (in the circle) falls in your seam allowance, so you don't see this crossing.

Thanks Janine for sharing your photos and making this tutorial for us! This was really inspiring! Make sure to check out Janines instagram page: @vrolijkevos and website: http://www.vrolijkevos.nl/producten/