

Have you seen my beanie pattern Sigge & Siri? Here I'll show you how to sew that beanie with a different fabric for the lining. For the cold season you may want to line it with wool, fleece or similar warm and fluffy fabrics.
Make sure to use a lining fabric that also has at least 40% stretch, which is what I recommend for Sigge & Siri. You can consider sewing a larger size when lining the beanie.
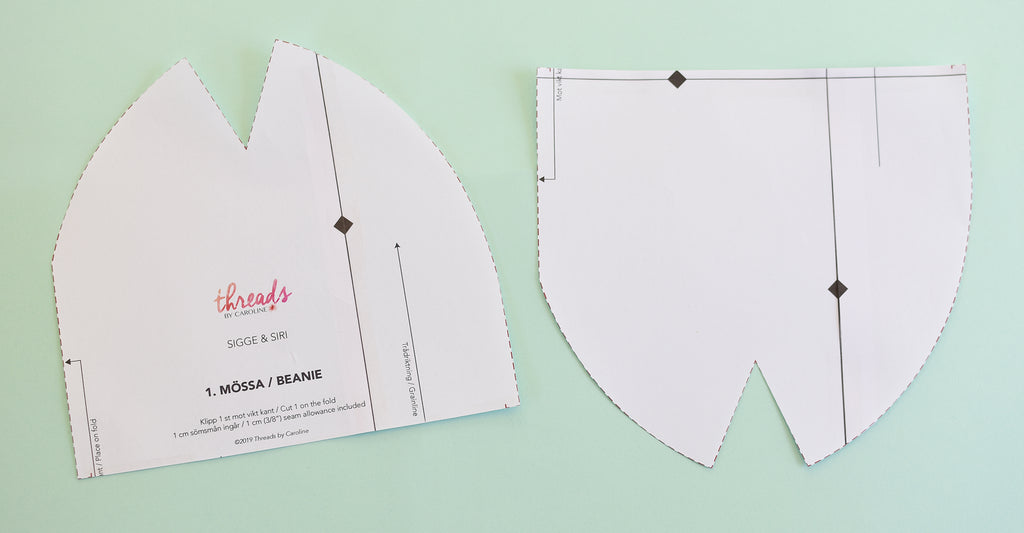
1.
Cut the pattern piece apart, along the "LENGTHEN OR SHORTEN HERE"-line.
Of course you don't have to cut the paper like I have. If you have traced the size you want to make onto tracing paper or baking paper then you can just fold it in the middle, or cut that in two pieces. Fold or cut where the notches mark the middle.
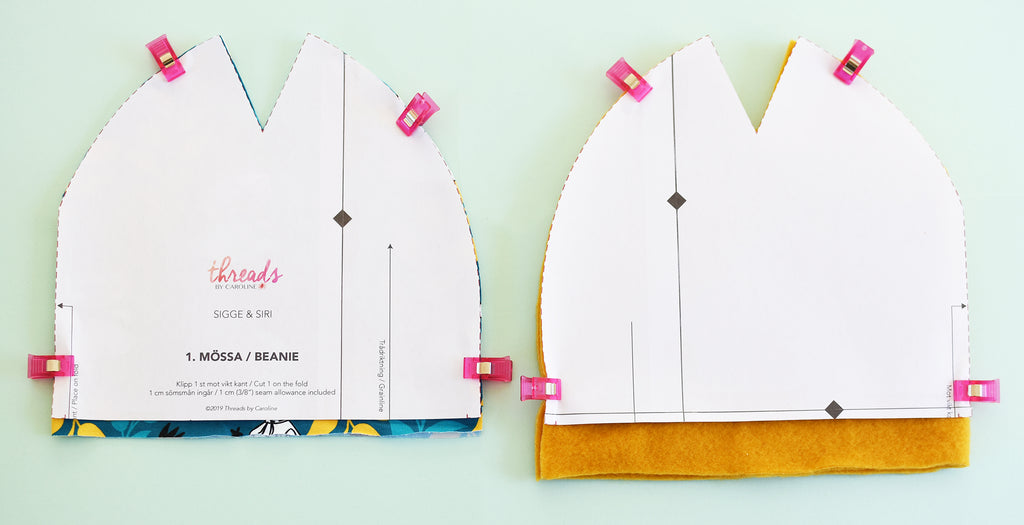
2.
Use the top half of the pattern and cut the main fabric. I use jersey (cotton/lycra) for that. And use the bottom half of the pattern for the lining fabric. Add 1 cm (3/8") seam allowance along where we split the pattern.
Here we added an additional 2 cm to the lining fabric, so that it would show on the outside of the beanie. If you want to, you can do it the other way around: adding an additional 1-2 cm to the main fabric, that way the lining won't show on the outside.
3.
Remove the pattern and place the fabrics together, right sides together. Pin and sew the lower edge.

4.
Press the seam you just sewed. If your fabric is sensitive to heat then be careful with the iron. Use a pressing cloth or just press with the fingers.

Perfect! Now you can continue with step 3 in the tutorial for the Sigge & Siri beanie.

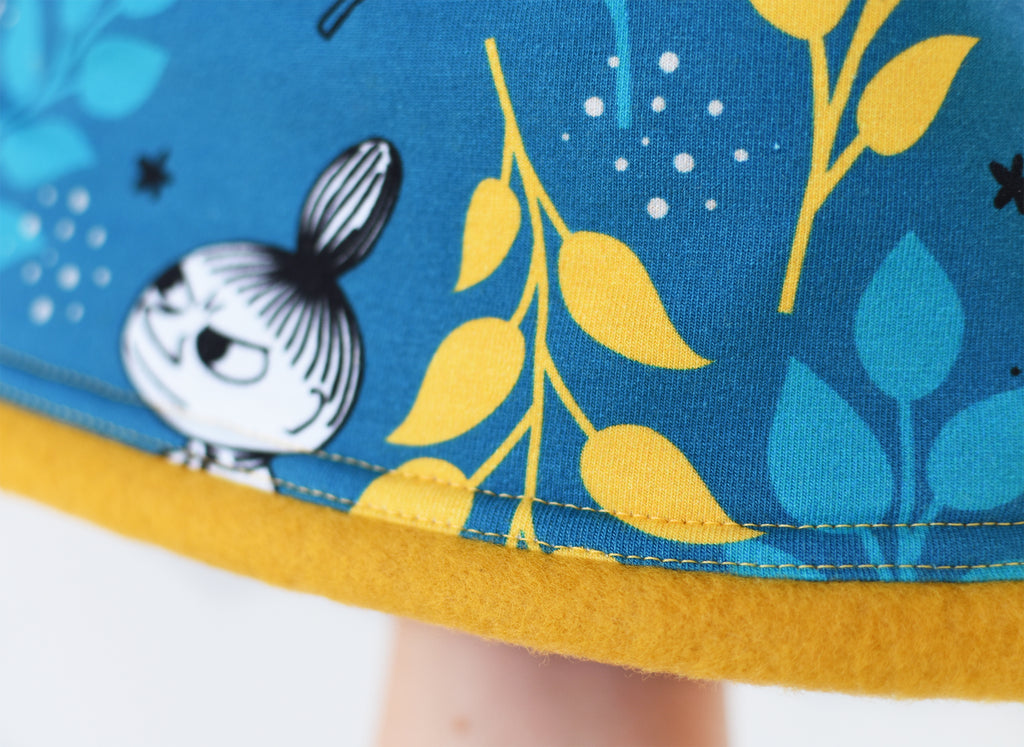
Once the beanie is completed you may want to add a topstitch around the bottom edge of the beanie, to make sure the fabrics aren't shifting.