

A couple of months ago Jenny (@jennymedj) guest blogged here and showed us how she modified the neckline of Ester & Ebbe into a mock turtleneck. Today she's back with a tutorial on how to modify the Billy & Betty bomber jacket into a sweater! Thank you so much Jenny for sharing your ideas and knowledge!
***

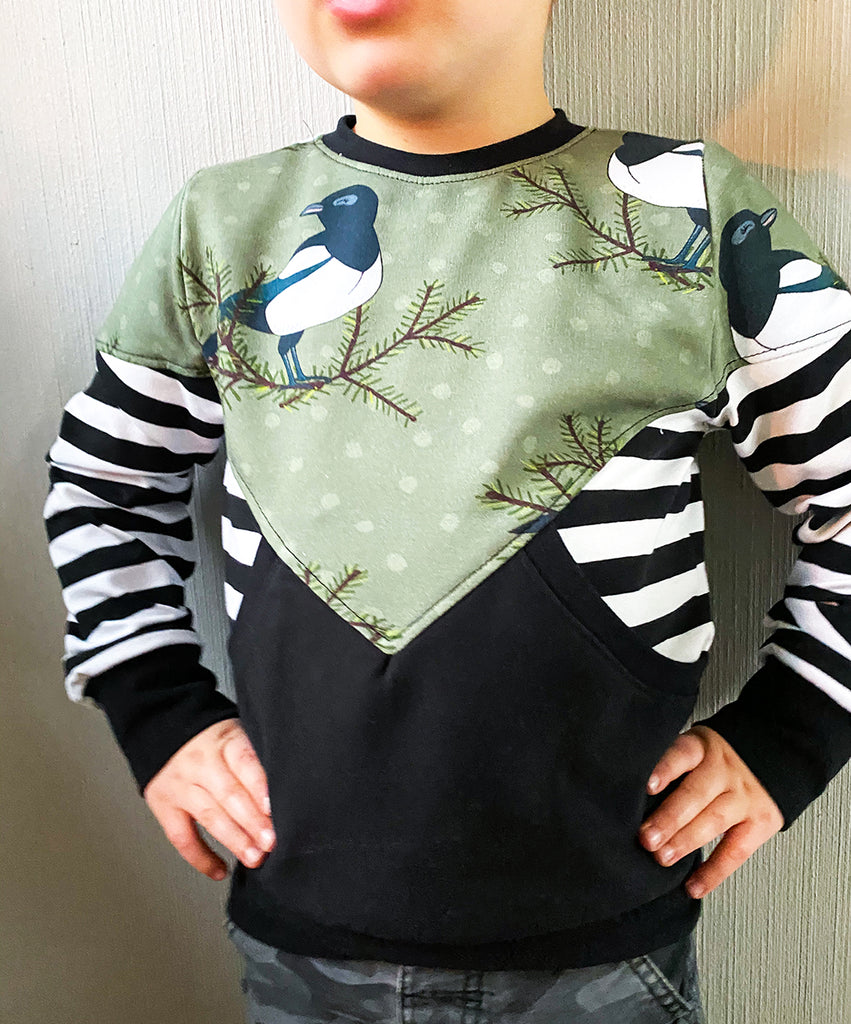
In this tutorial I'll be showing you how I hacked the pattern Billy & Betty into a sweater instead of jacket. I really like the model and the color blocking in the original pattern so I figured this would be a success, and it was! So now I really want to share this and hope you'll like it too. Let's go!
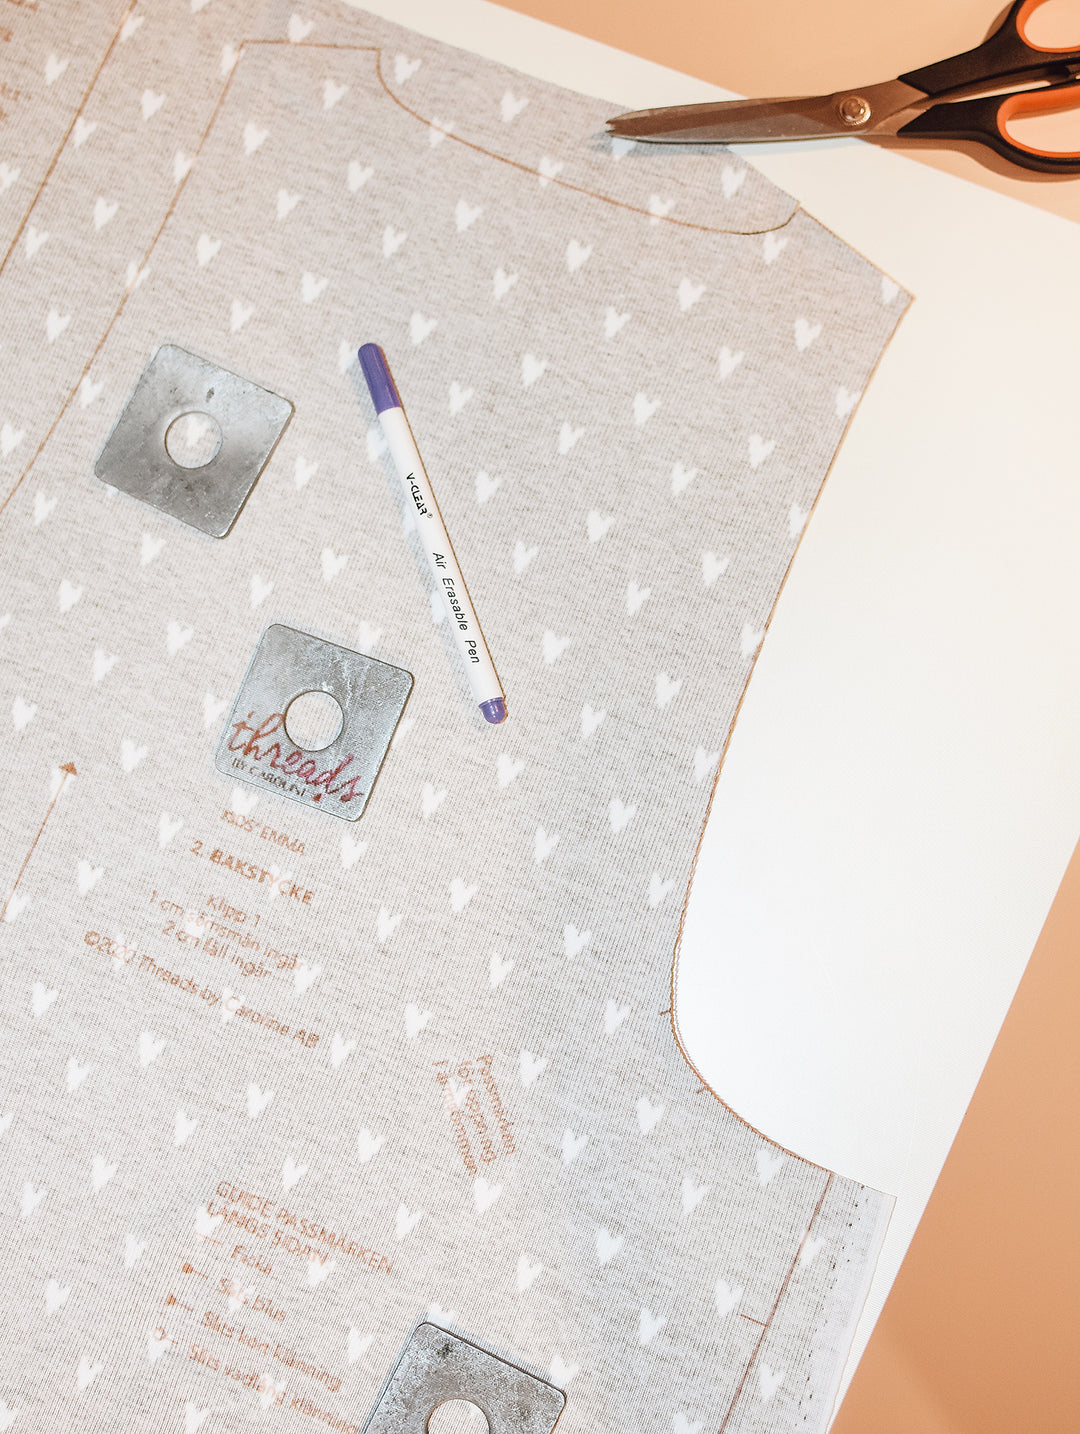
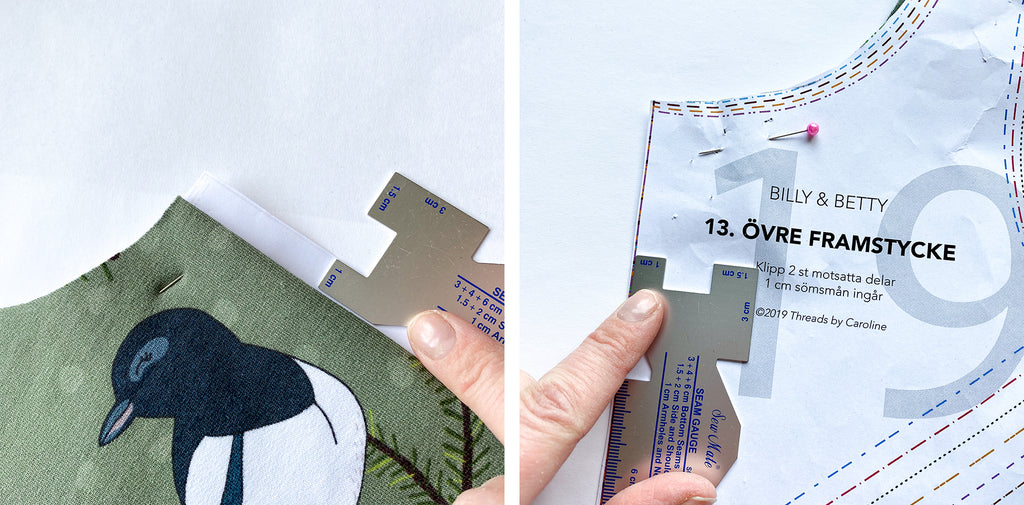
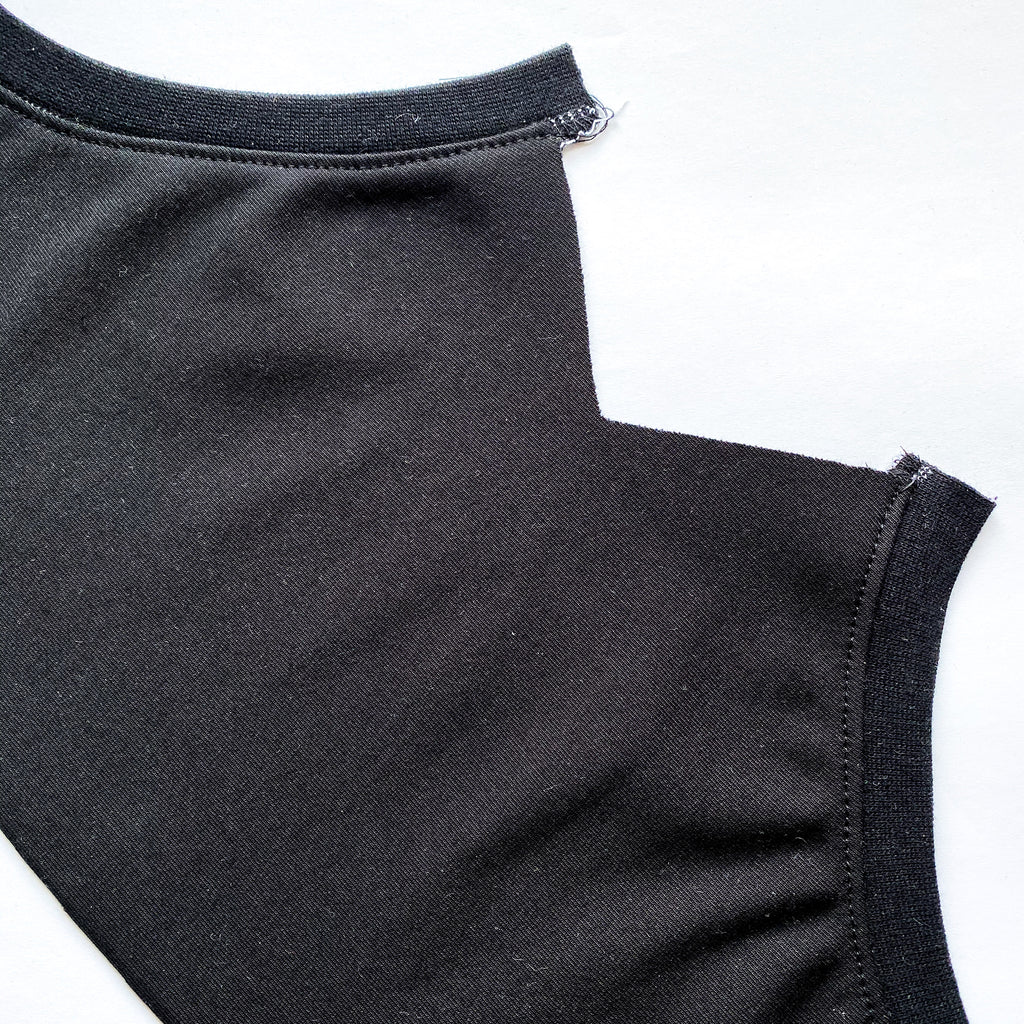
When you cut out the upper front, lower front and pocket you need to remove seam allowance at their center front sides and these sides will instead be placed on fold.
I chose to sew a band along my pocket openings for this sweater but you could also hem them, as in the original pattern (step 16 in the pattern's tutorial).
Then follow step 17 in the tutorial, but now it will be with a whole front. Pin or use glue marker when you place the pocket on the lower front piece and sew with a straight stitch in the pocket's seam allowance to attach it to the lower front. It helps if they lie still when you water sew them to the upper front.


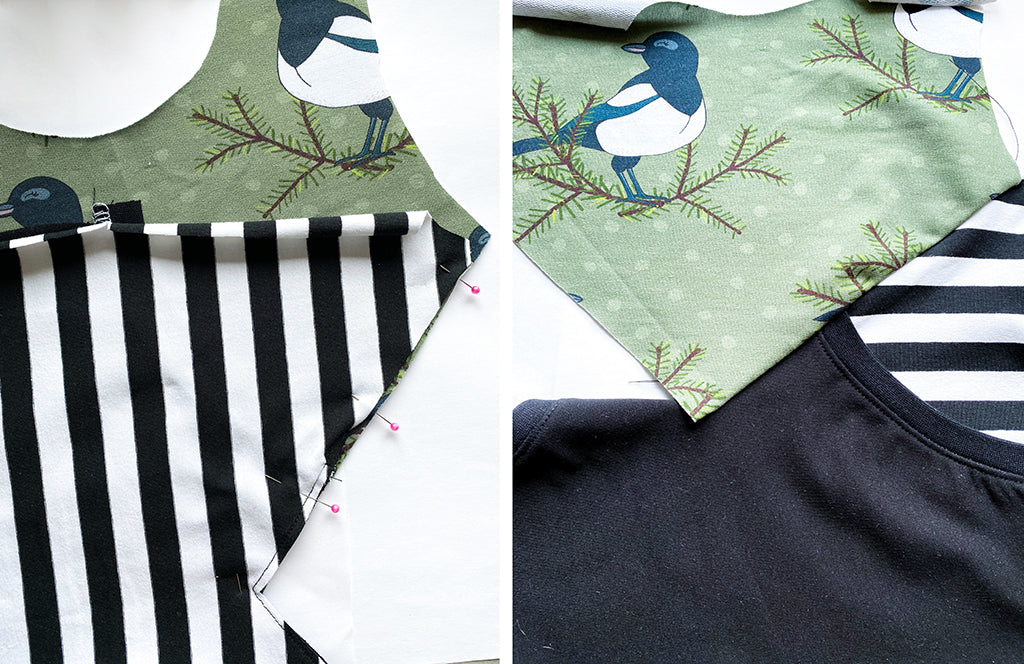
TIP! See step 21-23 in the tutorial which shows how to sew the color block on the sleeves. You should do the same now for the front when you pin the lower front to the upper front.
Mark the center so you know how far to sew, in order to create a neat V shape at the sweater's center front. Sew with a straight stitch and be careful at the center.
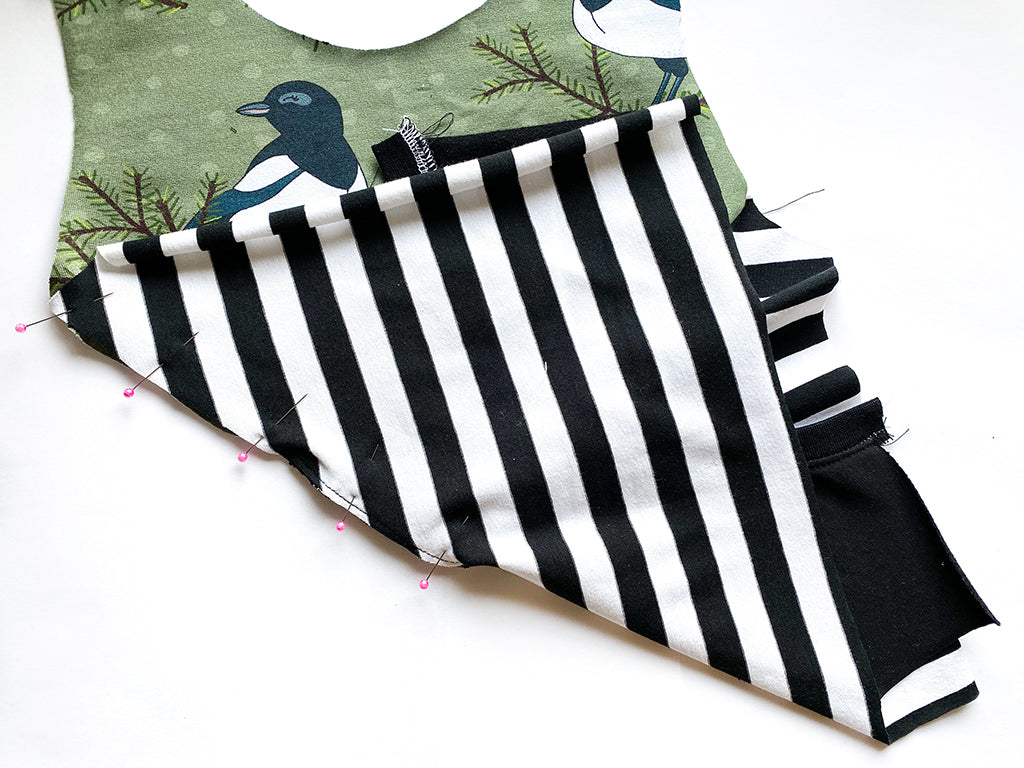
Turn and pin the other side, fold away the fabric from the lower front so it doesn't get stuck when you're sewing the other seam. Make sure this seam meats your previous seam exactly at the V.
Make a cut into the corner, then turn right sides out and press the seam allowance upward.

Topstitch right next to the seam and through the seam allowance. I used straight stitch and long stitches.

The front piece is now all done and you can continue following steps 20-29 in Billy & Betty's tutorial to finish the sweater.
The neckband and waistband differ a bit from the original pattern since the sweater doesn't have an opening along center front.
Measure the circumference of the sweater's neckline, after you've sewn the shoulder seams. Take this measurement x 0,75. In my case the neckline was 39 cm so I calculated 39 x 0,75 = 29,3. I made this the length of the neckband, and made it 4,5 cm wide.
For the waistband you can use the pattern piece called Waistband without tabs, and cut it according to the pattern piece in the correct size for your sweater. The sleeve cuffs are the same.
I hope you feel inspired to make your own color blocked Billy & Betty sweater! Love // Jenny.