Blending sizes for a better fit

In a previous article we’ve covered “how to choose size” when sewing. Basically, you take your body measurements (or the person you’re sewing for), and choose a size based on the measurements. Most sewing patterns will recommend a size based on measurements. But what if your measurements fall into two, or even more, different sizes? This is actually the case for most of us. Few people have measurements that all point to just one size.
But no worries! This is one of the reasons we love sewing right? Because we can quite easily alter the pattern and sew a garment that will have a perfect fit for our unique body.
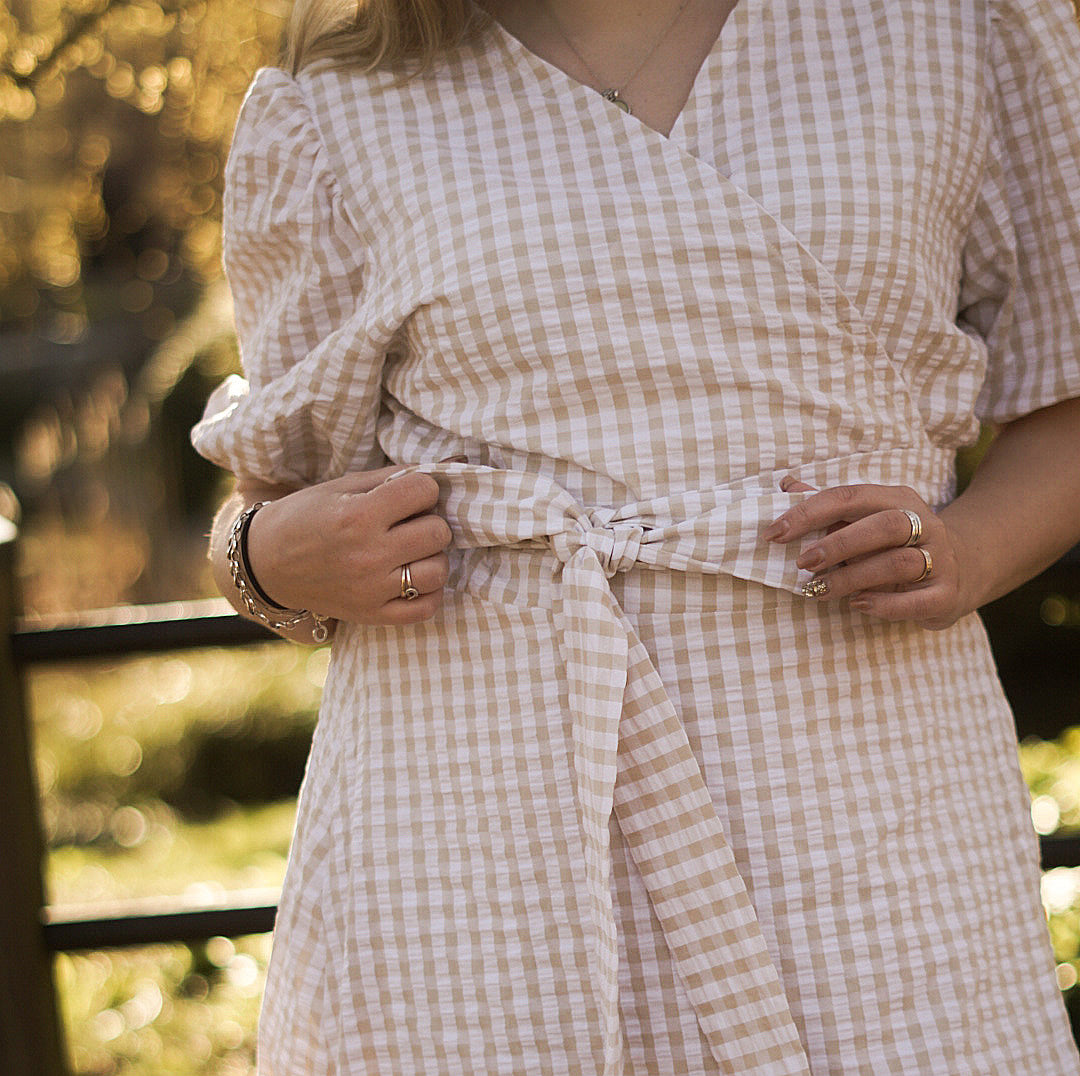
Now, you may not always need to blend sizes just because your measurements fall into different sizes. For example, if your pattern has a lot of ease then you may not need to blend sizes. Our Women’s Alice pattern is an oversize top/dress with a lot of ease over bust, waist and hip. Its design is quite forgiving in this regard.
My measurements are between sizes
If this is the case we recommend to choose the larger size. It's easier to take in a garment if needed, than to take it out.
Blending sizes with our children's pattern Ester & Ebbe
Let me give you a few examples. First, on a children’s pattern, what if chest width and length don’t point to the same size?
Let’s use our free pattern Ester & Ebbe. In this pattern the size guide says that chest width and length are most relevant. If your child has 58 cm in chest width but is 122 cm tall, you might feel confused as to whether you should sew size 110 or 122.

Illustration A: We’ve traced size 110 (blue dots) along neckline, shoulders, arm scye (arm hole) and side, and then lengthened down to size 122 (green dots and lines).
Illustration B: Note that the different sizes in Ester & Ebbe aren't nested at the top (we've done this to make it easier to trace the pattern, but it does make it more complicating to lengthen/shorten). When lengthening a pattern that isn’t nested at the top, measure from shoulder to bottom edge to get the correct length (black arrow measures length of 110, red arrow measures length of 122).
Illustration C: So to get the correct length of size 122, when we lengthen we actually go further than the 122-line, according to how we measured it.
Blending sizes with our women's pattern Linnéa
Let’s look at another example. What if you’re sewing for yourself (or another woman) and you’re having trouble choosing size because your bust, waist and hip measurements don’t point to the same size. Like we mentioned earlier, this is actually the case for most of us.
In general, the bust is approx. 27 cm (10,5") down from the shoulder/neck point, but this definitely varies from person to person, so taking the time to find and mark your own bust point on the pattern is recommended (how to mark your bust point).
If your measurements are for example 92 (bust), 80 (waist) and 104 (hip) you can still sew a size 40 without adjustments since there is more ease over the waist and hip, than the bust. But you could also blend sizes. Let’s look at some examples on blending sizes.
Size chart for Linnéa:

Illustration D (first example): If your measurements are 92 (bust), 84 (waist) and 100 (hip) then blend between sizes 40-44 (Illustration D). We started tracing size 40 along neckline, shoulder, arm scye and bust. At the waist we touched the line for size 44 and then at the hip we made a smooth line back to size 40.
With this adjustment we haven’t changed the arm scye or neckline, so just trace size 40 on the sleeves and neckband or mock turtleneck.
Remember to make the same adjustment on the back.

Illustration E (Second example): If your measurements are 96 (bust), 80 (waist) and 112 (hip), then you can blend sizes 42-46 (Illustration E). In this example we started tracing size 42 along neckline, shoulder, arm scye, bust and waist. After the waist we made a smooth curve out towards size 46.
With this adjustment we haven’t changed the arm scye or neckline, so just trace size 42 on the sleeves and neckband or mock turtleneck. Remember to make the same adjustment on the back.
Now remember that when you’re combining sizes like this you need to make sure all sides that are sewn together will fit. For example, the waist seam between bodice and skirt. Or interfacings, or sleeves. All seams need to still line up after grading. If you change the front, make the same change for the back.
Sewing a toile
When you’ve altered your pattern, or even if you haven’t altered it and you’re just sewing it for the first time, we do recommend to make a toile/muslin. Everyone’s body is unique, just as a garment you purchase in a store might not fit you, the same goes for a sewing pattern. When sewing however, you can make these small and often easy modifications to make them fit you perfectly.


