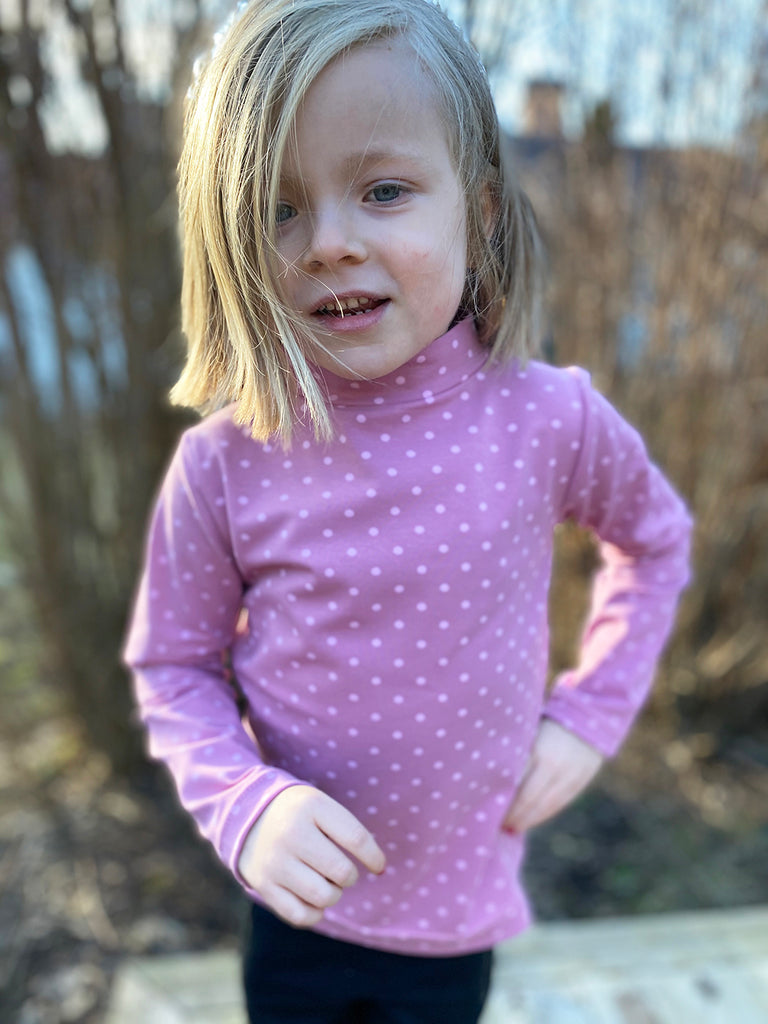
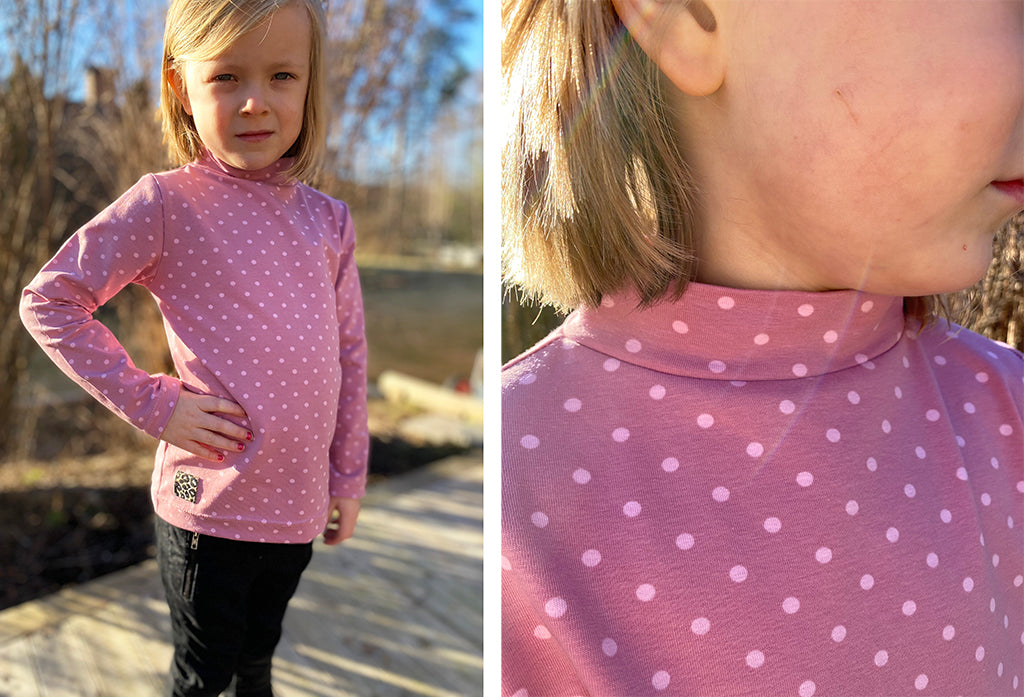
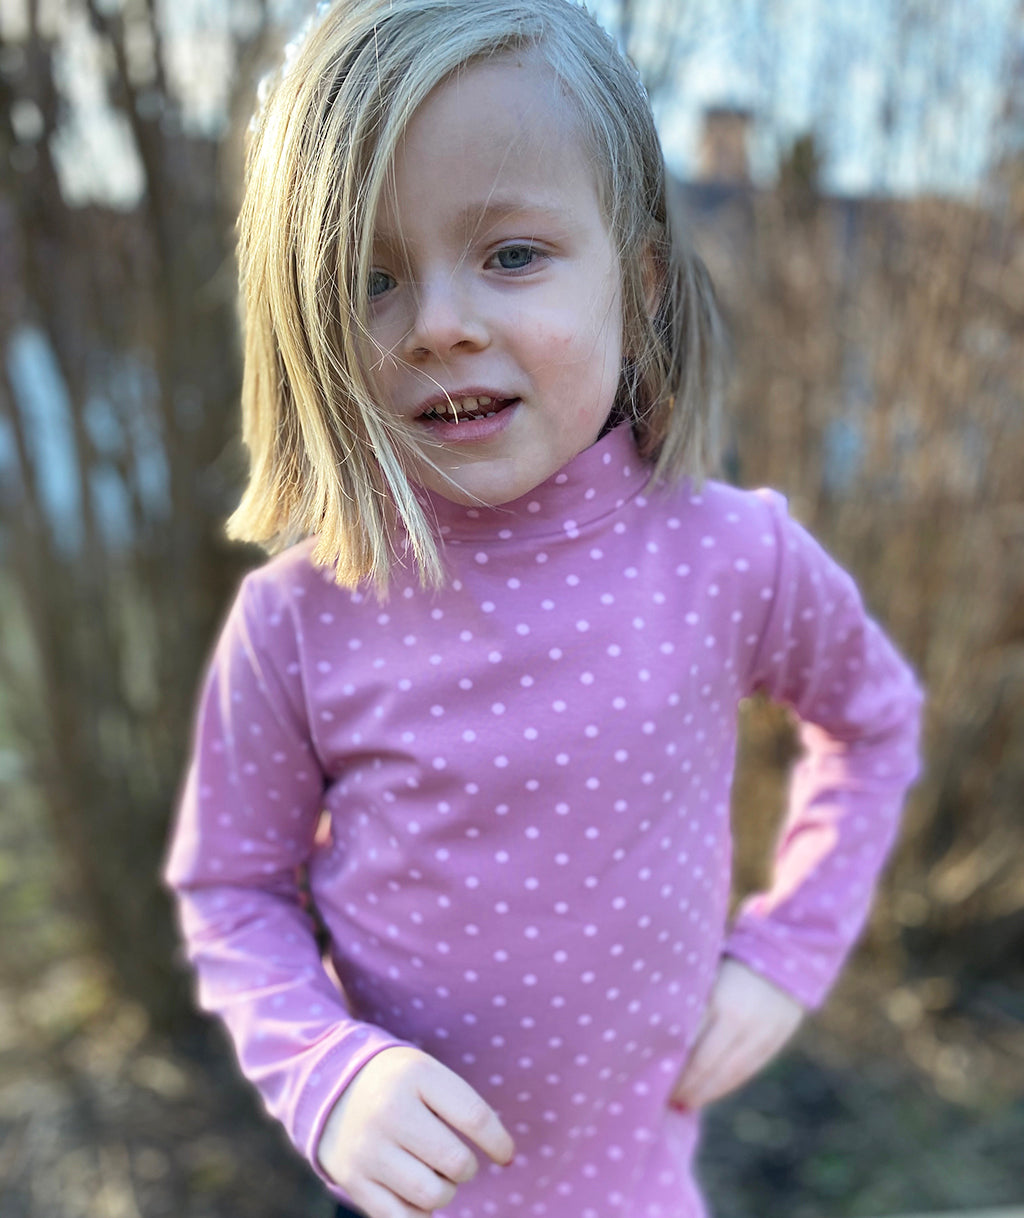
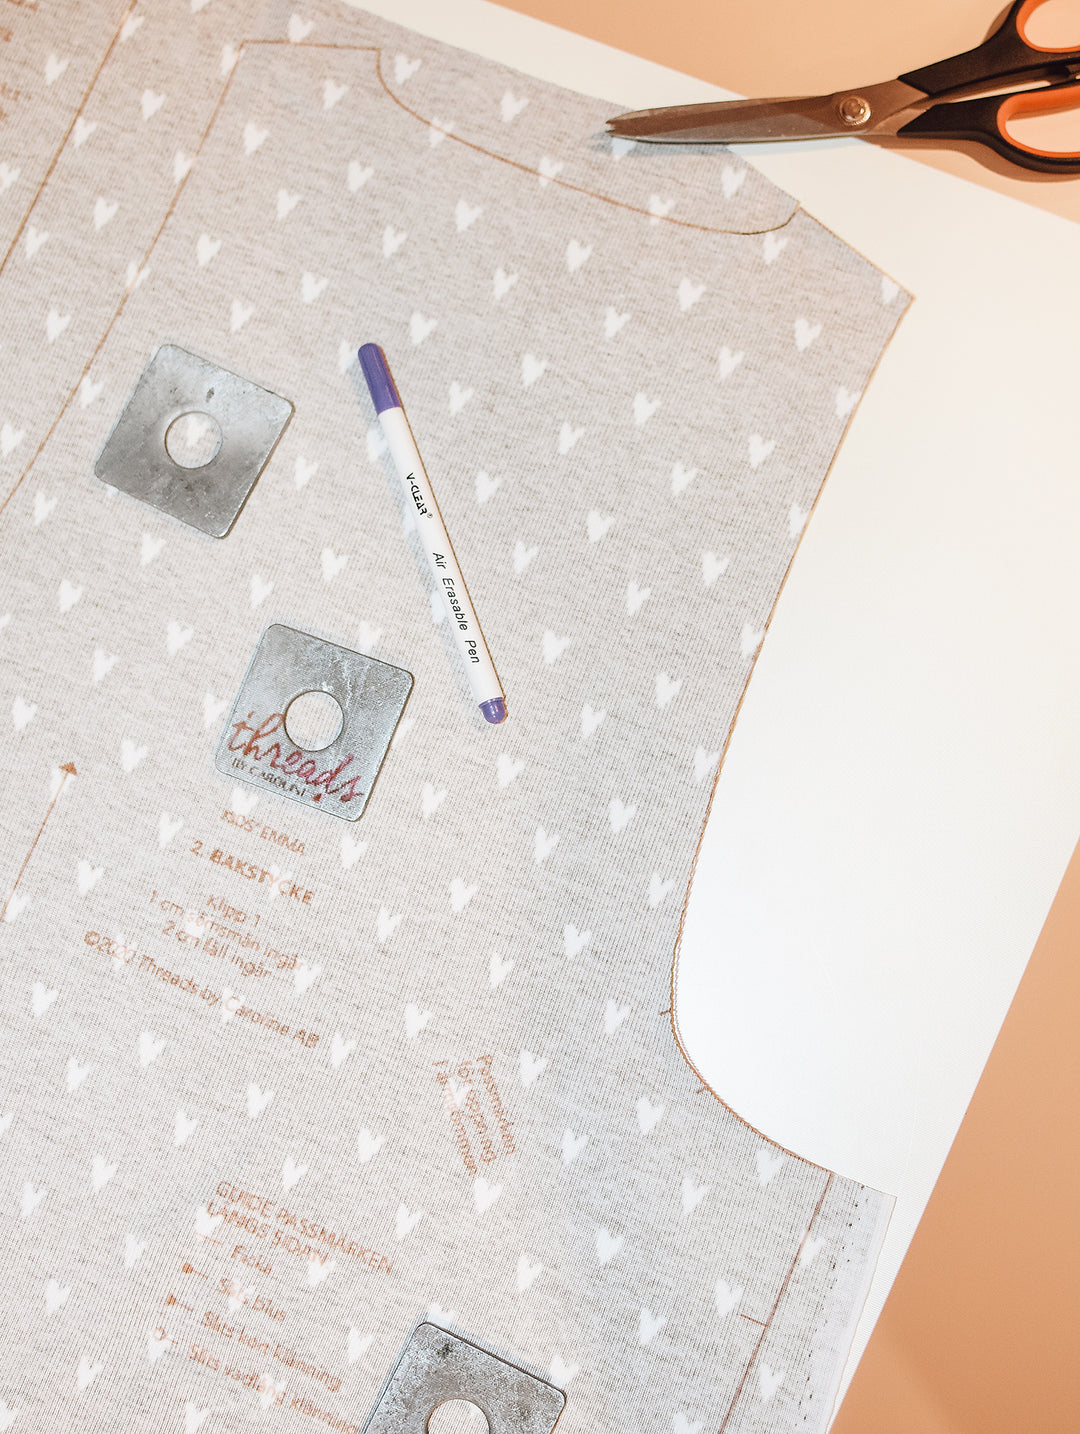
Let's welcome our new guest blogger, Jenny Ädel who's here to share an excellent idea she had of adding a mock turtleneck to our free pattern Ester & Ebbe. Subscribe to my newsletter and I'll send you Ester & Ebbe!
Thank you so much Jenny for showing us how you did it!

***
I'm so excited to write this blog post where I'll share a pattern hack I made on the Ester & Ebbe top.
I had the idea as I was sewing the women's pattern Linnéa, and wanted to make a top with a mock turtleneck for my daughter too. So I used the Ester & Ebbe pattern as a base since I think it's a great top for children.

I started by printing and taping the pattern as usual according to the steps in the tutorial. But when I cut the front piece I raised the neckline to get the mock turtleneck closer to the neck. I chose to raise the center front 6 cm (2 3/8") and make a smooth curve out towards the shoulder.
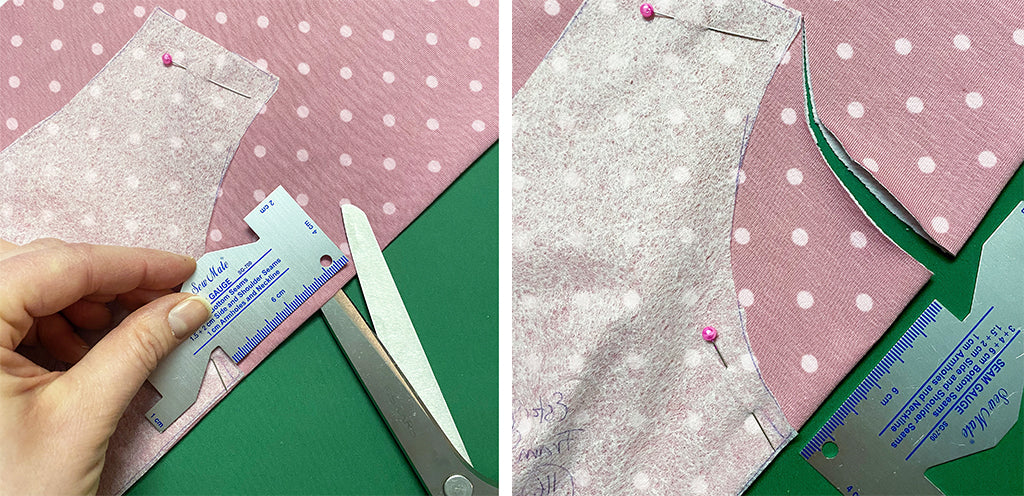
I cut all the other pattern pieces as they were, no other adjustment was needed. Follow step 1 in the tutorial of Ester and Ebbe and afterwards measure the circumference of the neckline. In my case it's 36 cm. I take this measurement x 0,8 to get the measurement of the mock turtleneck. On my top it's 36 x 0,8 = 28,8 cm. I add seam allowance when I cut this pattern piece so I make the length 30 cm. I made the height 8 cm.
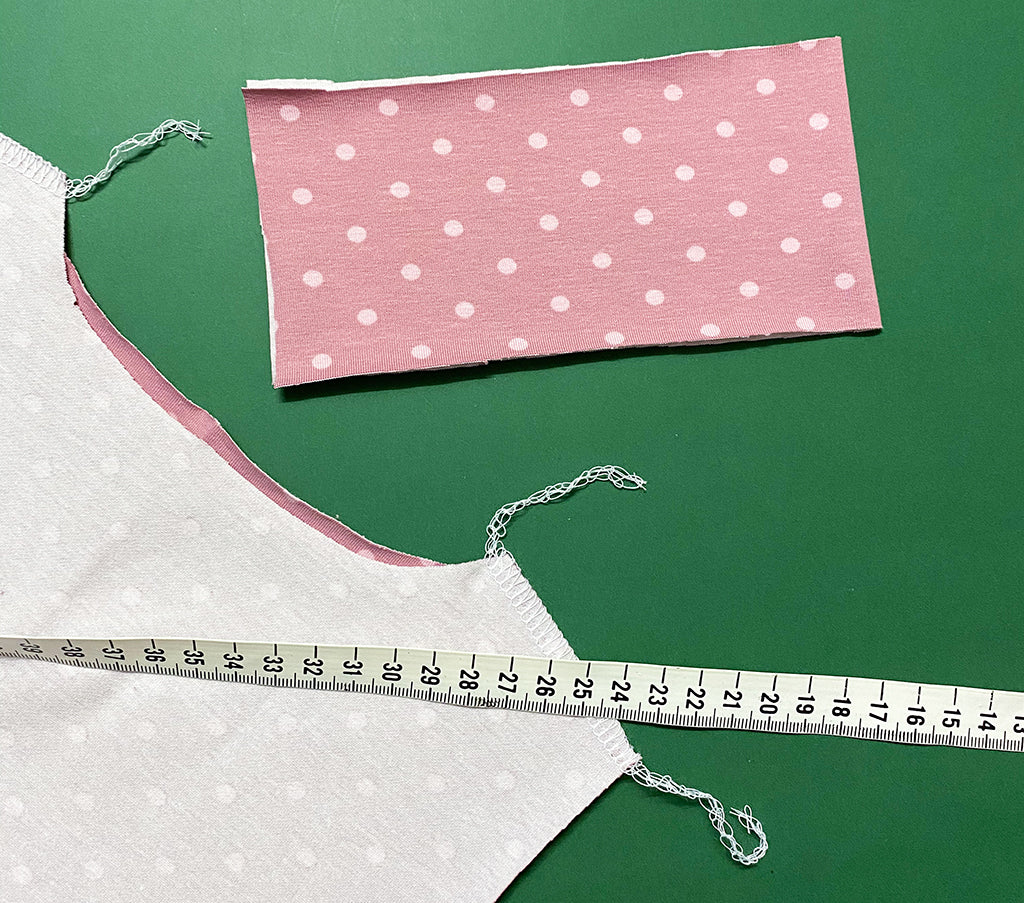
Fold the mock turtleneck so that the sort edges meet, right sides together (just like with a neckband). Pin and sew the short edge.
Then fold the mock turtleneck again so that the long sides meet, wrong sides together. Press with an iron.
Pin the mock turtleneck to the neckline, it's a bit shorter than the neckline so make sure to stretch it evenly. And sew :)

From here on I just follow Ester & Ebbe's tutorial to finish the top.
Thanks for the opportunity to share my pattern hack!
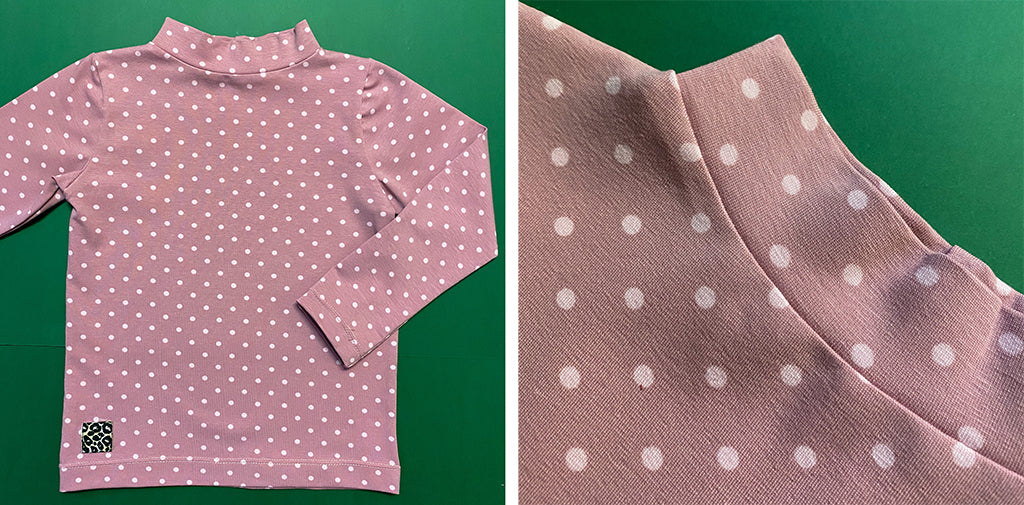
Thank you so much Jenny for this!
Check out Jenny's instagram page for more inspiration.
