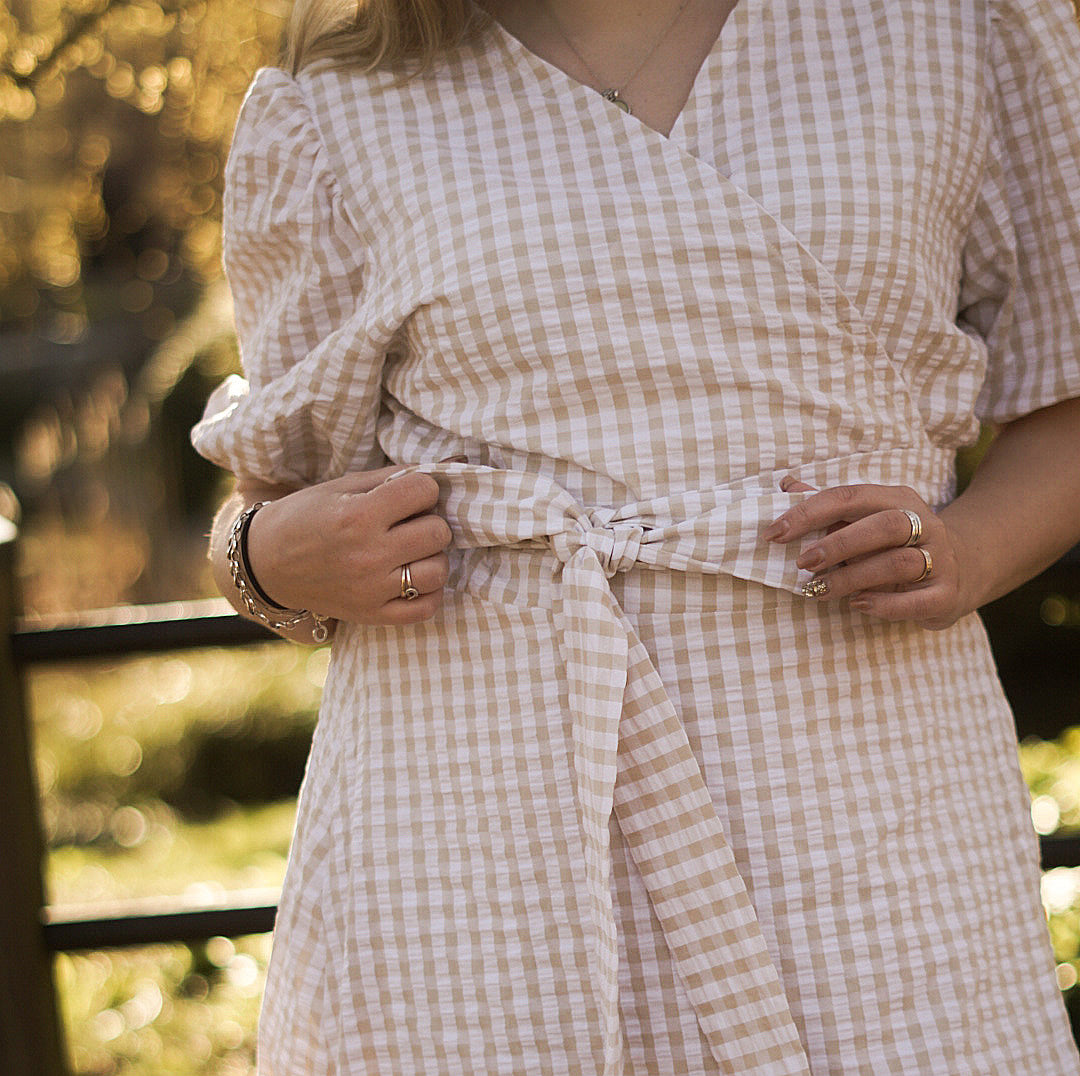


Spice up any pants or skirt pattern with a drawstring waistband! We're using our pants pattern Tyra & Todd. The simple waistband version of that pattern looks so gorgeous with a drawstring added. Both cute and practical.
Supplies
For this tutorial you'll need two pairs of eyelets, a string or band, Vlieseline interfacing and Prym pliers for eyelets.
If you don't have pliers at home you could also use an eyelet kit that includes simpler tools, they work great too.
Let's start
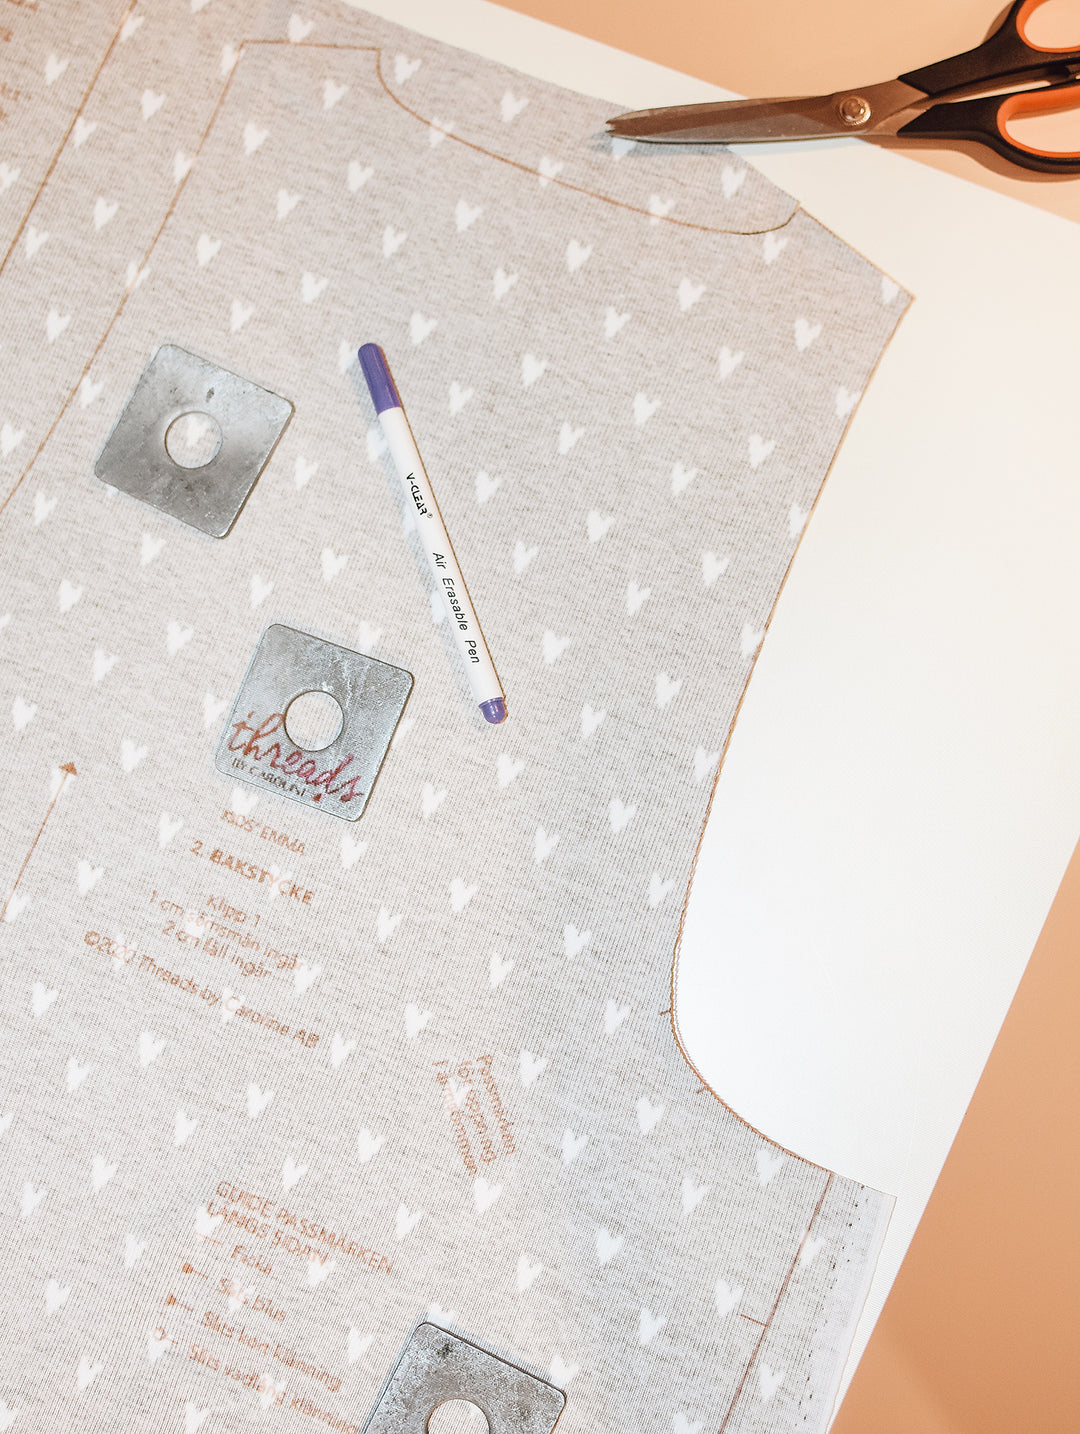
1. MEASURE AND MARK PLACEMENT
Mark center front on the waistband (see red circle in picture below) and how far apart from center front you want to place them.
On these pants in size 110 we place the eyelets with a distance of 4 cm between them, and approx. 1,5 cm down from the folded upper edge of the waistband. Remember that 1 cm (3/8") seam allowance is included along the raw edge.

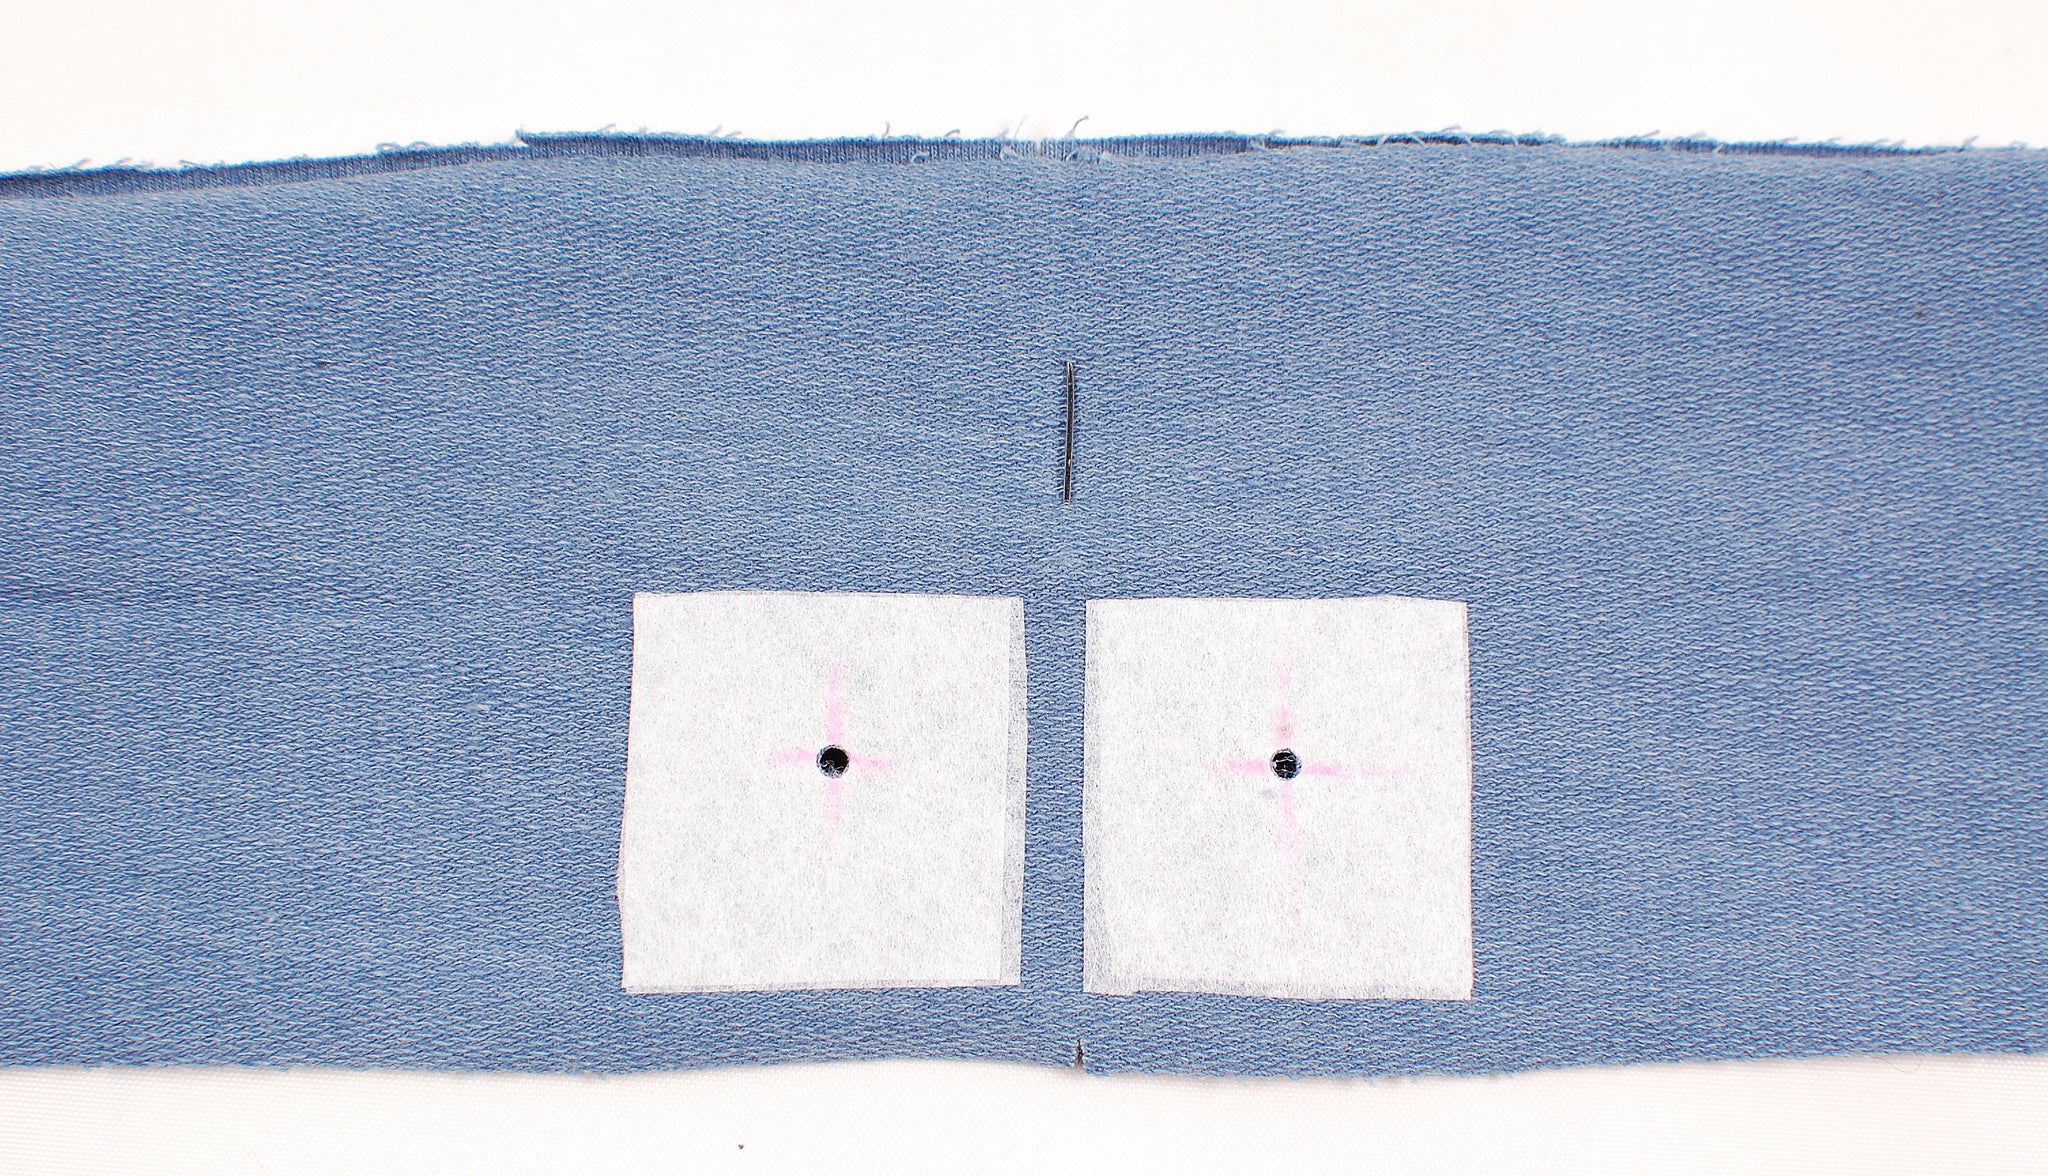
2. INTERFACE
When we know where we plan to attach the eyelets we an interface that area. This is done in order to add stability, so that your eyelets won't come loose or ruin the fabric.
Open the waistband and iron on a piece, or two, of fusible interfacing on the wrong side of the waistband, on the area where the eyelets will be attached. The interfacing piece/s should be a bit larger than the eyelets.

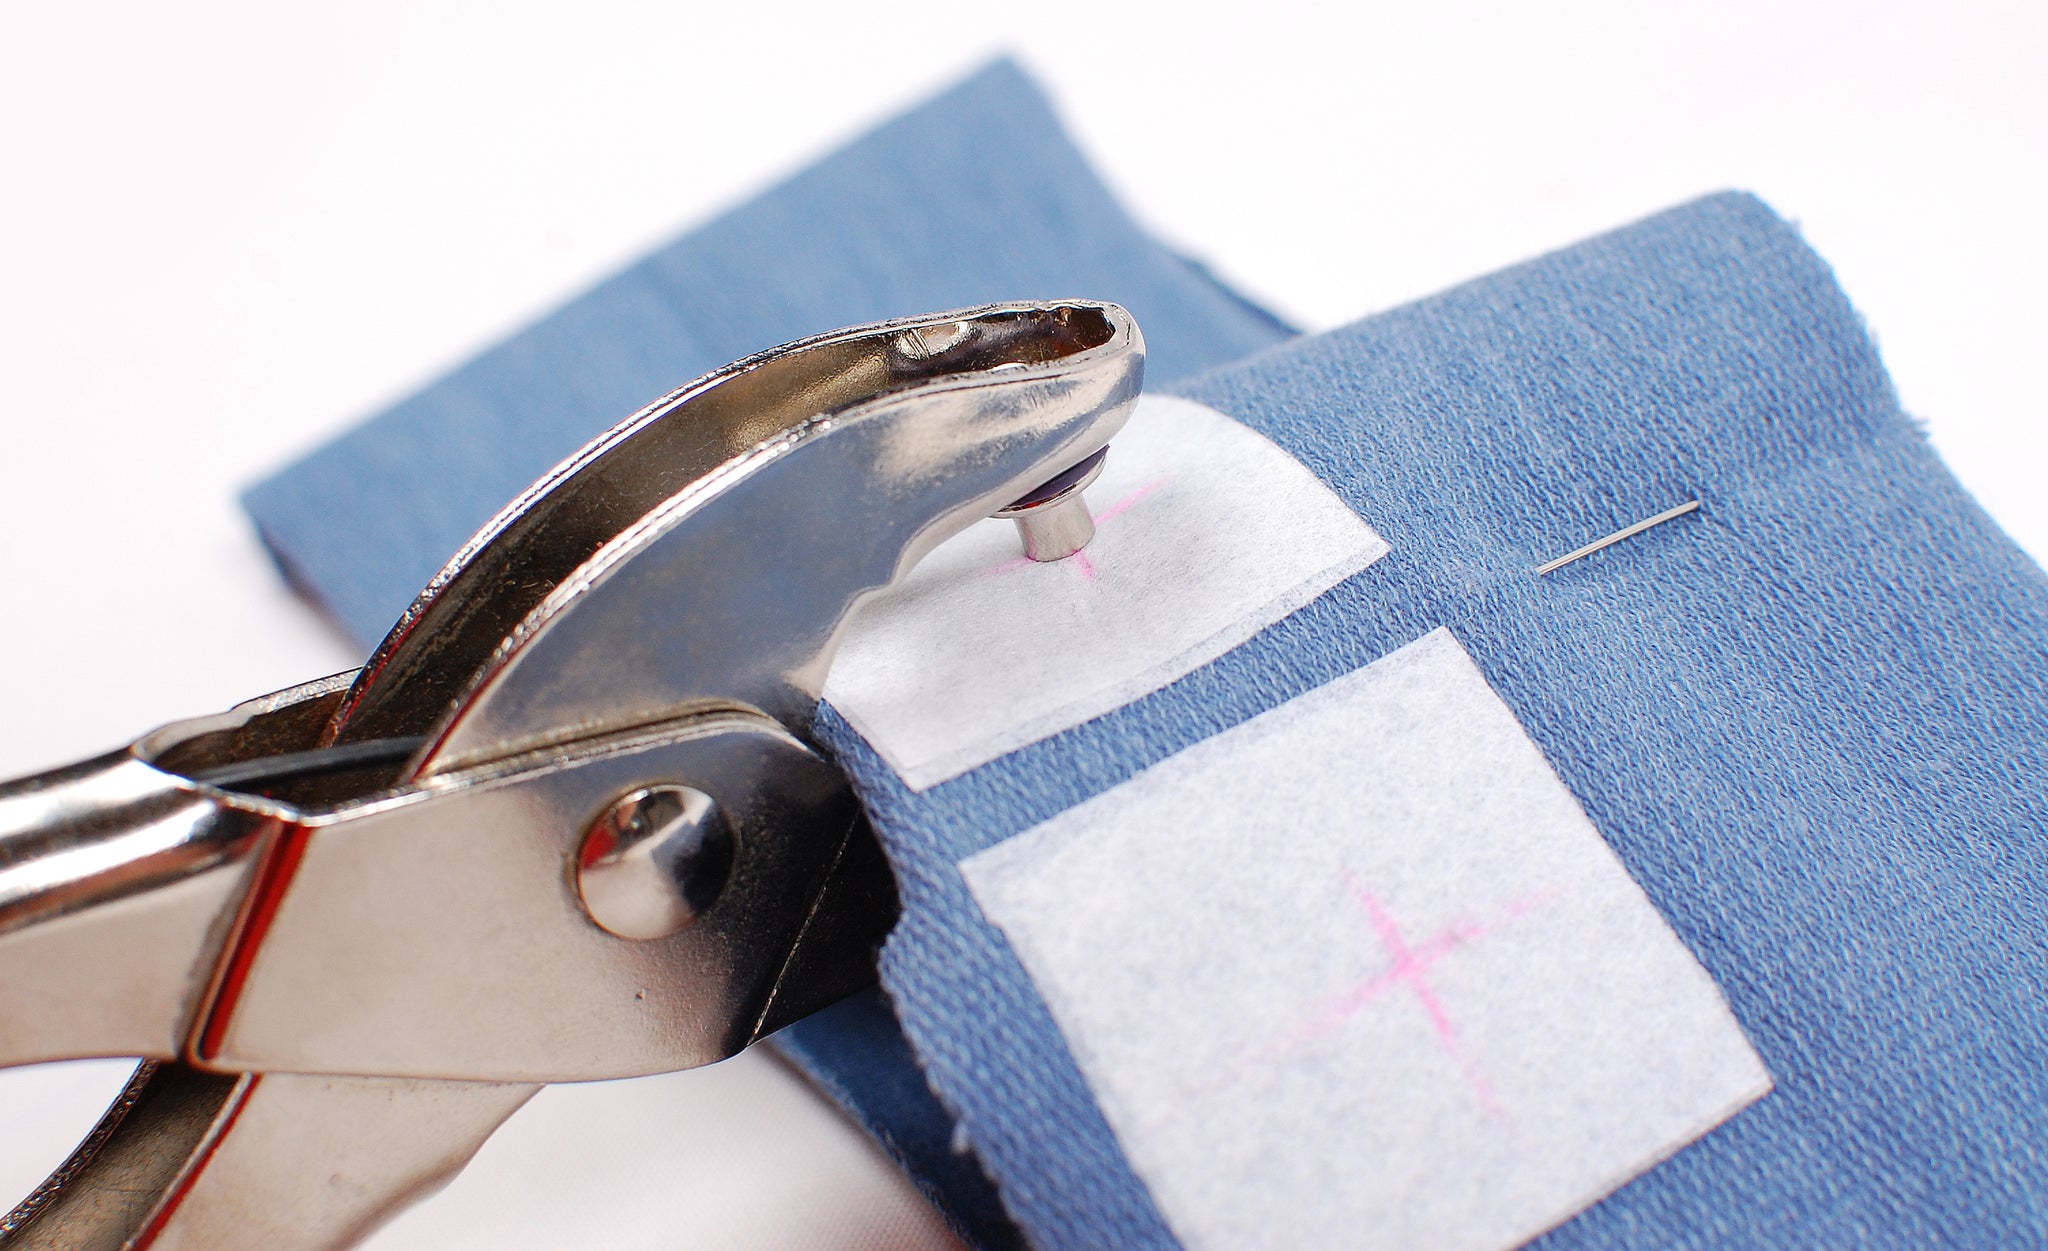
3. MAKE HOLES
When you've ironed on the interfacing, make a small hole for each eyelet. Start with making a small hole. It's easier to make it bigger if needed than smaller ;) Use pliers, scissors or other tools in your eyelet kit.
4. ATTACH THE EYELETS
The eyelet consists of a front piece (the ones to the right, with elevated edges) and a back piece (the ones in the bottom).

Push the front piece of the eyelet through the hole, from the right side. Then place the back piece on it from the wrong side and use the tools to push them together.

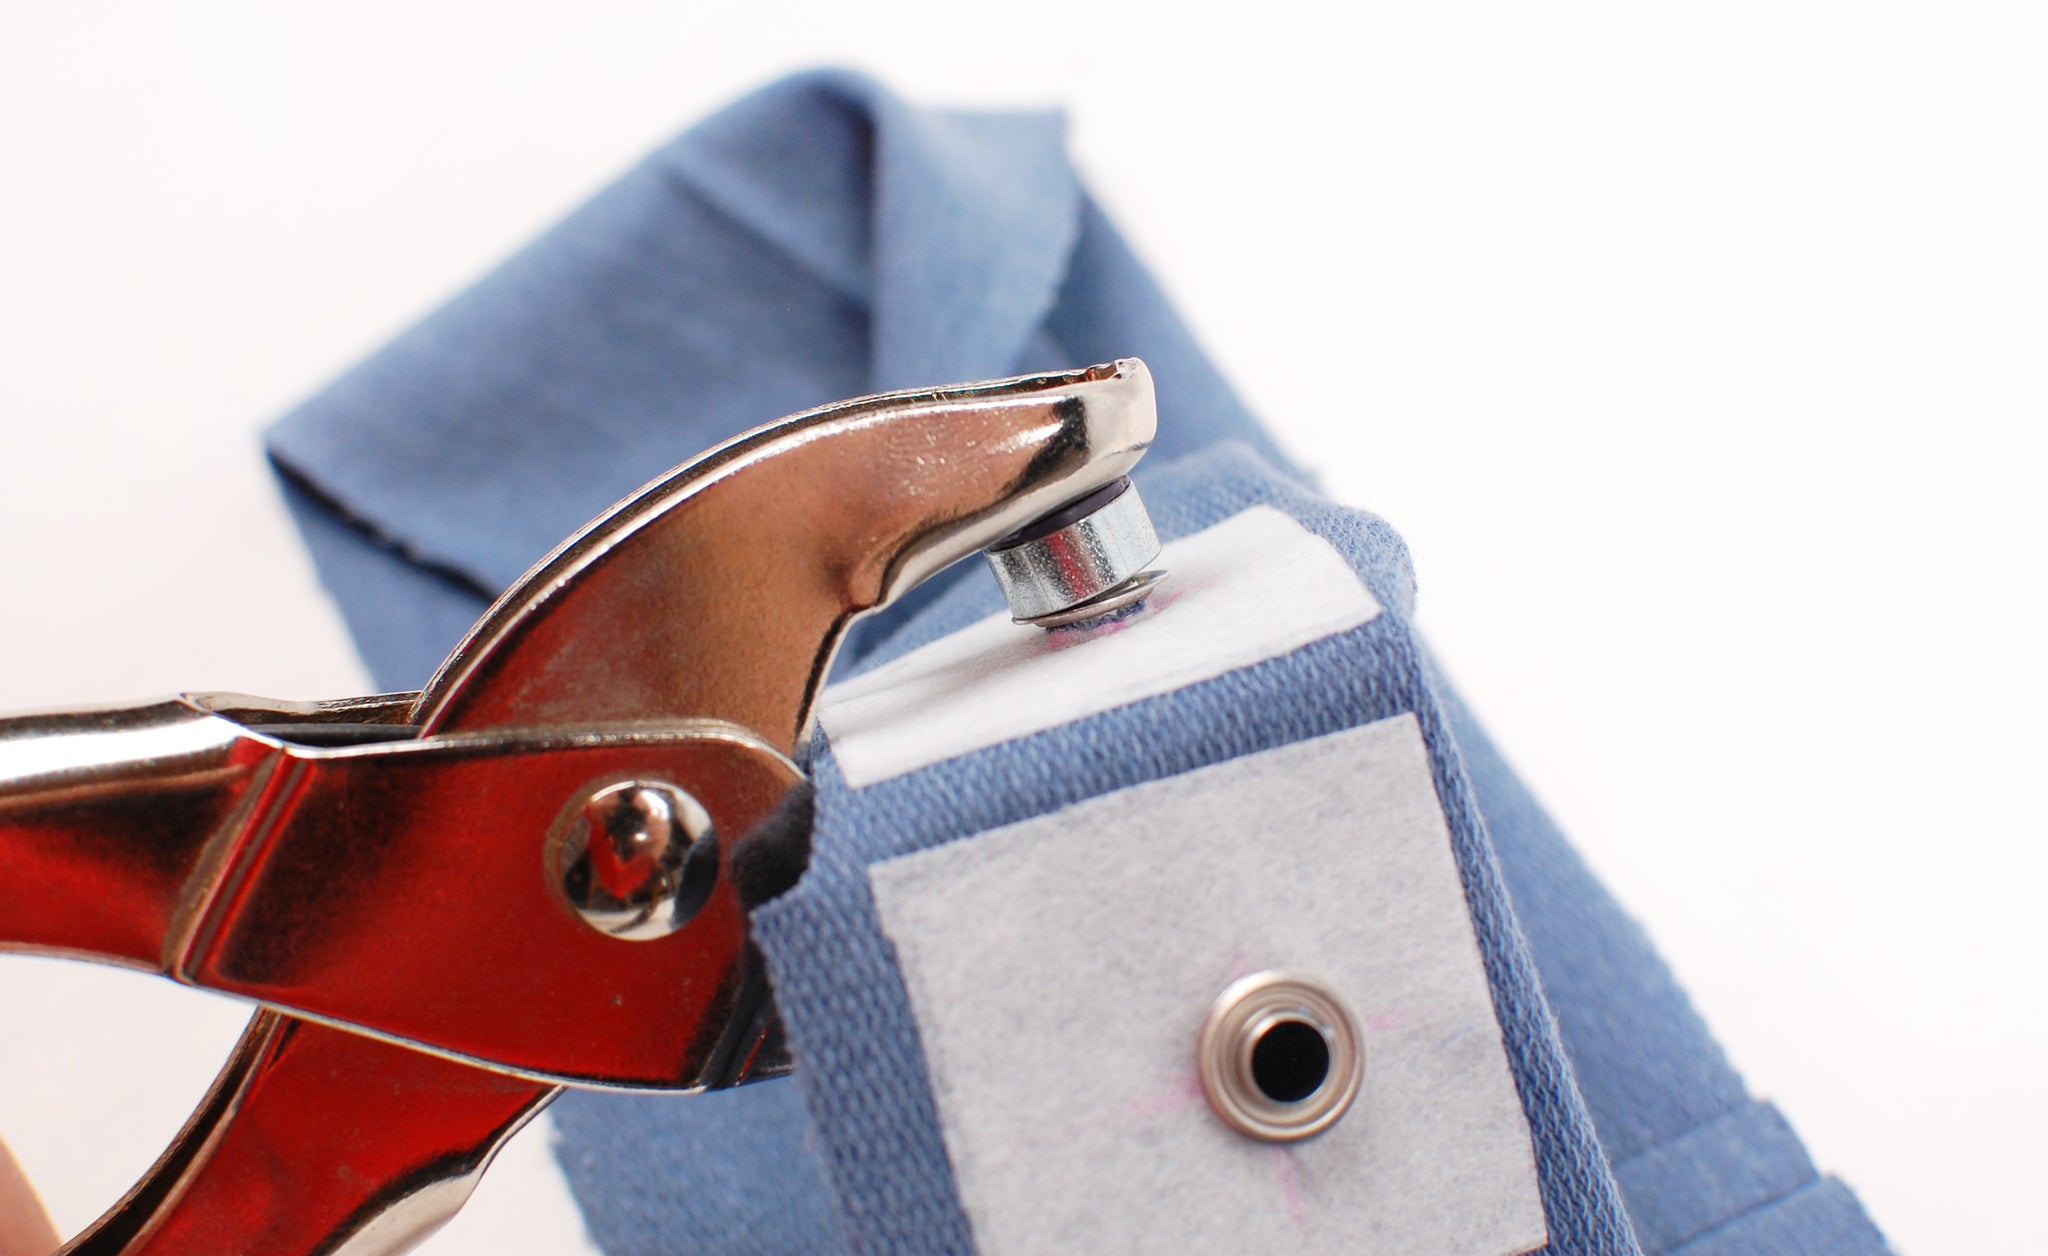
The flat part of the tool keeps the front piece of the eyelet in place, from the right side. And the part of the tool that has a bulge is pressed into the hole of the eyelet from the wrong side. Press really hard with the pliers (or hit with a hammer).

5. INSERT DRAWSTRING
Now the eyelets are in place on the waistband. Depending on the size of your eyelets and the string or band you want to use, it can be difficult to insert the string when the waistband is already attached to the pants. Therefore we recommend to insert the string now and let it lie inside the waistband as you sew the waistband to the pants.

Here's our Tyra & Todd pants, all done with the drawstring added!