

Thank you so much Josefine for creating this tutorial and sharing with us! Take it away Josefine!
***
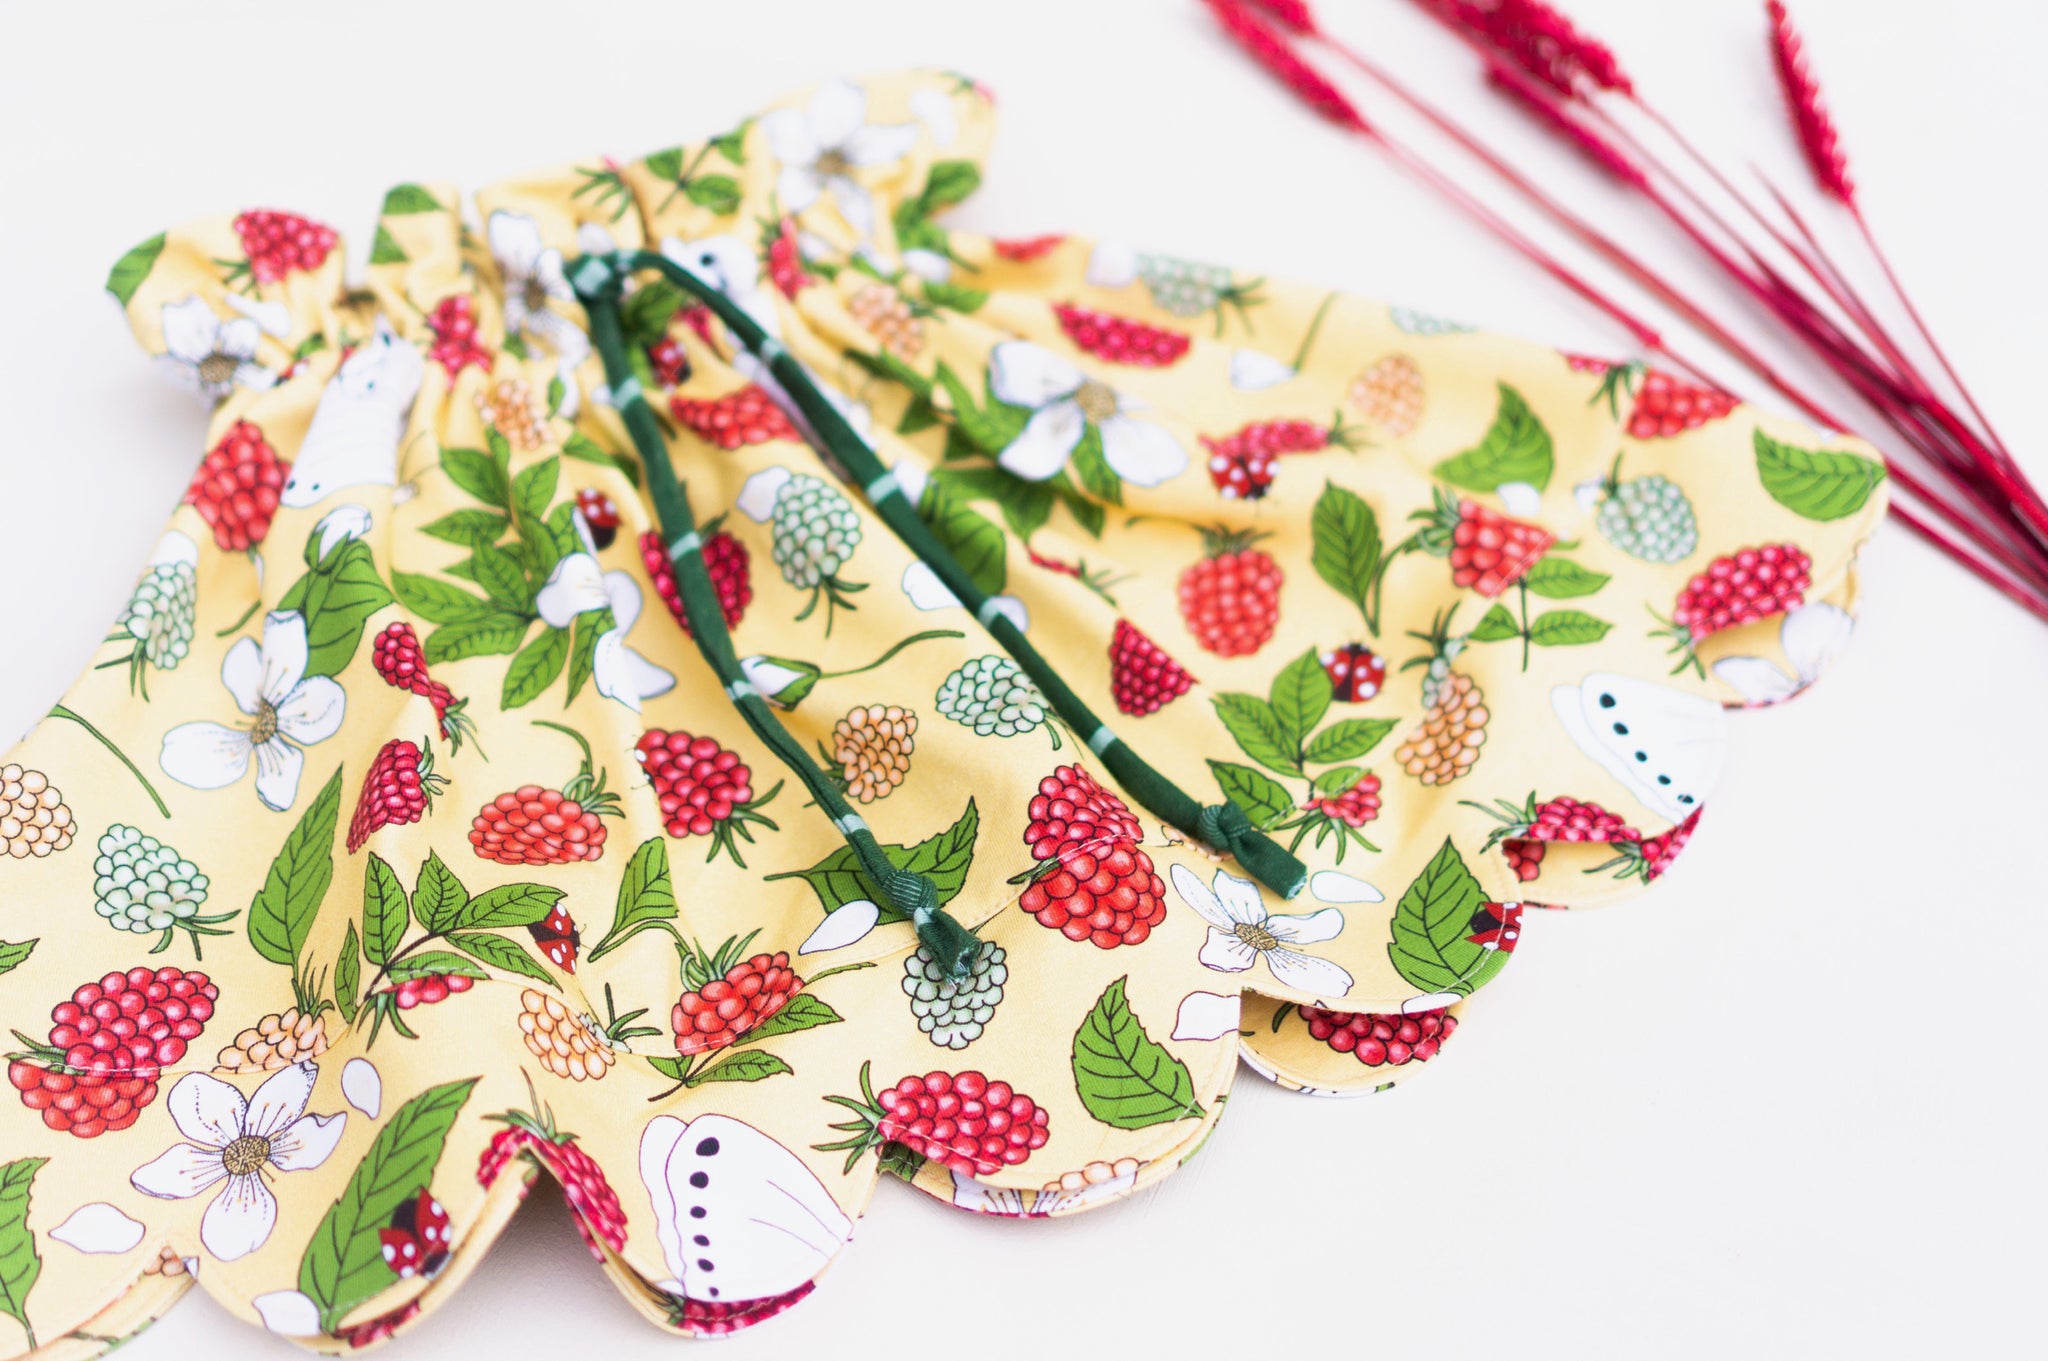
I'm so excited to write this guest blog post! I love to create fun and unique twists on the clothes I sew and in this tutorial I'm gonna show you how to sew a scalloped hem on a dress or skirt.

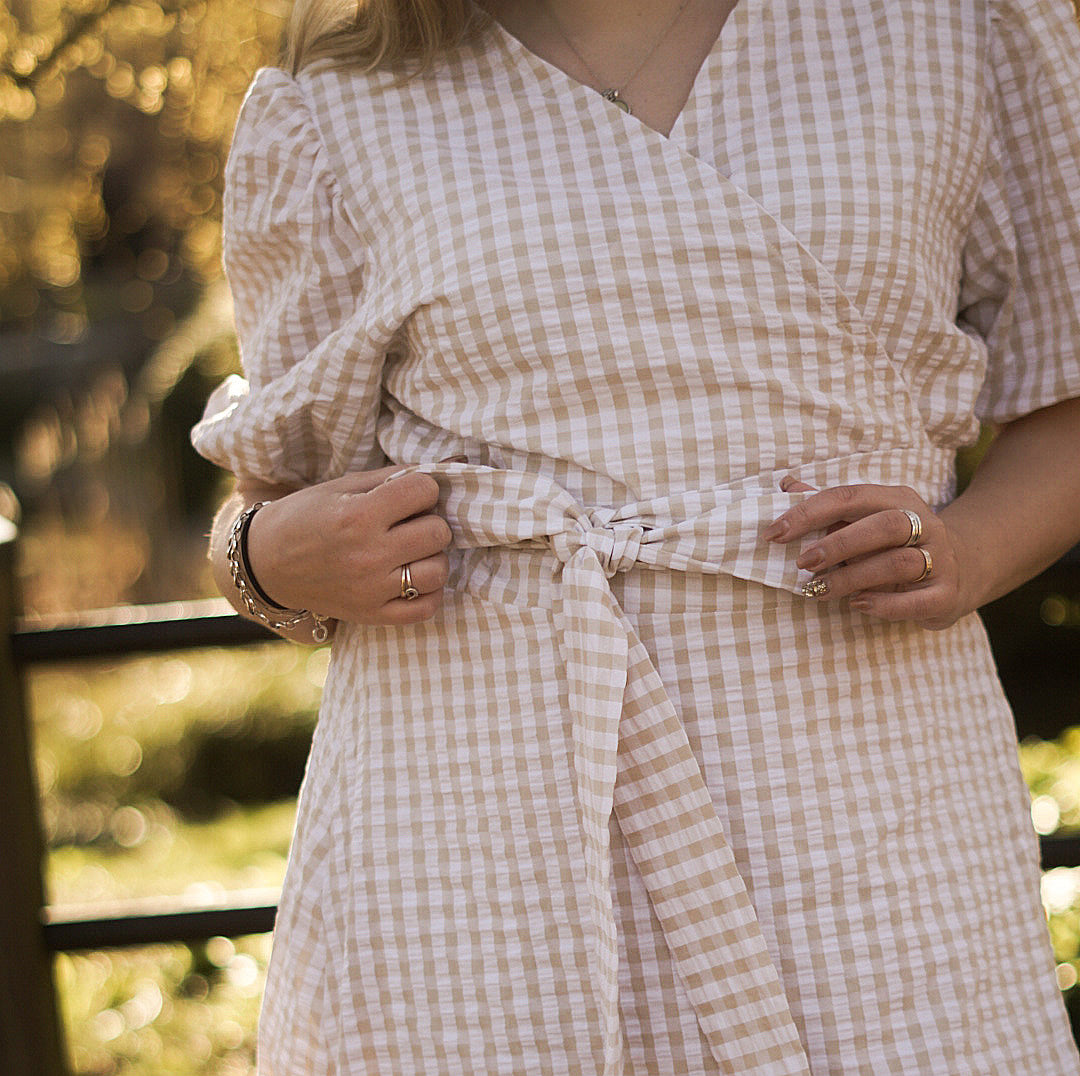
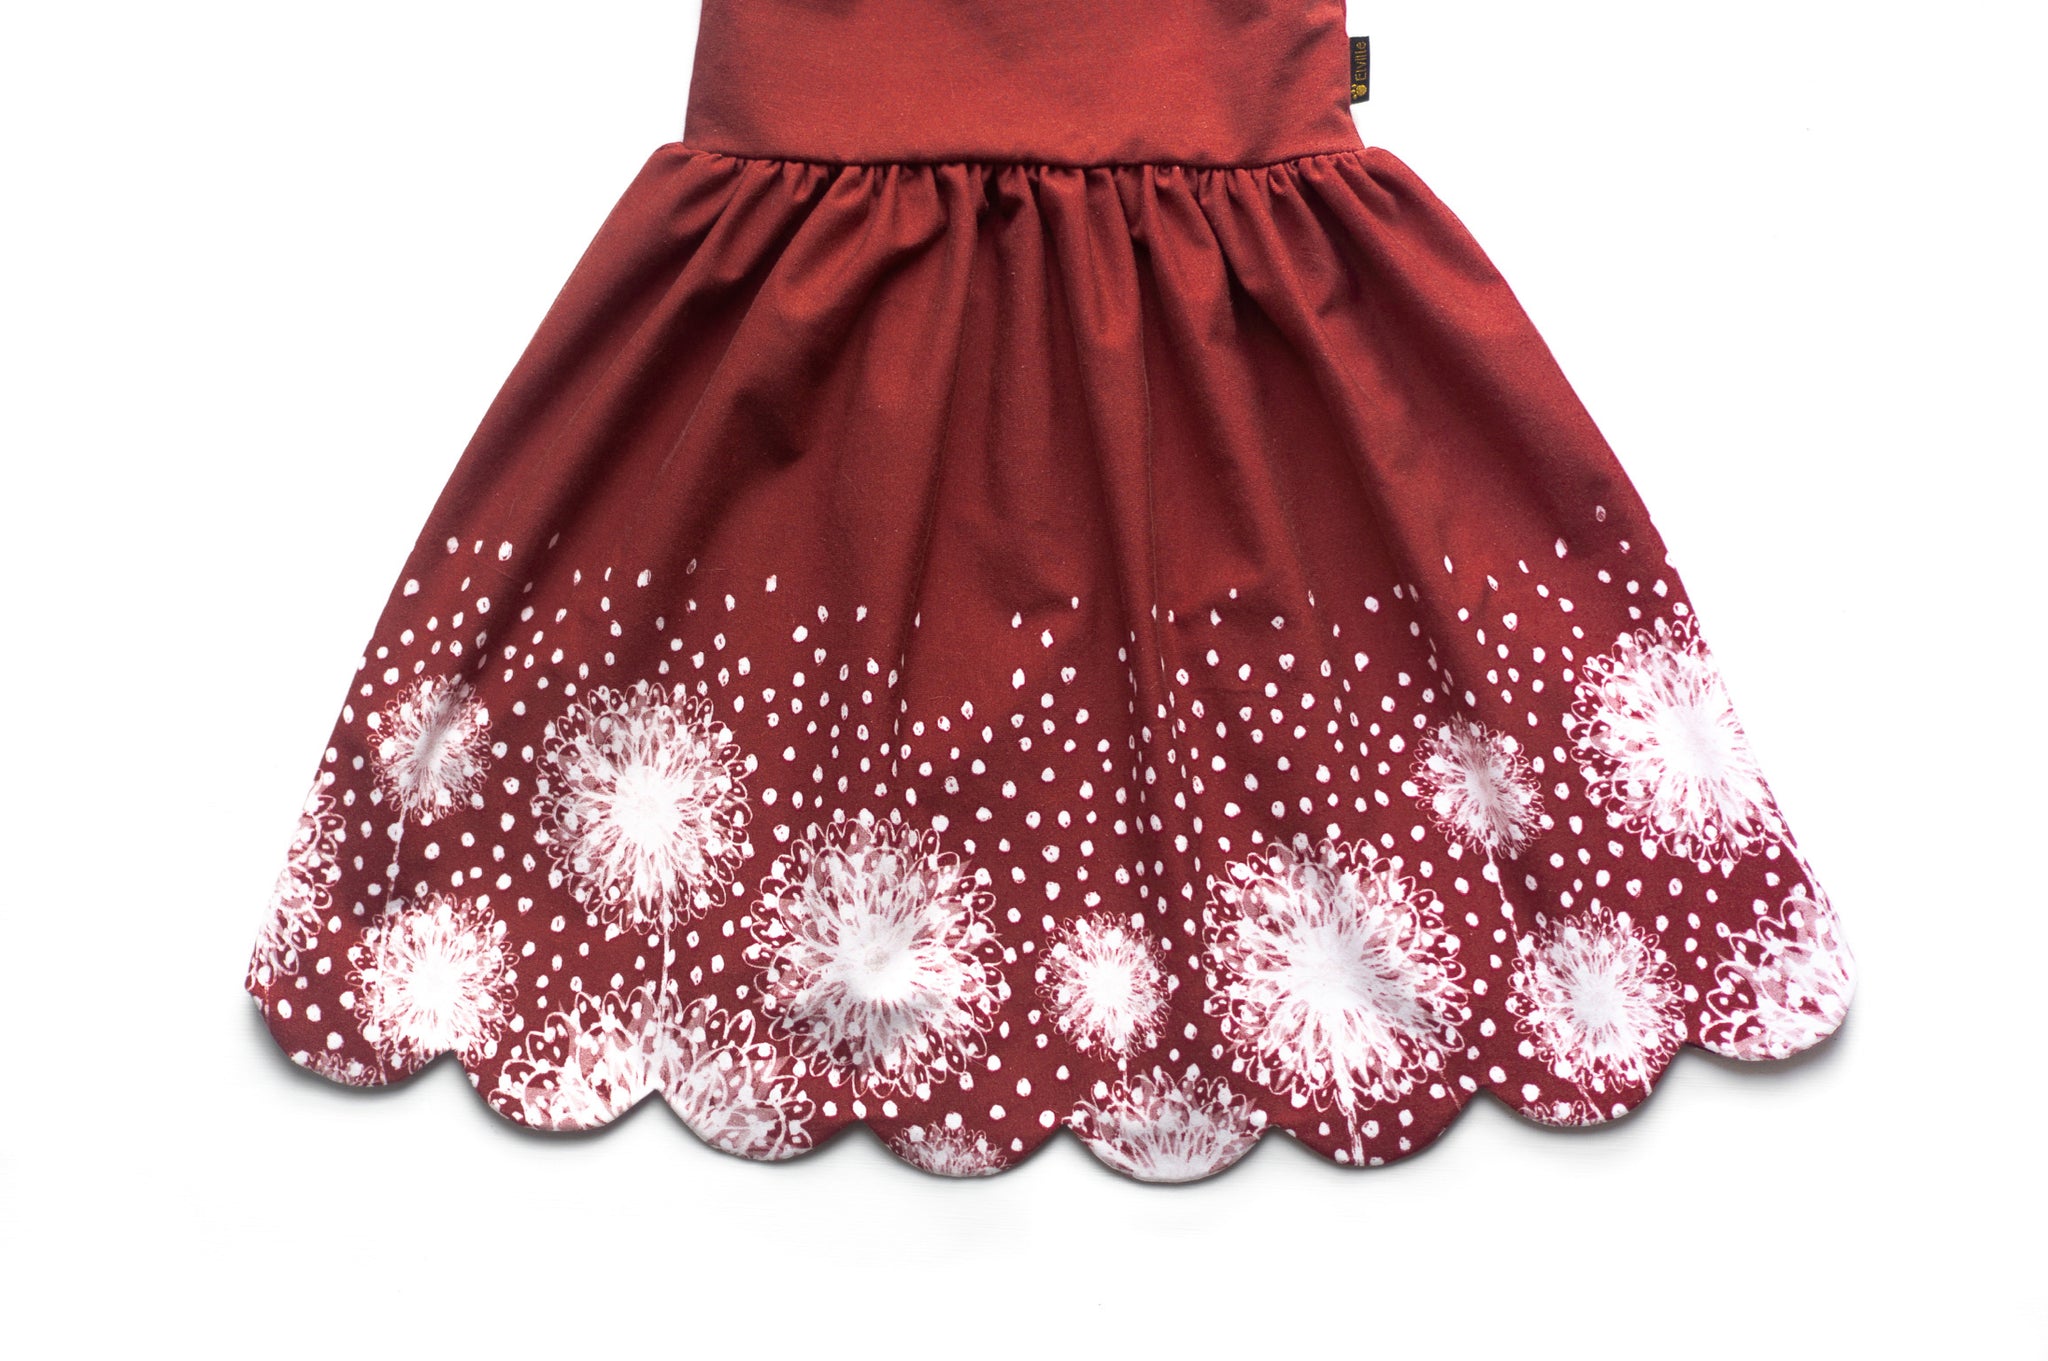
I've chosen to sew the scalloped hem on an Amelie skirt, which I combined with the bodice from the Victoria pattern. The reason I chose the Amelie skirt instead of the Victoria skirt is that I figured my chosen fabric would be more suitable for a gathered skirt because of its pattern. However you can of course use this technique on a circle skirt.
The fabric I'm using is tencel jersey from Zicca Fabrics.
Let's go!
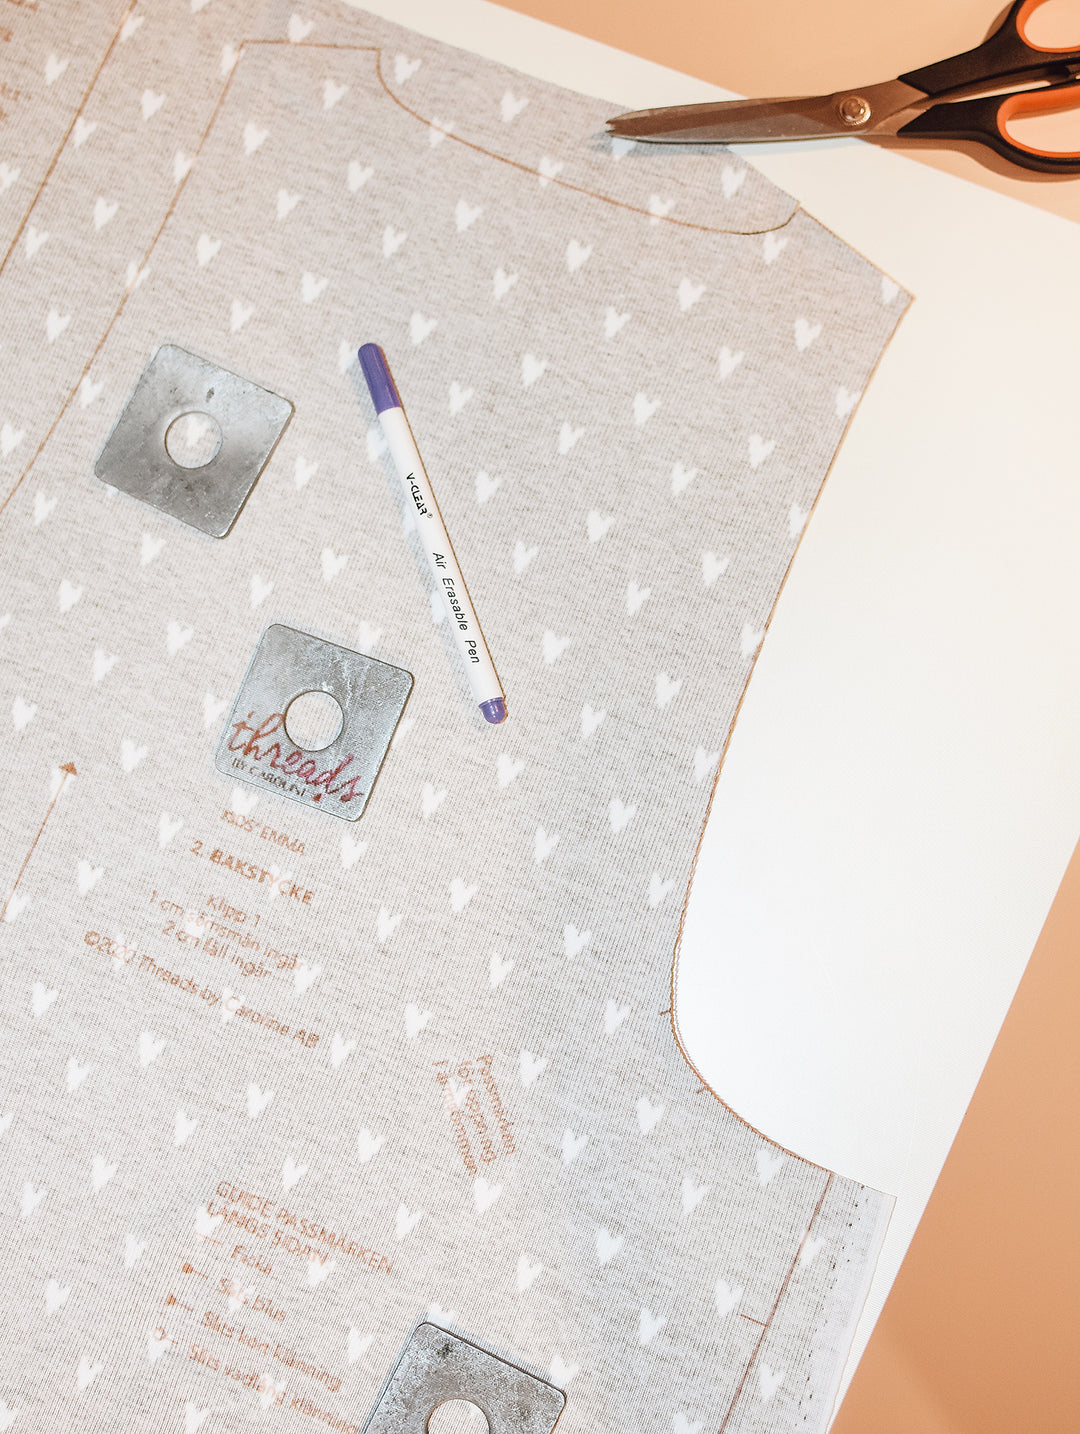
First, cut your skirt fabric pieces and sew the side seams by placing them right sides together.

You can go two different ways when sewing the hem. The easiest way is to lengthen the skirt piece and then fold up. How much to lengthen depends on how deep the arches/curves should be. In this tutorial I didn't lengthen because I wanted to keep as much of the fabric's pattern as possible. Instead I cut two fabric strips to use as facings. They should be as wide as the skirt pieces, and I made them 8 cm tall.

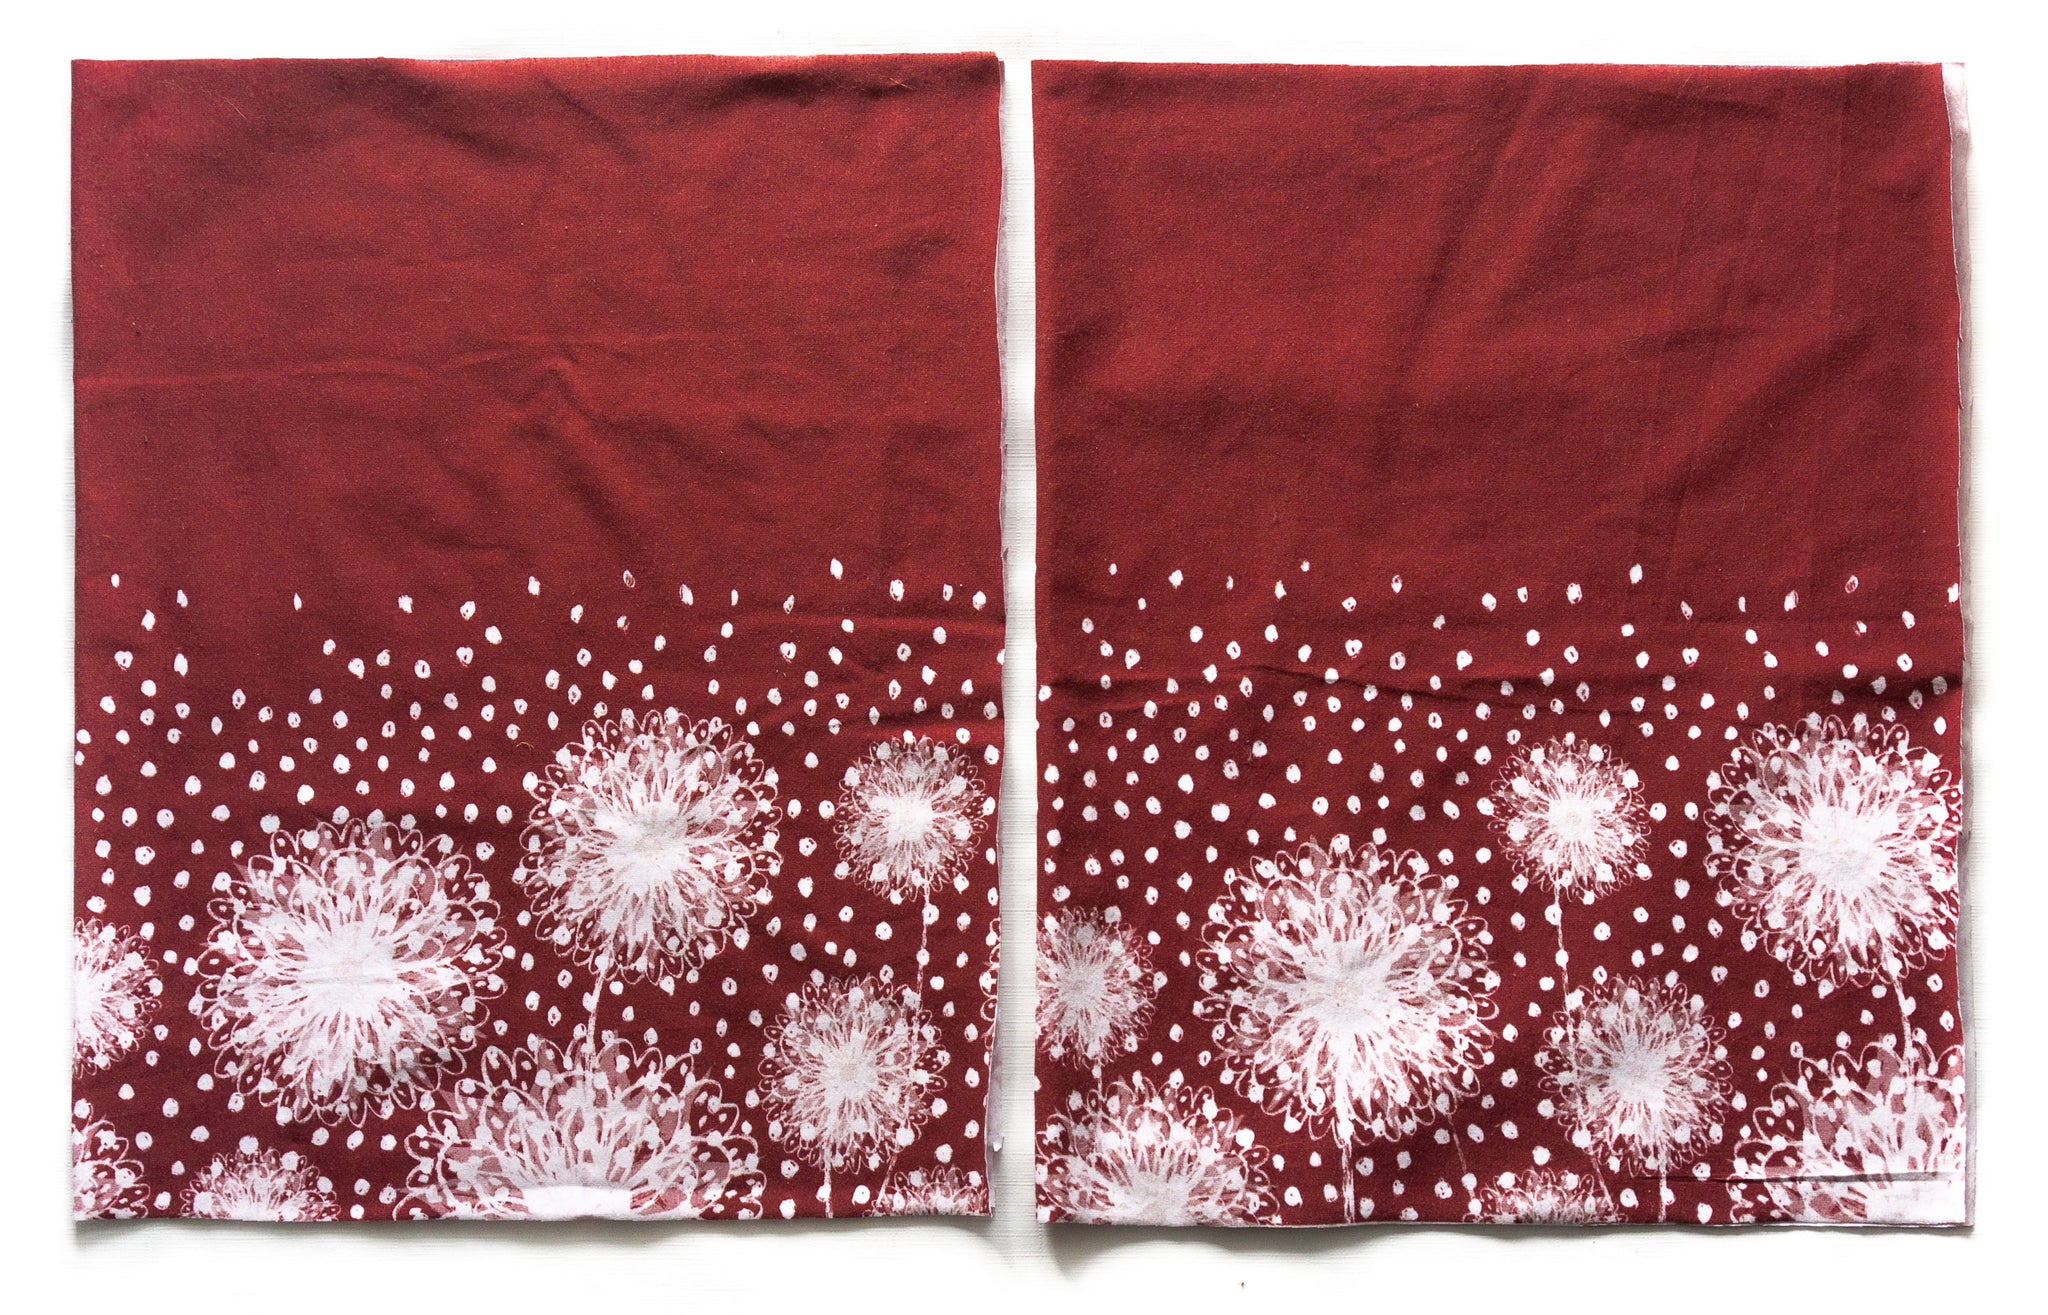
Whether you lengthen the skirt piece or cut separate facings like me, it's important to iron on light-weight interfacing on the fabric's wrong side. This will make it easier to sew the curves later if you've got a knit fabric. Without interfacing the fabric might pull and gather. Below is a picture of my facing with the wrong side out. They are sewn together at the side seams, just like I've already done with the skirt.

For a neat finish you can sew one of the long sides with a serger. You could also use a decorative stitch on a regular sewing machine. If you're using a woven fabric you'll need to use a serger, or a zig zag stitch (or similar) for the fabric not to fray.
If you've lengthened your skirt piece (instead of using facings like me), you'll sew this stitch along the bottom edge.

For an even number of arches/curves you should now measure the width of the skirt. Mine was 64 cm wide (size 110). I chose to sew 8 arches on each skirt piece, and the arches will then need to be 8 cm wide. (8 x 8 = 64).
If I'd wanted wider arches, let's say 6 arches on each skirt piece, I would divide 64 with 6 to figure out how wide to make them: 64/6 = 10,7 cm.

When you've decided the width of your arches it's time to draw a template. Take a piece of paper and measure the width of two arches. Then take a suitable round item and draw your arches.

Then cut out your template so you can use it on your fabric.

Place your template on the facings (or the folded skirt) and start tracing around the template. Make sure to always keep the same width from the arch up to the upper edge. You could also include this part (the upper part) in the template if you find that it's then easier to trace the arches.

When I had traced my arches I trimmed off a bit of fabric from the lower edge.

Now it's time to attach the facing to the skirt. (If you've folded your skirt piece instead of using facings, then skip this step). Place the facing over the bottom edge of the skirt, right sides together. Match the side seams. Pin.

Then sew with a straight stitch along your arches. For even curves you should use a short stitch length. I used 1,4.

Now trim off fabric, as close to your stitches as you can. It's enough to leave a couple of cm of seam allowance. At the point where two arches meet, cut a notch straight up to the seam, without cutting into the seam.
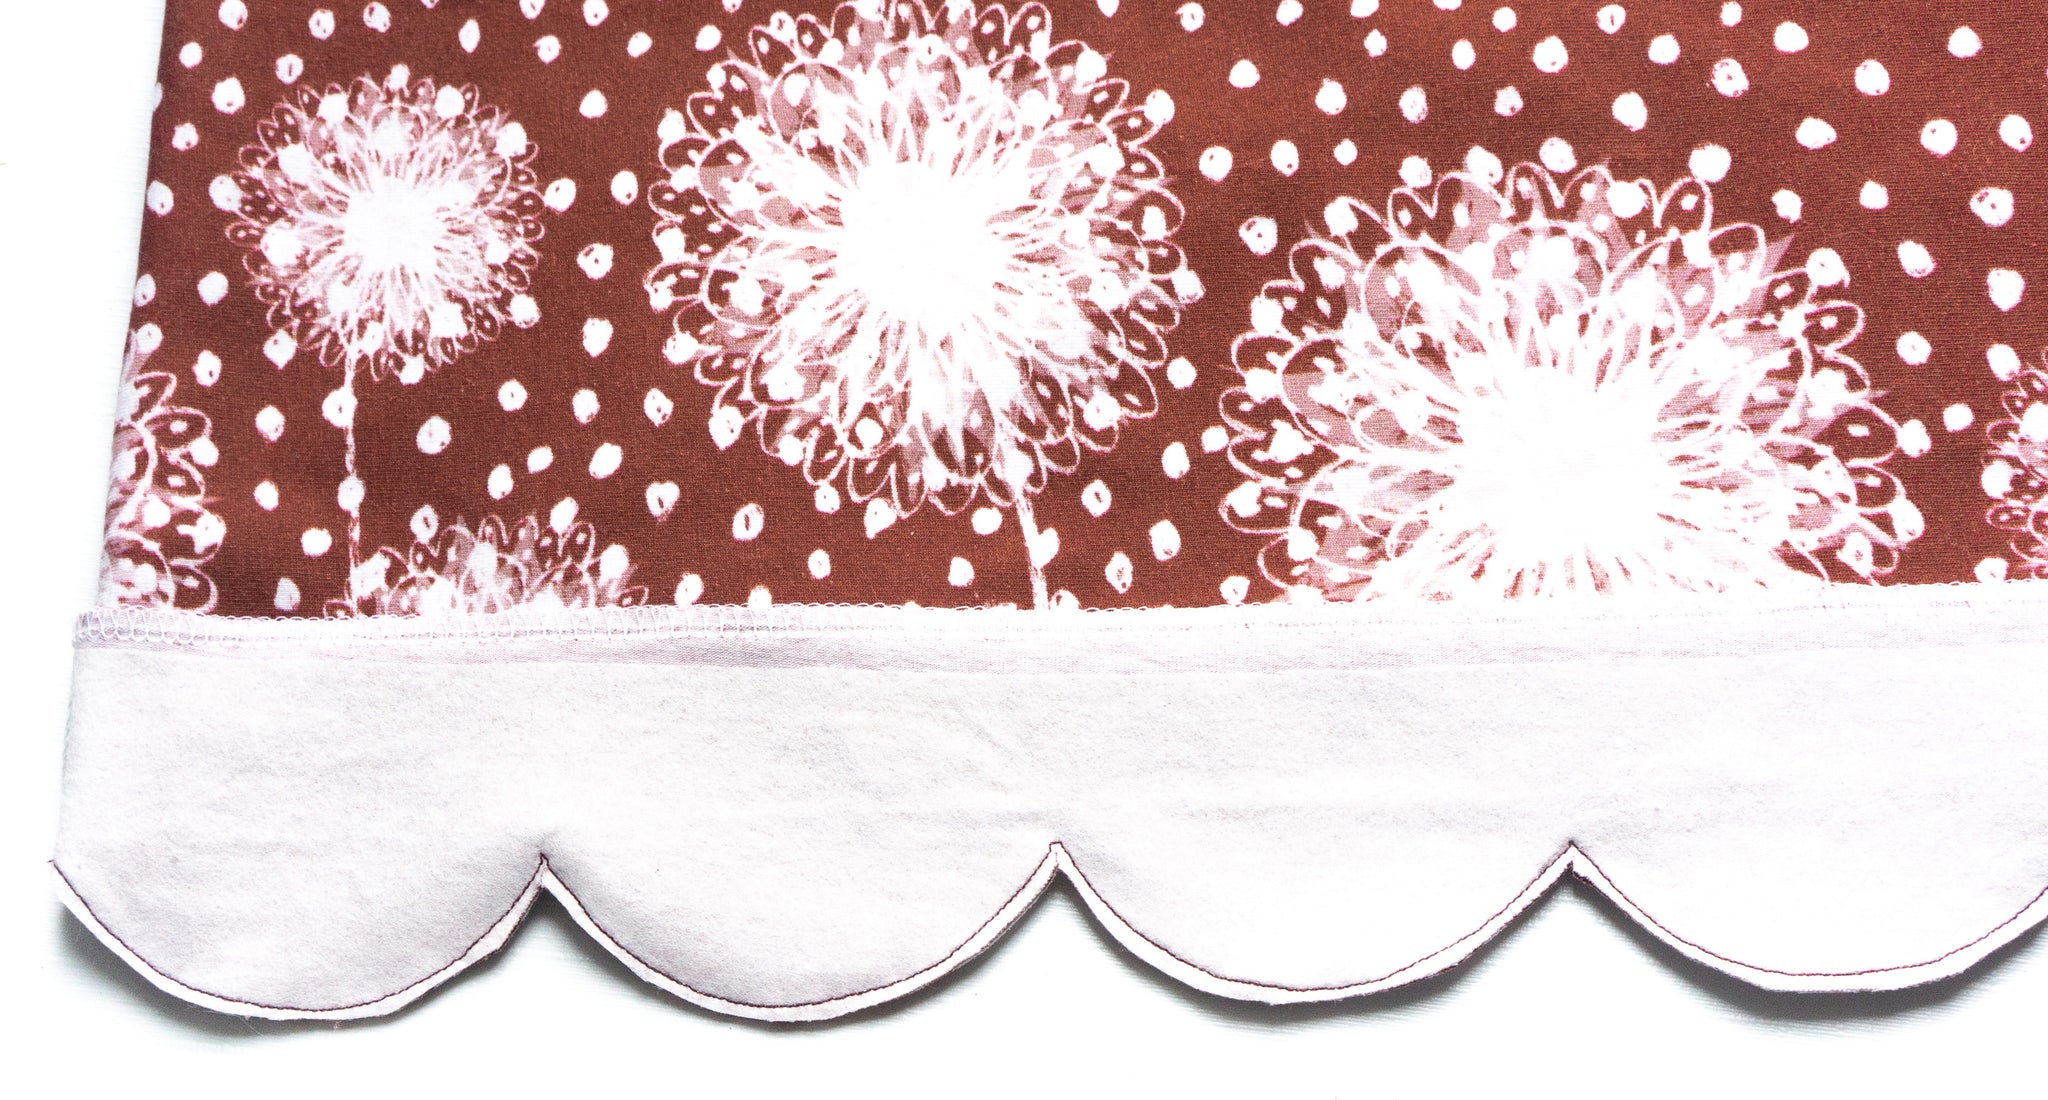
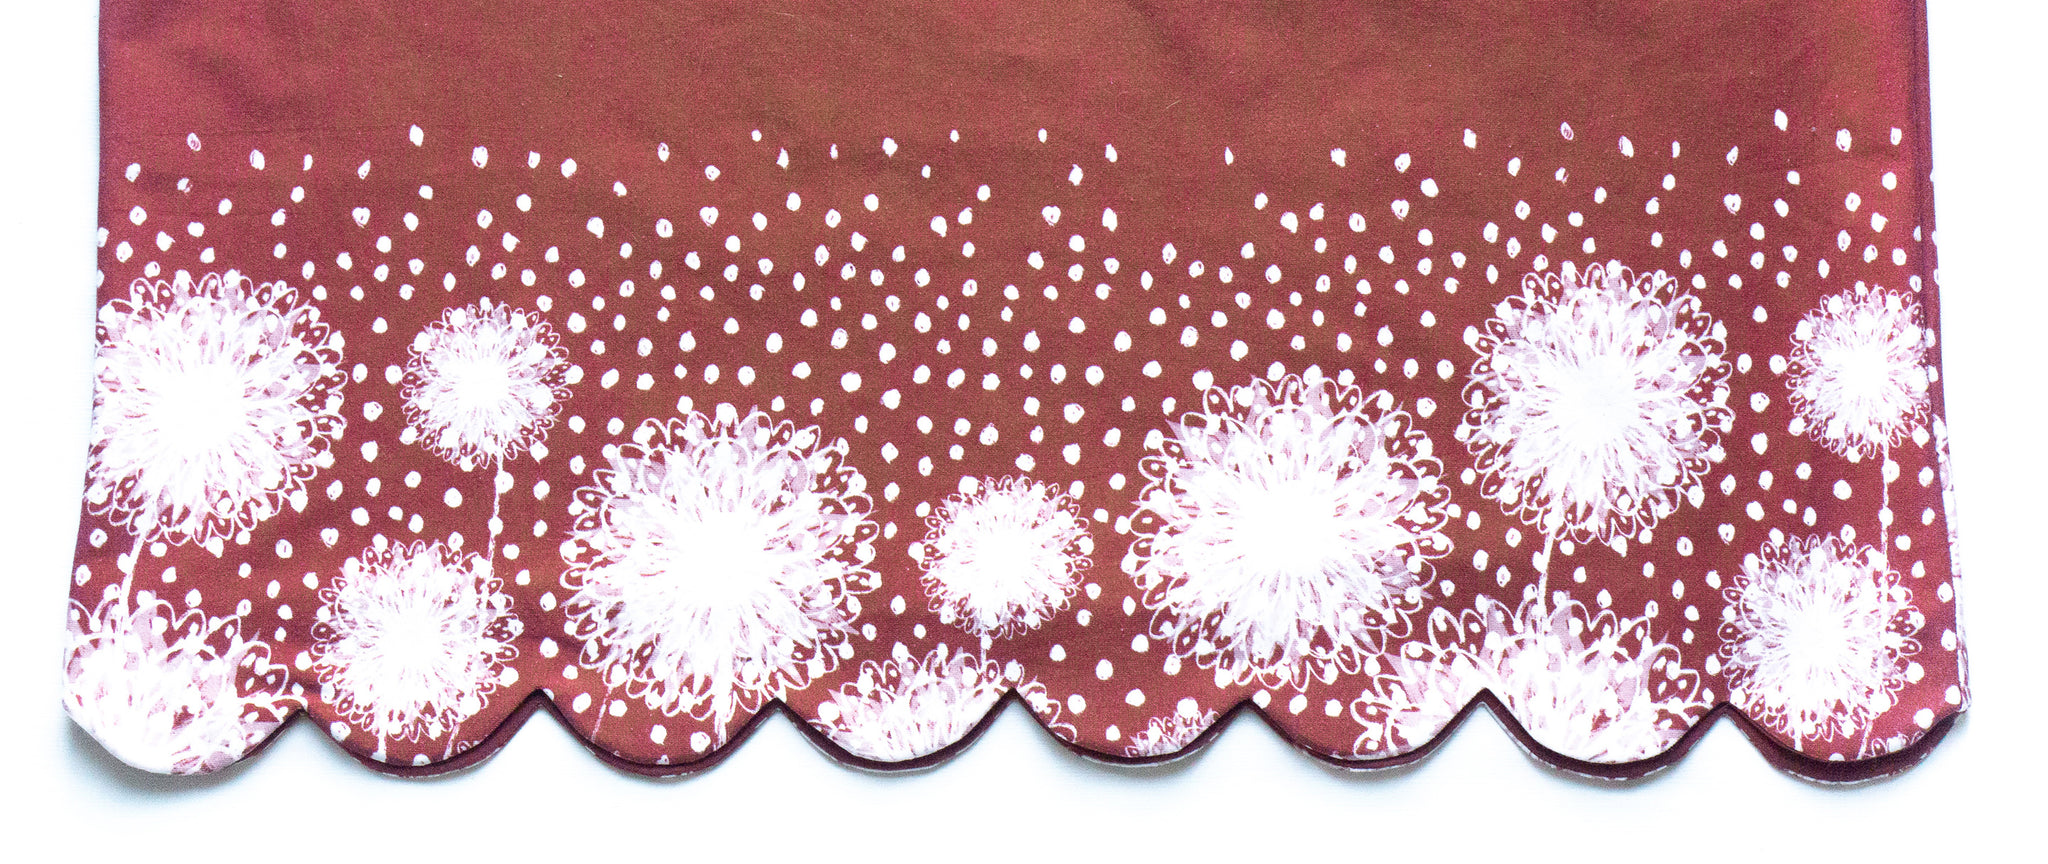
Turn the arches right sides out. They will look a bit uneven at first, but press them carefully with the iron and make sure they're thoroughly turned right sides out.
If you want to finish with topstitching you can sew along the arches. I chose not to with this dress.
To keep the facing - or fold - from falling down you could secure it with a few hand stitches. Make sure to take as little fabric as possible from the skirt when sewing, that way it will be near invisible stitches. You could also chose to sew a straight stitch with your sewing machine.
I chose to hand stitch as every other arch.

And that's it! All done!

***
Thanks again Josefine! Love this gorgeous mash-up with our patterns Amelie and Victoria and especially the lovely scalloped hem detail.
Also, check out this Molly skirt that Josefine also sewed with a scalloped hem.