
I love my new pattern, the Astrid pouch. It's quick and easy to sew, and it's not just a pouch really! It can also be a toiletry bag, make up bag, pencil case, whatever you plan to use it for.
The pouch pattern does not come with inside pockets, but here's a tutorial for adding them!

In this blog post I'll be showing you how to sew slip pockets, which is an excellent addition to variant A and B of the pouch.
1. Decide pocket size
So, here I'll be making variant A in size small, so my inside pockets will also be really small. First, figure out the size of your pocket:
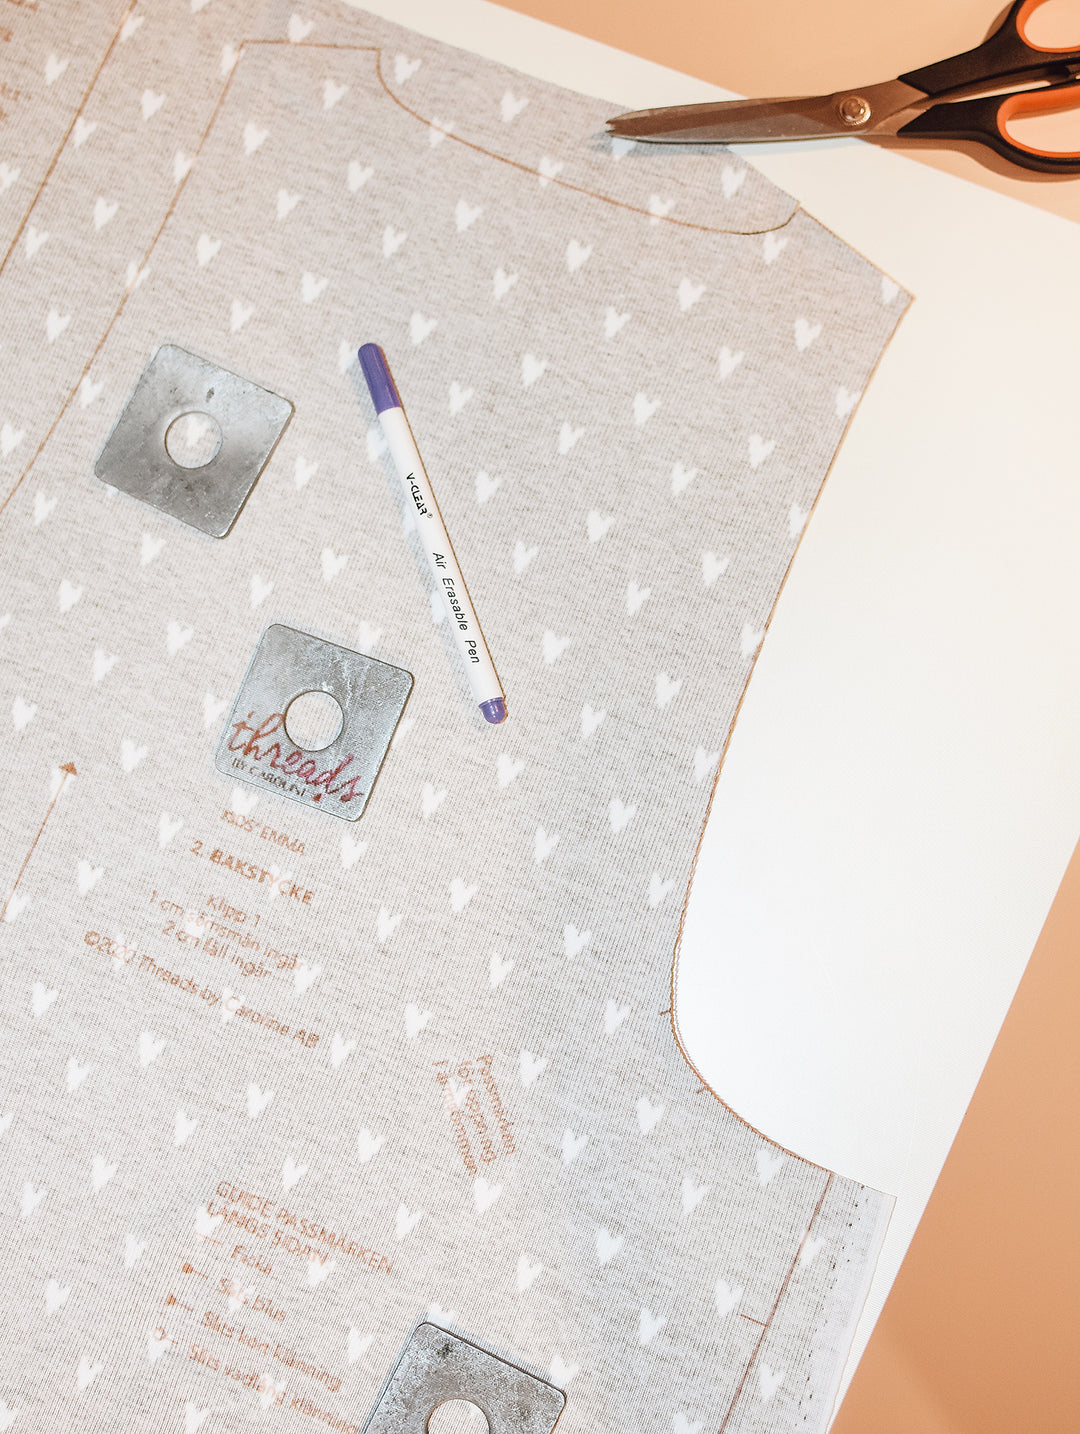
The illustration below shows variant A to the left, and variant B to the right, both in size small. With the light red area around the pouch pieces, I want to illustrate a buffer zone: the 1 cm seam allowance; and extra space at the zipper/top edge - at least 2 cm in size small, and 3 cm or more in sizes medium, large and X-large.
See the arrow on illustration B? It points to what will be the bottom of the pouch, so don't place your pocket below that line.

I measure and decide to make my pocket 15 x 9 cm (dotted lines on the illustration of variant A).
2. Cut the pocket piece/s
I want to show you two ways to do this. If my fabric is thin I prefer the first method: making the pockets in 2 layers of fabric - so I cut 2 pieces of fabric 17 x 11 cm (so that 1 cm seam allowance is added all the way around).

If my fabric is not very thin, I might not want it in two layers, so I cut just 1 piece of fabric, adding 1 cm seam allowance all the way around + an extra cm at the top edge so that I can hem the top edge with 2 cm. So in other words, my piece is 17 x 13 cm.
3. Method 1: sew, turn and press
Place the two pocket pieces right sides together and sew almost all the way around - leave an opening of 5-6 cm in one of the sides, not the top edge.

Trim down the seam allowance, and clip the corners for less bulk.

Turn the pocket right sides out through the opening. Push out all the corners, for example using a point turner. Press the pocket.
You don't need to close the opening, but make sure to press the seam allowances inwards.

Go to step 5, it's the same for both methods.
4. Method 2: hem top edge, fold other edges
If you want to use just one layer of fabric, you can make this pocket like a regular patch pocket (just like the chest pocket in my free Ester & Ebbe pattern).
Fold the top edge 2 cm to the wrong side and press. Topstitch with a straight stitch, just about 2 cm down from the folded edge.
Fold the sides and bottom edge, 1 cm to the wrong side and press. And then continue with step 5.
5. Attach the pockets to the pouch's lining
Use glue marker or pins to attach the pocket to one of the lining's right sides. Remember the lining's seam allowances and don't go too close to the zipper/top edge. Place the pocket at least 2 cm from the lining's top edge (if sewing size small). If you're making size medium, large or X-large, you should go further than 2 cm down.
Topstitch the pocket's three sides, not the top edge. Use straight stitches and normal stitch length (2,5 mm). Sew just a few mm from the edges.

If you want to divide the pocket into sections, mark a straight line and topstitch again (straight stitches, 2,5 mm stitch length).

There! The slip pocket is all done :)

I can now sew together my Astrid pouch using the instructions included in the pattern.