Today we're so happy to publish this blog post from Ida! You might know her as @iddypop on instagram. She had a lovely idea to sew our Amelie pattern with a lined bodice and I asked if she'd like to share that on our blog, she said yes!! :)
***
Like many others I've fallen in love with the sewing pattern Victoria... mostly because of the simple reason that it's so fun to sew it lined. But only sewing Victoria dresses got a bit boring after some time, so I started to experiment with other dress patterns from Threads by Caroline.
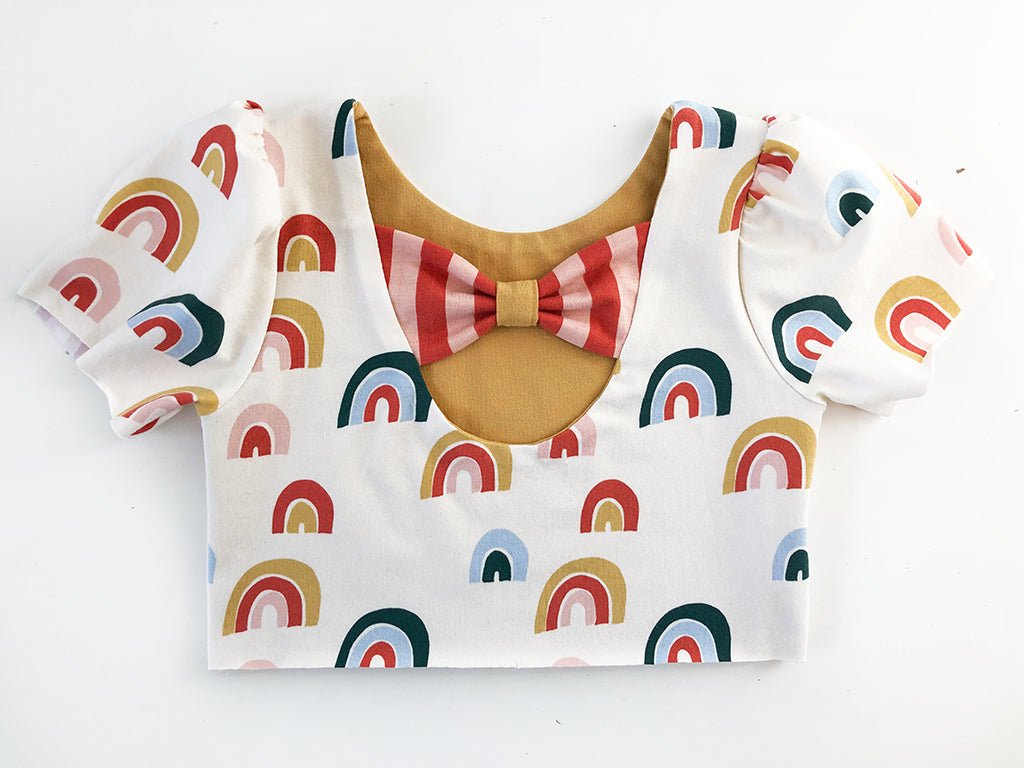
I've found the Amelie's design so beautiful with the back bow and the gathered sleeves, but I've struggled to get the neckline binding right. So the Amelie was a perfect candidate to line!
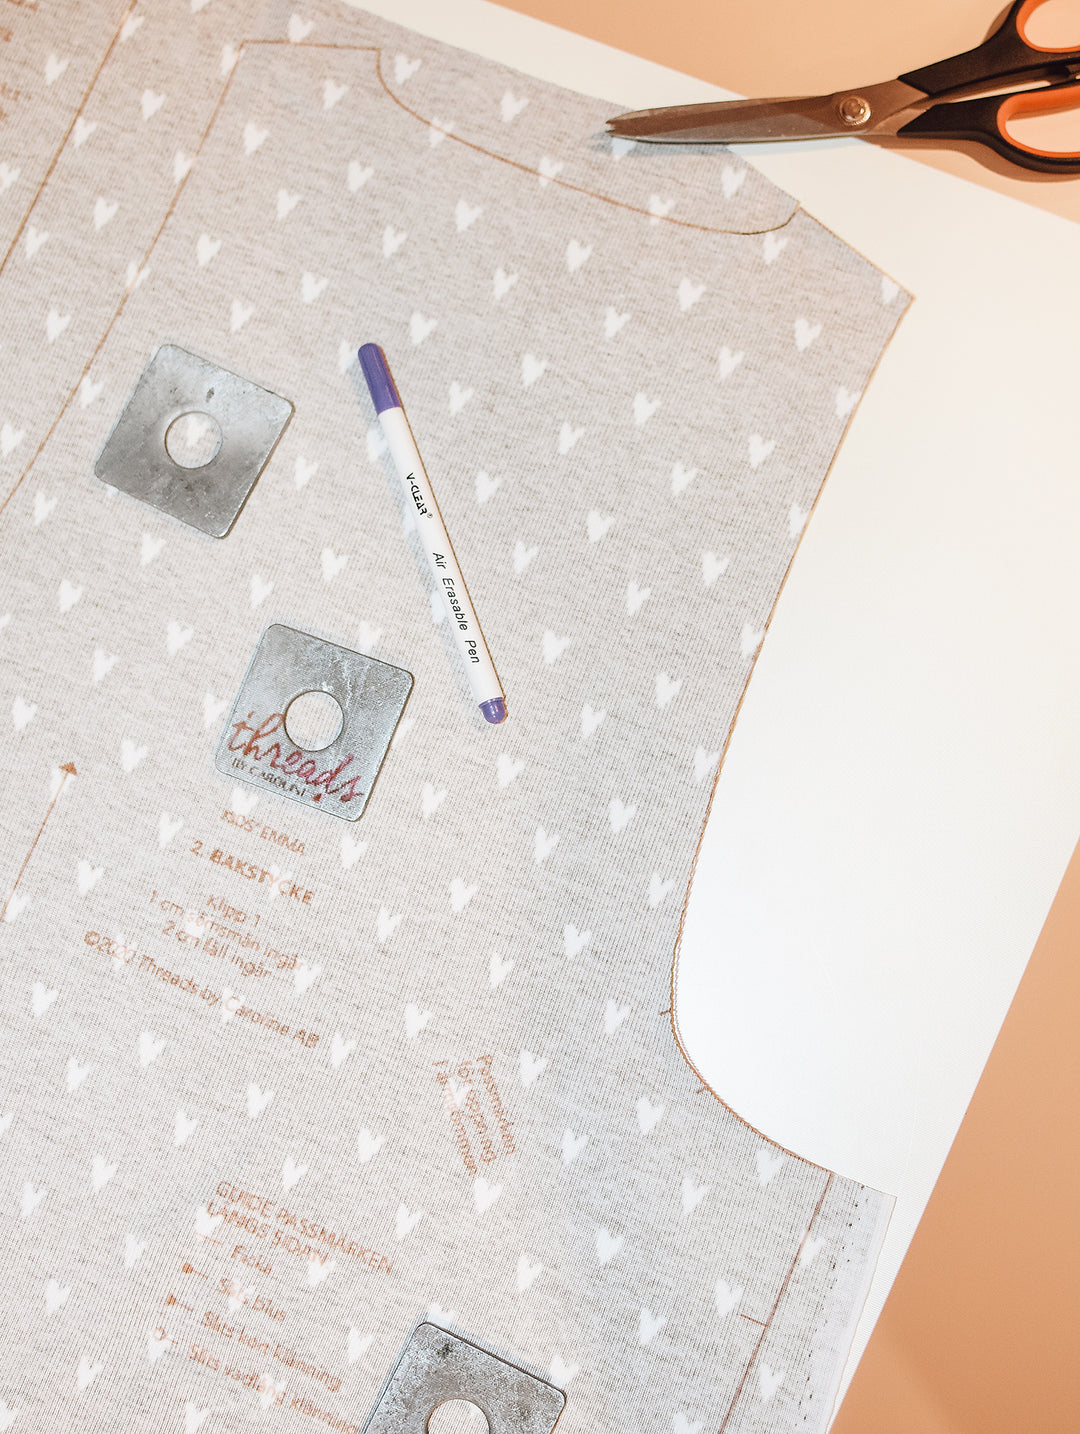
For starters, you'll need to cut 2 back bodices (1 in main fabric, and 1 in lining fabric), and two front bodices (1 in main, 1 in lining). My lining is the yellow fabric and my main fabric is the one with rainbows. Mark center front, center back and the notches for the bow placement. Sew your bow according to the tutorial for the Amelie pattern and press.

Place the two back bodices right sides together, and the bow in between. Make sure to place the bow correctly. Match all nothces and pin towards the center back notch.


Sew with a stretch seam 1 cm (3/8") from the edge all the way to center back.

… Here's where you need to keep your head straight. Pin the bow the same way on the other side. The back bodices won't lay flat. Match all notches and continue sewing from center back to the other shoulder.


Clip the seam allowance, but don't clip the seam.

Turn the back bodice right side out and give it a good press!


The front is easier. Pin the two front bodices right sides together and sew the neckline.

Pin and sew the front piece and back piece along one shoulder and then the other.

Now choose to sew the dress with or without sleeves. For sleeveless, continue just like in the Victoria tutorial. And if you're sewing it with sleeves, continue just like in the Amelie tutorial.
On this dress I choose to sew it with sleeves.


***
Thank you so much Ida for sharing this with us!
Do check out Ida's instagram page for more inspiration.


