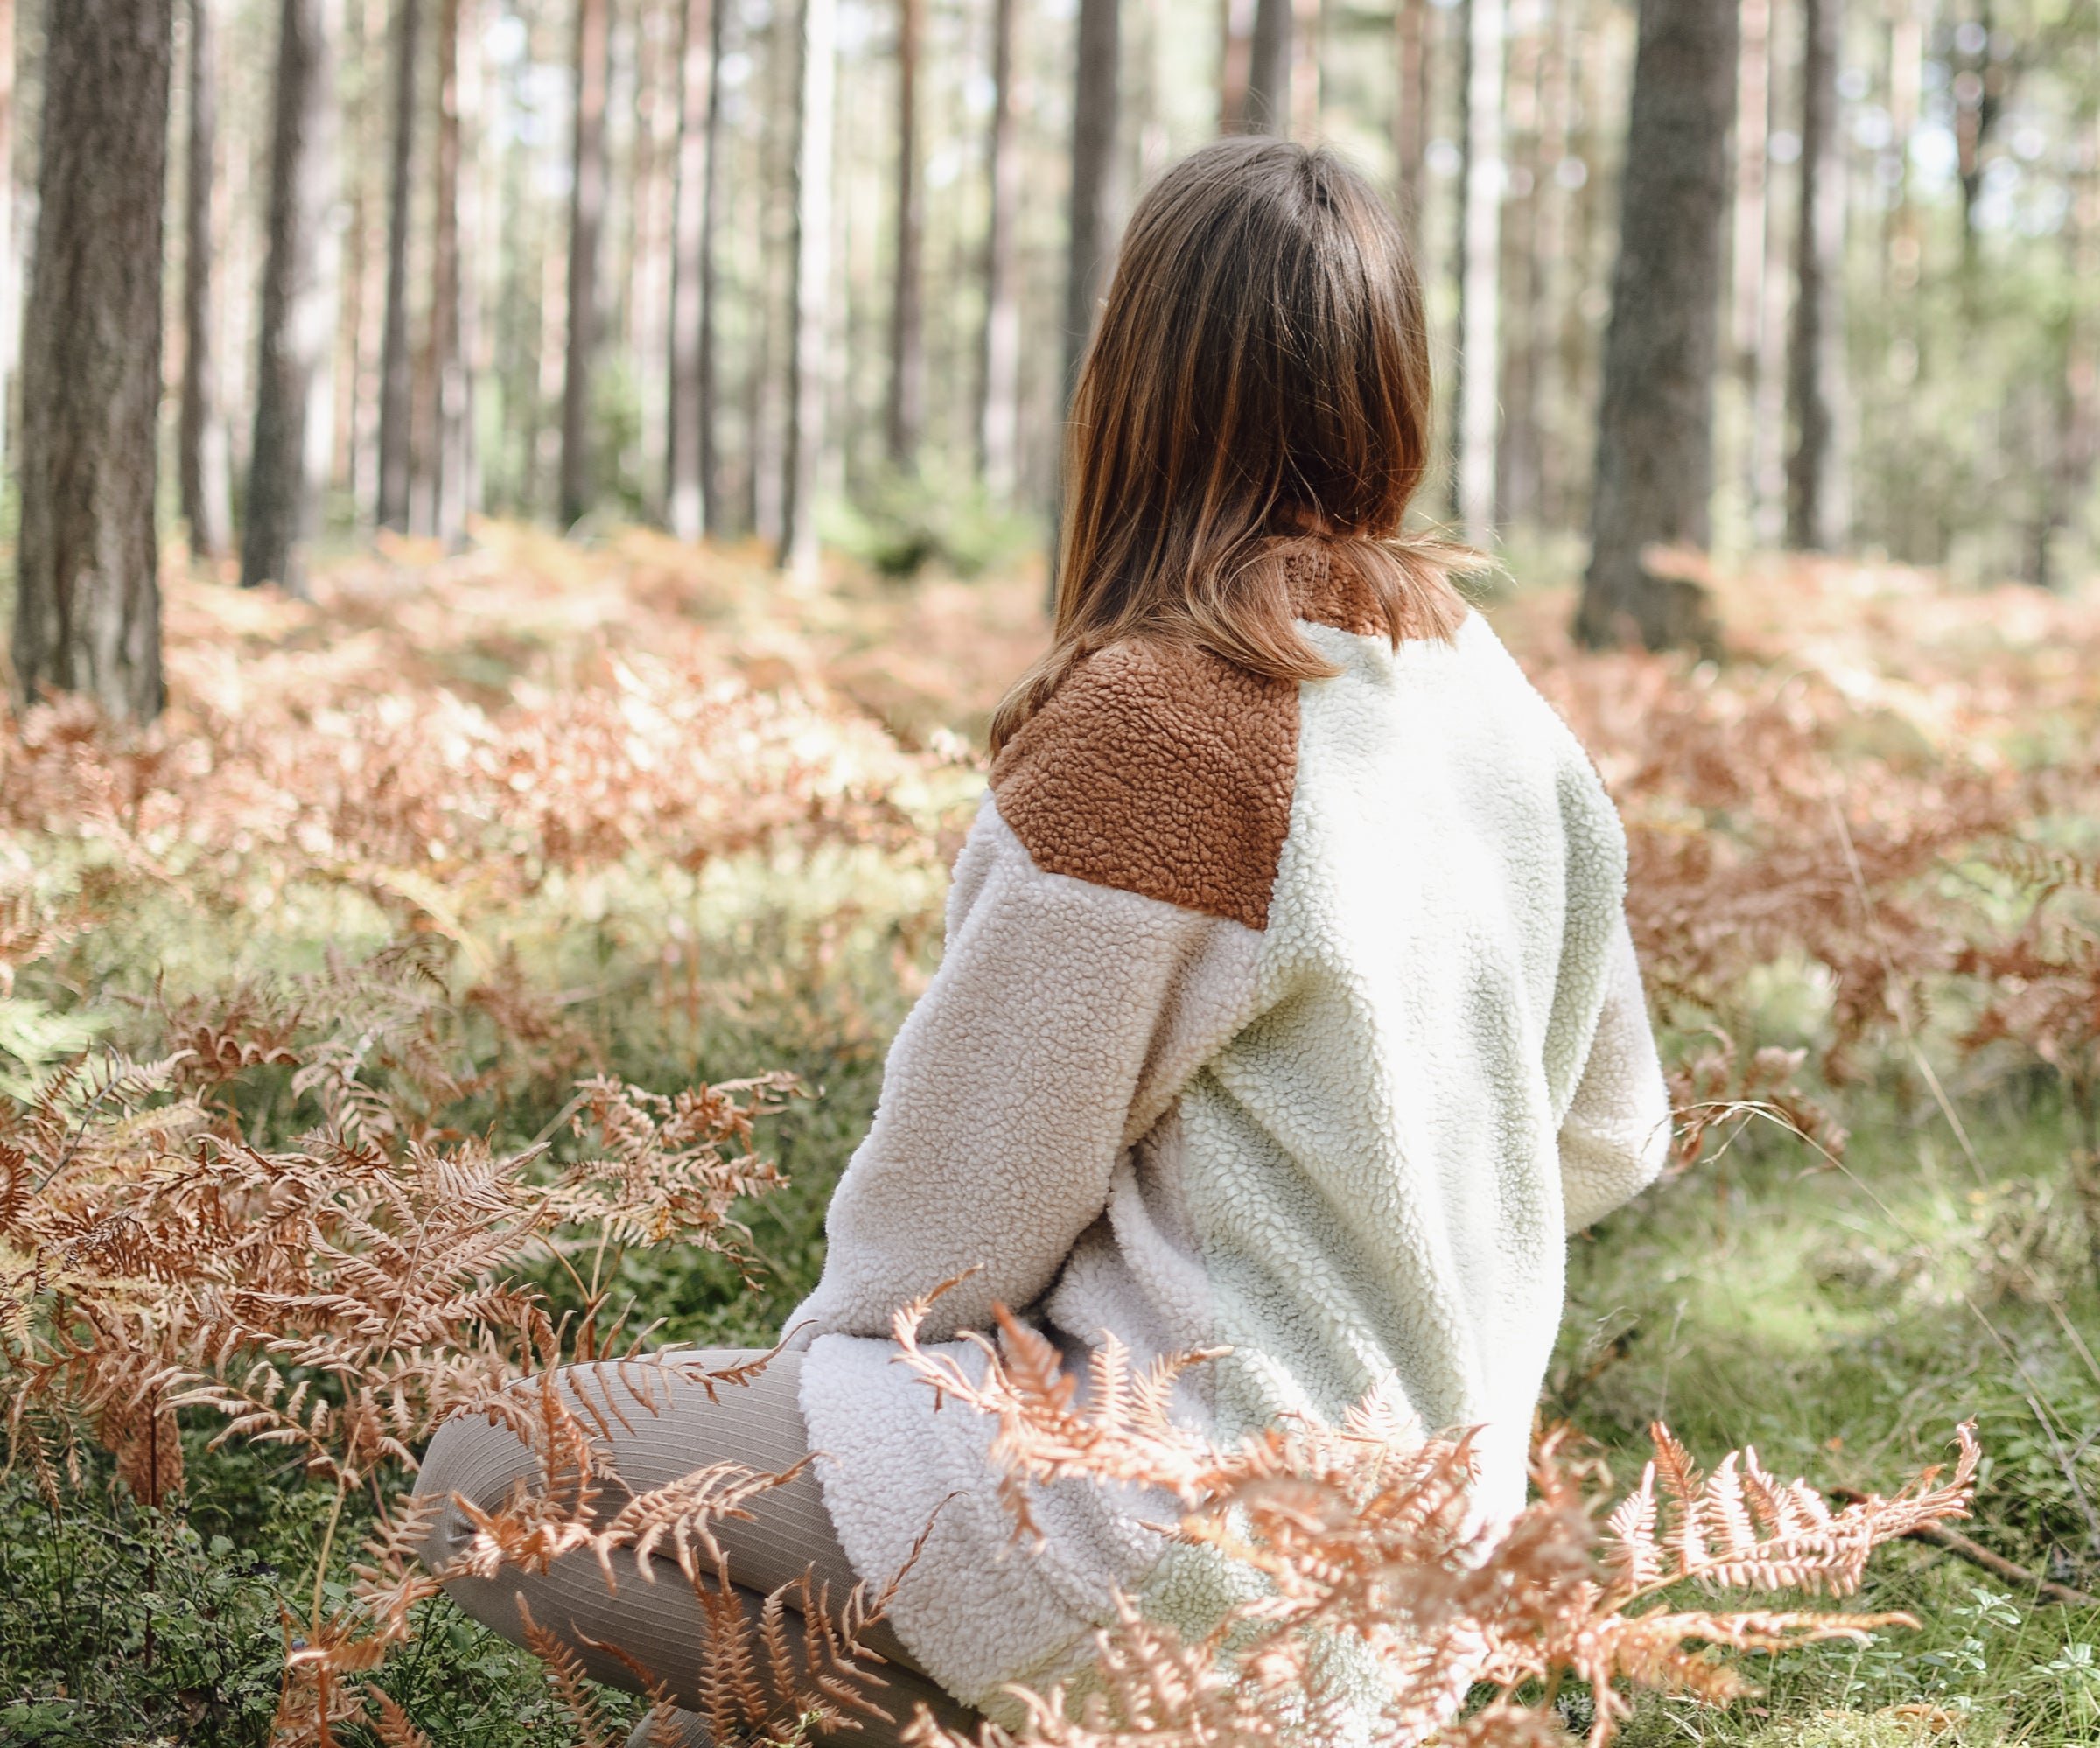


Check out this lovely Hanna sweatshirt sewn in teddy fabric! I might just wear it everyday until summer is back again :D

I'd like to tell you how I used the Hanna sweatshirt pattern for this teddy sweatshirt, and my best tips for sewing in teddy (or teddy fleece).
How I used the Hanna sewing pattern
SIZE UP
Since the pattern wasn't designed for such heavy and thick fabrics you should really choose a larger size. I decided to size up 2 sizes - I really wanted this to be a large sweatshirt, almost a bit oversize. So I measured my bust, waist and hip for my current measurements, checked out the size guide, and then chose the size that was 2 sizes larger, in my case 44.

LENGTHEN
I decided to lengthen the front and back pieces by 8 cm. I also added 6 cm to the height of the waistband pattern, and since this fabric didn't stretch much, I cut it at the same width as the lower edge of the sweatshirt. I wanted a large, cosy sweatshirt that would extend over the butt.
You should also lengthen the sleeves by 1 cm. It's hard to sew such a "narrow" hem as 2 cm with teddy fabric. I hemmed 3 cm instead, but I didn't think of this before so I never lengthened my sleeves.

ADD WIDTH TO THE SLEEVES
Here's something else I didn't do, but realised afterwards that I should have: adding width to the lower half of the sleeves. I would add about 1,5 cm to each side (3 cm in total), and don't forget to add 1 cm in length so you can hem 3 cm instead of 2 cm.

That's all the changes I made - or could have made - in the pattern :) Now, on to:
My best tips for sewing in teddy fleece
There are a few things to keep in mind while you're sewing in teddy. I'm gonna try to put these in order, starting with what I think is most important.
- Use a larger needle. Use a ballpoint/jersey needle for teddy fleece or fleece, size 90/14. I didn't have one available so I used a stretch needle, size 90/14.

- Use a longer stitch length, approx. 3-4 mm. I sewed with a narrow zig zag stitch, 1,5 mm in width and 3,5 mm in length. This was when I was sewing two layers of fabric. When attaching the waistband, and the turtleneck (3 layers of fabric) I increased the length to 4,5 mm.
- Don't iron or press with an iron. If your fabric is made of polyester, the fibers can melt. I pressed all seam allowances open, using my fingers.

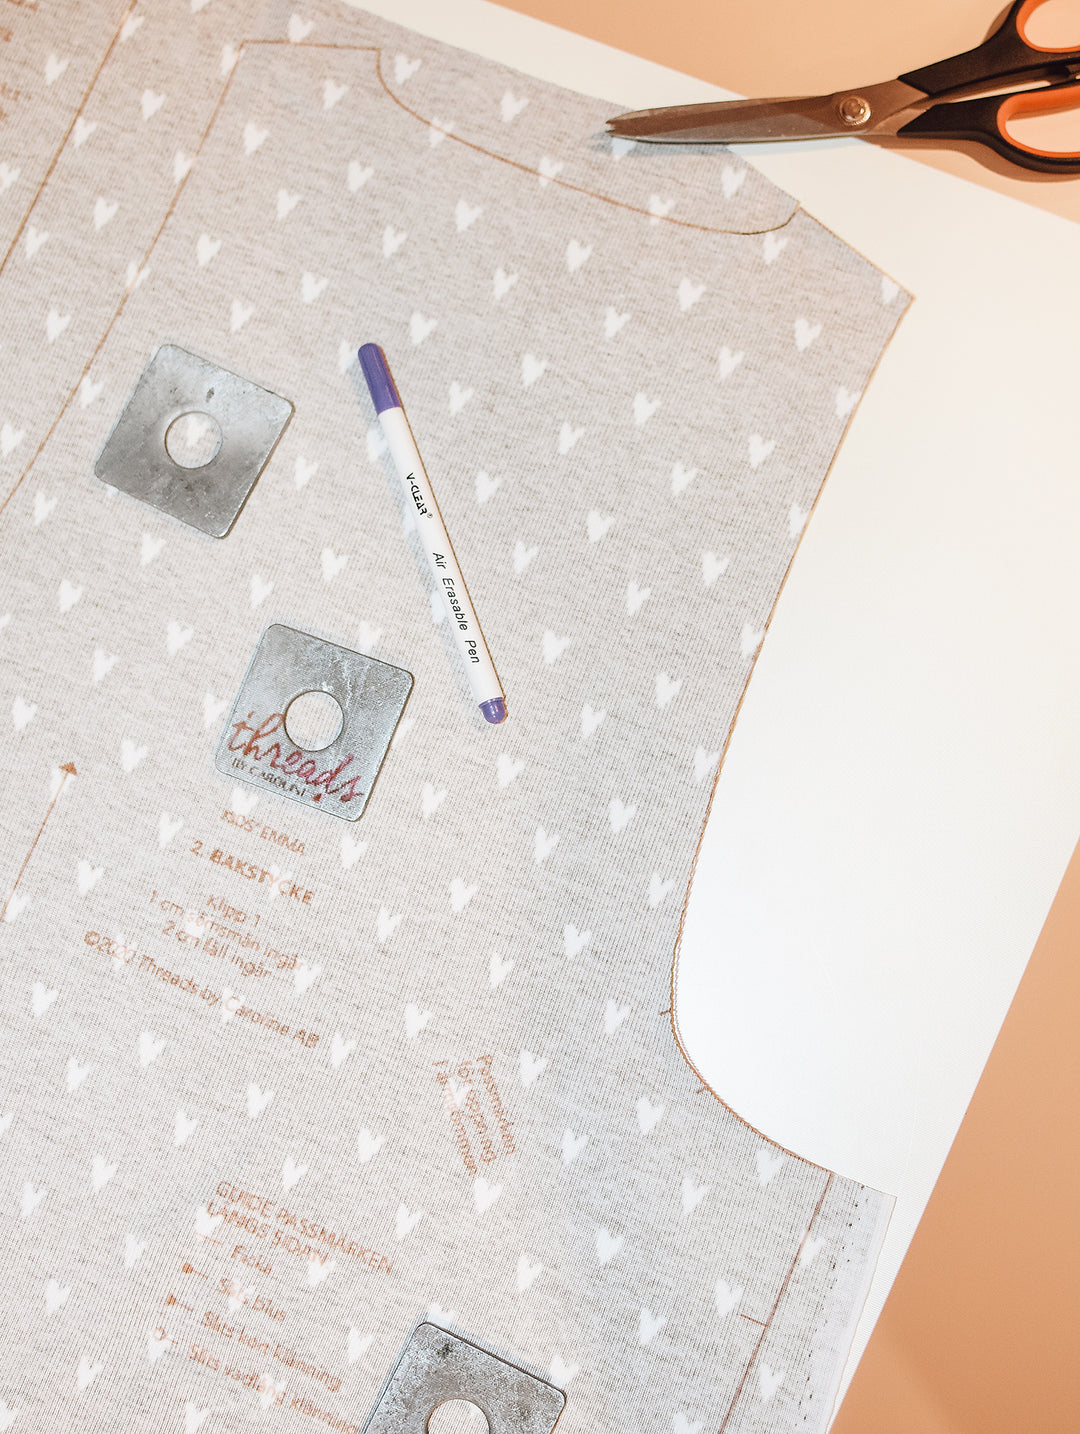
- Consider the nap when you cut your pattern pieces so that they are all in the same direction. You might not see the nap so clearly when just looking at the fabric - but it might be much more visible on the finished garment. If you run your hand up and down the fabric, the fibers will be smoother in one direction.
- Remove nap (fluff). Along the cut edge of your pattern pieces you are probably able to pull away some of the nap (only do this within the seam allowance). I do this before sewing, so not all of the nap ends up in my sewing machine :)

- Exchange your regular presser foot for a walking foot (pic below). It helps to feed both layers of fabric nicely, very useful for thick fabrics. The purpose of the sewing machine's feed dogs is to feed the fabric through the machine. With the walking foot, you get an extra set of feed dogs for the top of the fabric. (And I will also add that a walking foot is useful for light fabrics too, especially knits, and slippery fabrics). I read somewhere that a walking foot is "a presser foot that gives your sewing machine super powers". Haha.

- Grade seam allowances. This is easier if your seam allowance is 1,5 cm, but also doable with 1 cm seam allowance. The idea is that the seam allowance shouldn't have the same width - IF they are pressed to the same direction. Trim them down, but not equally. Start with the seam allowance that will be furthest away from the seam on the right side of the garment, and trim it down close to the seam. The next layer of seam allowance should be a bit wider. And the next even more wide. I used this technique on this sweatshirt at certain points where there were many layers of seam allowance, for example where the seams intersected, but also the collar and waistband.

- Increase seam allowance. I am happy with 1 cm seam allowance, but I do see the point of having a bit more, like 1,5 cm seam allowance. So if you want to, increase your seam allowances to 1,5 cm (in the Hanna pattern, 1 cm seam allowance is included).
The fabric I used for this sweatshirt is teddy fleece from Selfmade.com. Its weight is 300 gr/m2 and it is 100% polyester.
Wanna sew your own Hanna sweatshirt? Find the pattern here.